
To use the IndiaMART integration with MsgClub, you must have an active IndiaMART plan with API access. Without this, the integration process cannot proceed.
Once your IndiaMART API plan is active, follow the steps below to set up your MsgClub account and complete the integration.
Part 1: Create and Set Up Your MsgClub Account
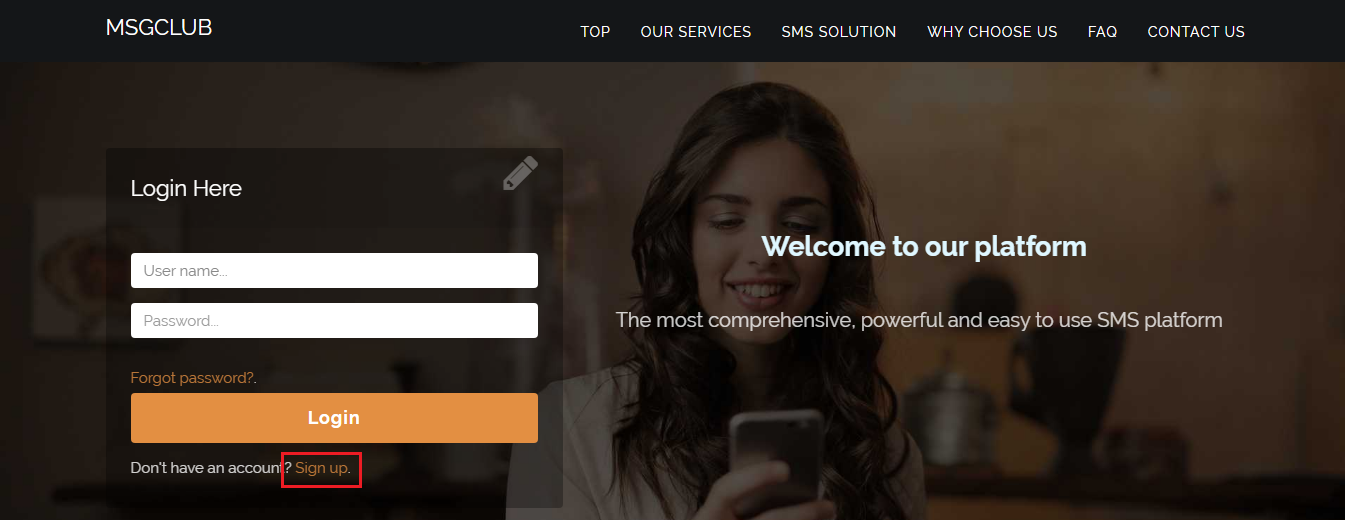
Step 1: Go to www.msg.msgclub.net and click on the Sign Up button.
Step 2: On the Sign-Up page, fill in the following details:
- Username
- First Name
- Last Name
- Email ID
- Mobile Number
- Captcha
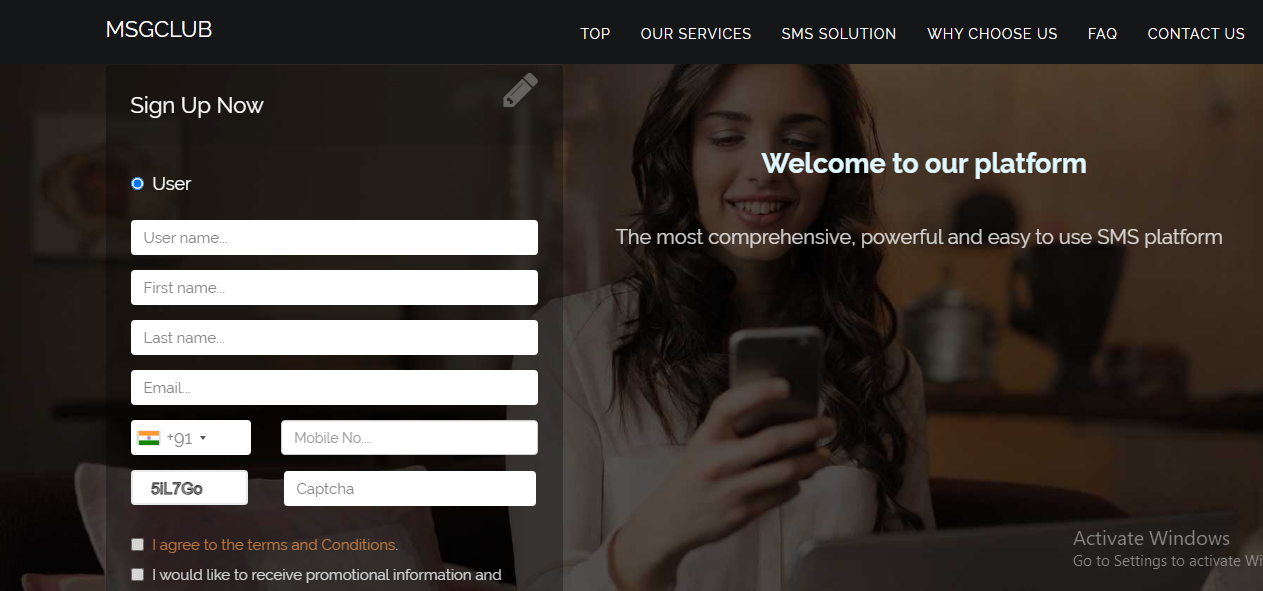
Step 3: Click the Sign Me Up button after filling out all required fields.
Step 4: After you sign up, you’ll be redirected to the login page. Log in using your chosen credentials. You’ll receive an OTP on your registered mobile number. Enter the OTP and click Verify. MsgClub verifies your OTP and takes you to the dashboard, where you can choose a communication service (e.g., Verified WhatsApp, Text, Voice, RCS, etc.).
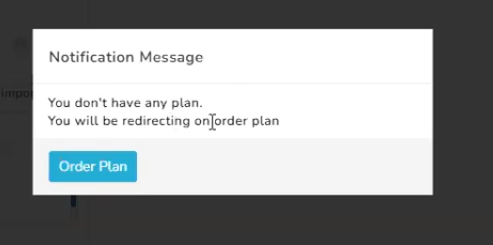
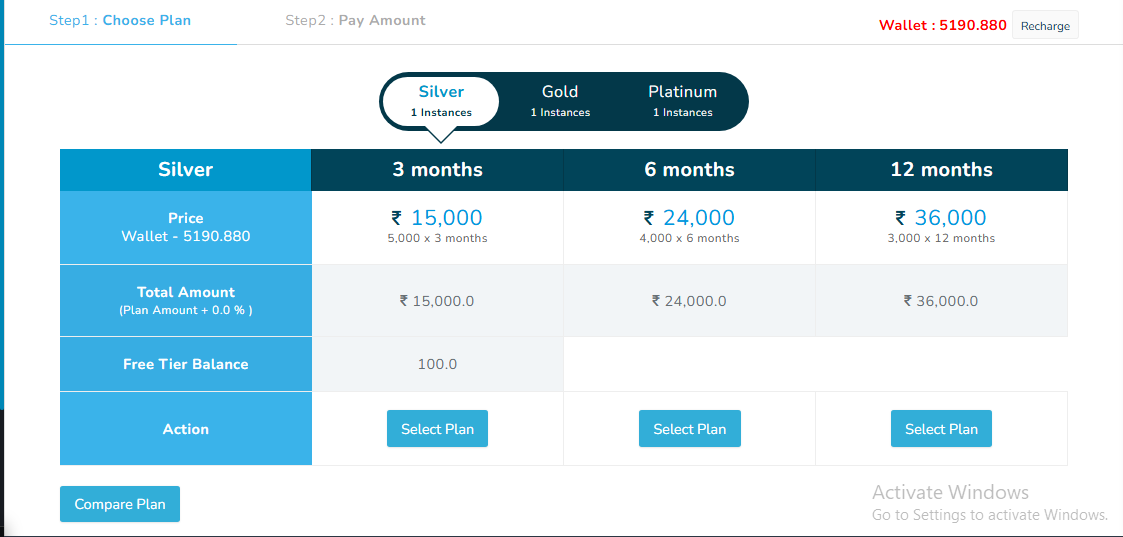
Step 5: MsgClub notifies you with a pop-up that no plan is selected and then redirects you to the “Plan Info” page to choose and purchase one.
Step 6: After placing your order and completing the payment, you’ll need to configure the service you selected (e.g., Verified WhatsApp).
To learn how to set up your number, follow this guide: Learn about MsgClub Embedded Signup process
Step 7: Once you complete the setup, you can start the IndiaMART integration.
Part 2: IndiaMART Integration Steps in MsgClub
📌 Reminder: Make sure you have already purchased an IndiaMART API plan before proceeding.
Step 1: From the left-hand menu, go to Integration, and on the Integration page, select IndiaMART.
Step 2: Click the Add Configuration button to open the configuration form.
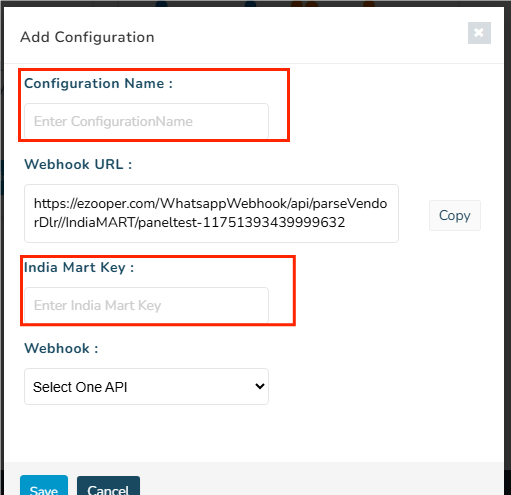
Step 3: In the Add Configuration popup, fill in the following:
- Configuration Name: Give your setup a unique and descriptive name (e.g., “IndiaMART Leads – Delhi”).
Tip: This is for your reference only, to help you identify the lead source. - Webhook URL: MsgClub generates this Webhook URL.. You need to copy it and paste it into your IndiaMART Push API settings.
- IndiaMART Key: Enter your IndiaMART API Key.
Note: This is optional. - Webhook (Select One API): Choose the internal API or webhook that will handle the incoming leads.
Note: If you’re using this feature for the first time, MsgClub will automatically raise a support ticket to help you set it up. Once configured, you can use this webhook in future configurations.
Step 4: Click Save to activate your integration setup.
Part 3: What to Do with the Webhook URL
Once you’ve copied the Webhook URL from MsgClub, follow these steps to set it in your IndiaMART account:
Step 1: Visit seller.indiamart.com and log in to your IndiaMART account.
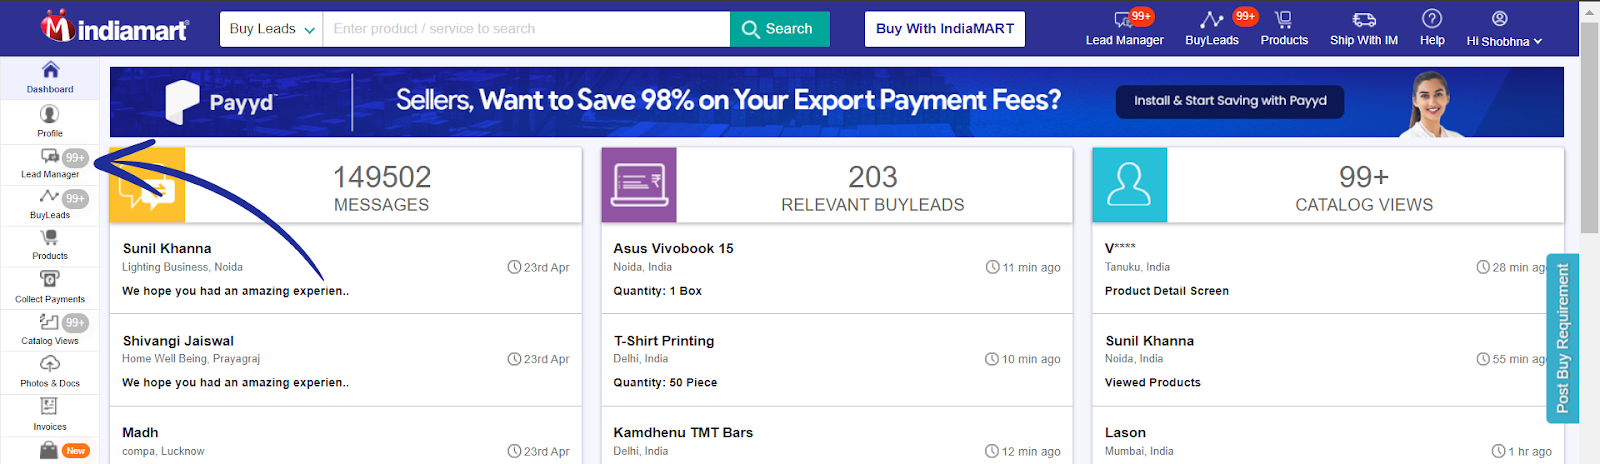
Step 2: Go to the Lead Manager section on the left side.
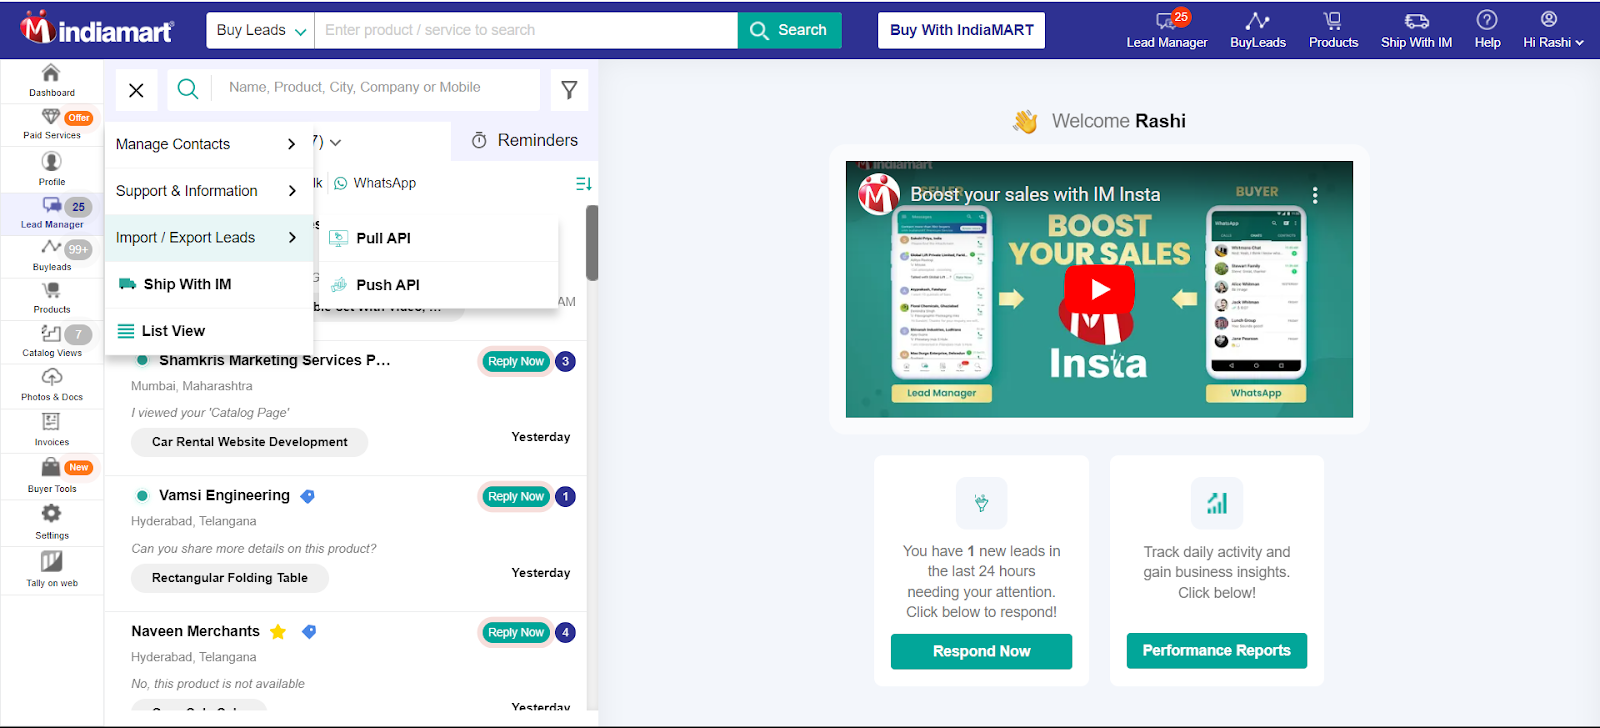
Step 3: From the three-dots menu (⋮), select ‘Push API’ under ‘Import/Export Leads’.
Step 4: Choose your CRM platform from the drop-down list. If not listed, select “Other” and enter the platform name and URL.
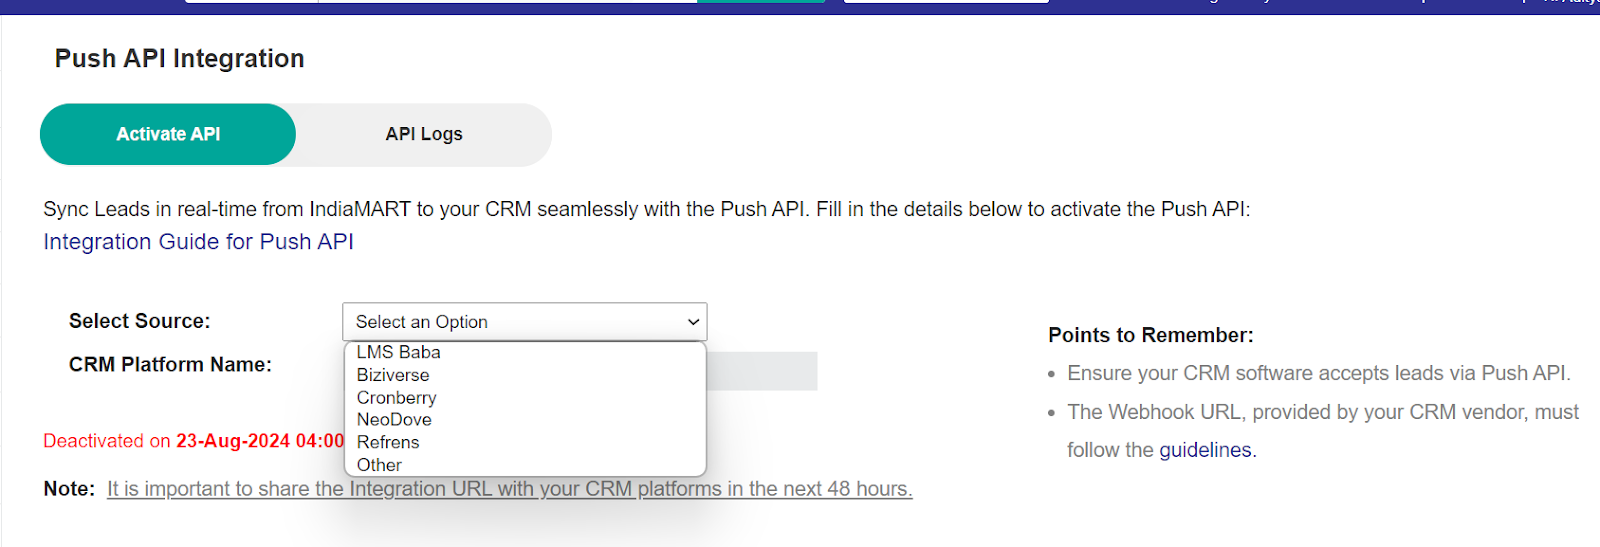
Step 5: If ‘Other’ is selected, enter the CRM Platform Name and the Webhook Listener URL.
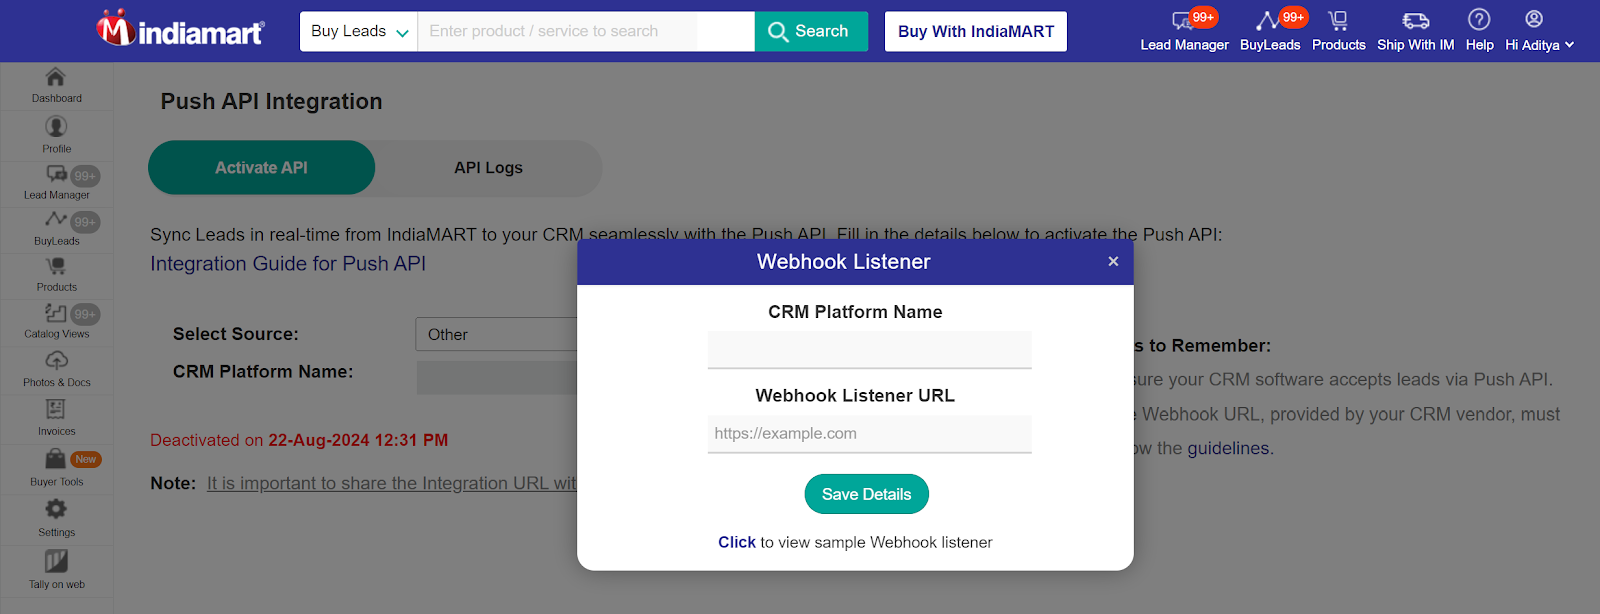
Step 6: After confirming the OTP sent to your primary mobile number, your Push API will be activated.
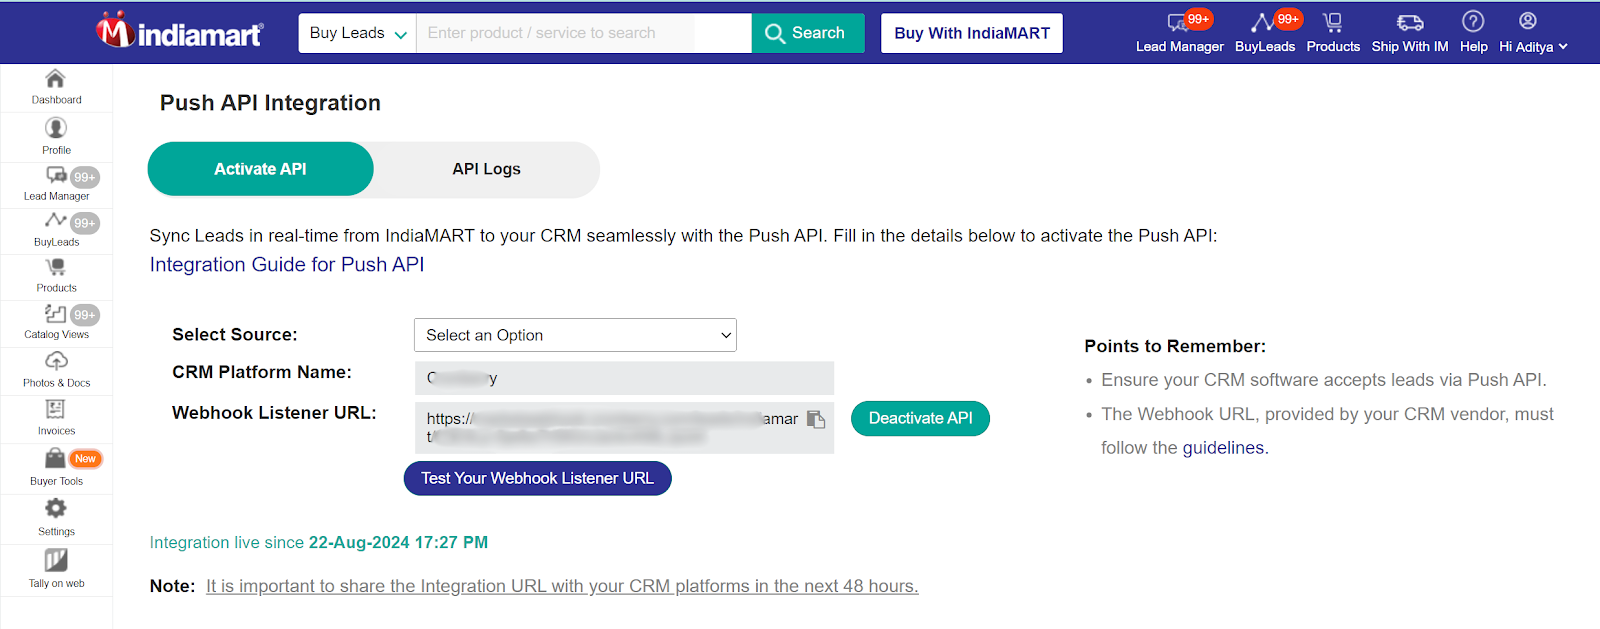
Step 7: The Integration URL will show the complete endpoint where leads will be pushed in real-time.
How To Test Your CRM Platform’s Webhook URL?
- Activate Push API: After activating your Push API, you can test your CRM Platform’s webhook URL.
- Select Your CRM Platform: If your CRM platform is listed, you will see a test pop-up option available after the Push API Activation.
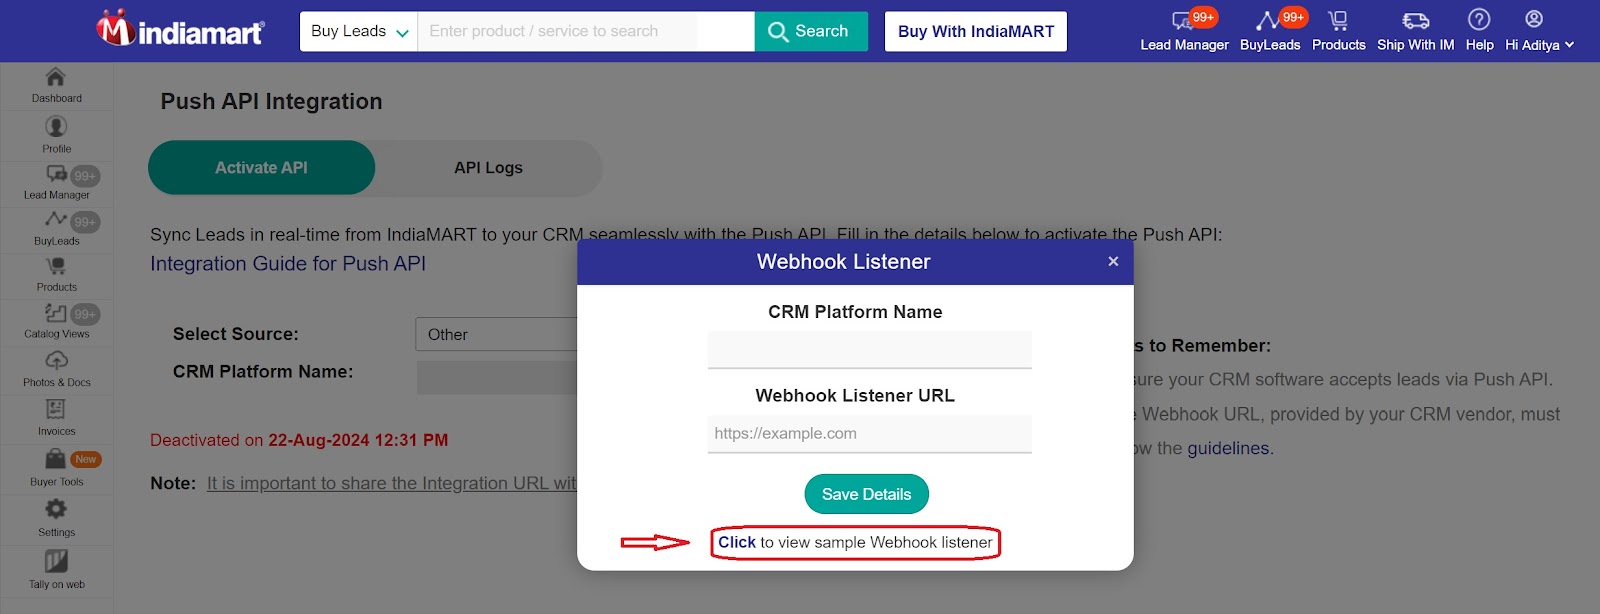
- Select ‘Other’ Option: If your CRM platform is not listed, select ‘other’ from the drop-down and click on ‘view sample webhook listener’ to access the test pop-up.
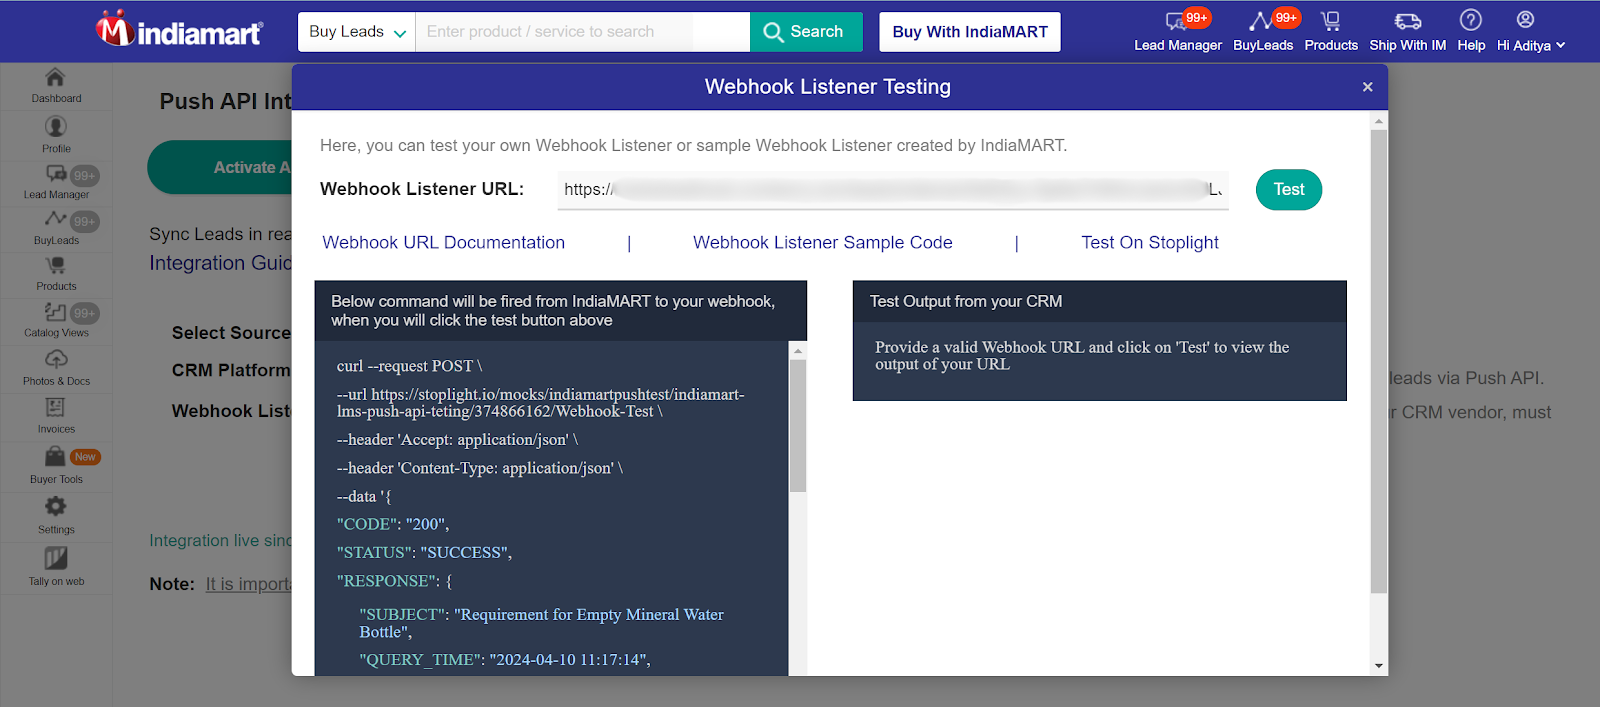
- Webhook Listener Testing Pop-Up: The test pop-up shows the expected input from IndiaMART on the left-side and the test output section on the right-side, which shows the output from the Webhook Listener URL being tested.
- Stoplight URL: A readily available stoplight URL is provided for testing. You can use this to verify your webhook URL.
- Custom URL Testing: To test your own URL, edit the URL in the input field and click on ‘Test’.
Once this process is complete, leads will start appearing in the MsgClub panel. You can view them here: View Show Leads in MSGCLUB Verified WhatsApp (IndiaMART Integration)
Once you’ve completed the entire setup, simply reach out to our support team. From there, they’ll assist you in configuring any automated messages you’d like to send to your IndiaMART leads directly from the backend.
Learn More about MsgClub WhatsApp Business API features :-
- Verified WhatsApp Team Inbox
- Grow your Business Using WhatsApp Flow
- Boost Sales with WhatsApp Multi-Agent Team Inbox by MsgClub
Other Services
- Rich Communication Services (RCS)
- What is interactive voice response (IVR) Service? A complete guide
- Best text messaging services for business in 2023
Contact us at The Basic Digital Solution today to learn how our MSGCLUB can help you achieve your goals—reach out at Sales@msgclub.net, call us at 91-9981122255, 91-8818889050 or visit Msgclub.net !