
WhatsApp Business, Verified WhatsApp Business API, Use Cases
WhatsApp is the most popular communication app, with over 2 billion active users. WhatsApp allows you to send text messages, multimedia, location information, and now money.
With all of these helpful options, you might want to schedule a WhatsApp message to wish someone a happy birthday or to remind your pals of upcoming activities.
If you’re a business, you might wish to send payment reminders or cart reminders to your consumers’ WhatsApp accounts. Alternatively, your company should automate WhatsApp Business greeting messages to all new customers/subscribers.
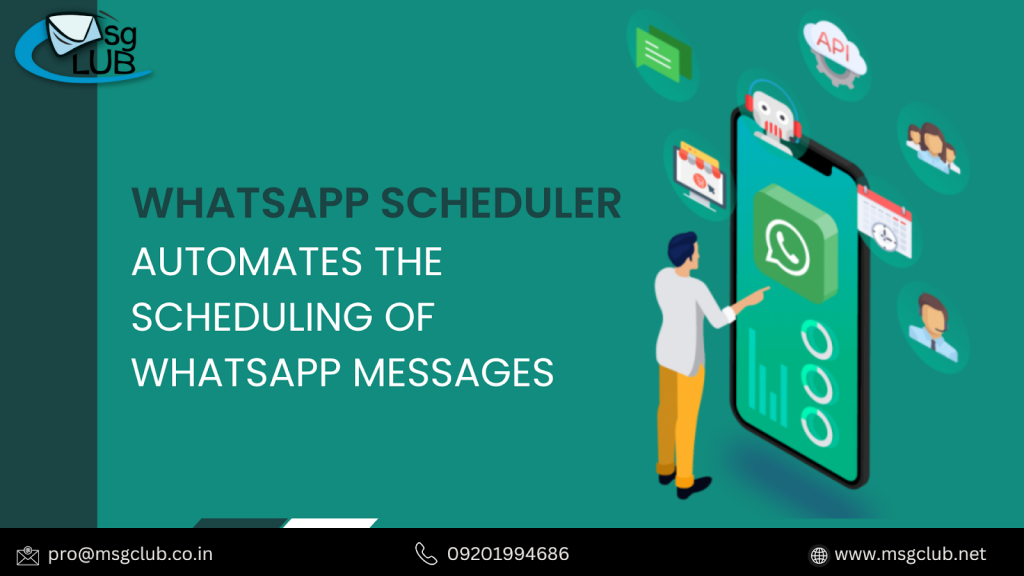
Scheduling WhatsApp messages is a critical chore for you because it increases engagement and sales.
So there are two kinds of users who want to plan WhatsApp messages:
1. WhatsApp Users
2. WhatsApp Business Users
On Android, how do you schedule WhatsApp messages?
- Get the WhatsApp Message Scheduler app from the Google Play store. Enable the accessibility toggle for the app in Settings -> Accessibility -> Services.
- Launch the app and tap the ‘+’ icon.
- Select a WhatsApp contact or group to work with. Then choose the time and date.
- Now, type your message to be scheduled.
- Tap the ‘Create’ button to finish scheduling a WhatsApp message.
- It is important to note that you cannot schedule numerous messages at the same time.
How Do You Schedule WhatsApp Messages on an iPhone?
Because Apple professes to value user privacy, scheduling WhatsApp messages on iPhone and iOS devices is more difficult than on Android. However, Siri shortcuts allow you to schedule WhatsApp messages.
1. Go to the App Store and search for and install the Shortcuts app.
2. After accessing the app, select Automation.
3. Tap the ‘+’ icon in the upper right corner and select “create personal automation.”
4. Select a time and date and then press the ‘next’ button.
5. Next, press “Add Action,” and then type “Text” into the search bar. Choose “Text” from the list of options.
6. Enter a WhatsApp message in the text field.
7. After you’ve finished typing your message, touch the ‘+’ icon. On the pop-up, type “WhatsApp” into the search area.
8. When the dropdown menu displays, select “Send Message Through WhatsApp.” Select the contact for whom you want to schedule the WhatsApp message and then click Next > Done.1. Go to the App Store and search for and install the Shortcuts app.
How Do I Schedule WhatsApp Messages Through the Business App?
1. Launch the WhatsApp Business app on your iPhone or Android device.
2. Tap the ‘Settings’ button. Choose ‘Business Tools’.
3. Tap and select ‘Select Away Message’. Turn on the ‘Send away message’ toggle.
4. In the text field, type the WhatsApp message.
5. Turn on the ‘Send Away Message on Whatsapp Business’ option. Select ‘Only Send to People in the Recipients’.
6. Now, press the ‘Schedule’ button.
You can create a bespoke schedule depending on your company’s operating hours.
This is how you plan an ‘Away’ message based on a time slot.
The WhatsApp Business App does not allow you to schedule communications on WhatsApp based on business-critical factors.
For example, when a person joins your platform, you may wish to schedule a WhatsApp welcome message. Or, if someone forgets to attend the event, a WhatsApp reminder.
To address this issue on a larger scale, WhatsApp launched the WhatsApp Business API platform in 2018 so that SMEs and large organizations may directly integrate WhatsApp with their systems to communicate with their WhatsApp users.
The WhatsApp API solution enables you to send and schedule WhatsApp messages on a massive scale. Using WhatsApp APIs, you may send WhatsApp messages directly from your CRM or database.
Let’s look at how to schedule and broadcast WhatsApp messages on a large scale.-
How To Schedule WhatsApp Messages Using WhatsApp Business API?
To send and schedule WhatsApp messages on a large scale, you’ll require WhatsApp Business API access. There are two methods for obtaining WhatsApp API access:
- You may schedule WhatsApp messages by integrating these APIs into your system.
- You can sign up for BSPs such as MsgClubs’s Verified WhatsApp, which are built on top of the WhatsApp Business API and include all of the functionality accessible on the WhatsApp API.
Because Cloud API does not have an interface, you may need to hire a development team to put everything up for you.
MsgClub, on the other hand, as a WhatsApp API provider (BSP), offers a full WhatsApp CRM with a dedicated Team Inbox to organize conversations. Simply combine it with your WhatsApp Business API number, and you’re ready to use all of Verified WhatsApp Business API’s features straight through MsgClub.
The advantages of gaining WhatsApp API access through MsgClub-
- Integrations with CRM, analytics, and third-party applications
- ‘One-Click’ WhatsApp Message Scheduling from CRMs, Google Sheets, and Third-Party Apps
- Verified WhatsApp Business profile with a green tick
- WhatsApp Broadcasting for mass alerts
- WhatsApp Chatbot and interactive messages are supported.
- Access to many agents for client service
Now, let’s look at how to schedule WhatsApp messages on WATI using the WhatsApp API.
Please keep in mind that these methods will be quite similar for all BSPs. Some features may differ depending on the features offered by different BSPs. All you have to do is incorporate them into your systems.
Using the Verified WhatsApp API, you may schedule the broadcast of WhatsApp messages.
In a single broadcast campaign, you can schedule bulk WhatsApp messages from your WhatsApp Business account to up to 100K recipients (depending on your tier).
To initiate or schedule a bulk message WhatsApp campaign, simply use MsgClub’s broadcast tool.
Step 1: Go to the ‘Broadcasts’ page on MsgClub’s Dashboard.
Step 2: In the top-right corner, click the ‘New Broadcast’ button.
Step 3: Enter the broadcast name, select a template, and select a time to transmit the message. Next, press the ‘Next’ button.
Step 4: Select from a list of your contacts or add your own. Select ‘Add Broadcast’.
Step 5: Choose a date and time to launch the campaign.
You can either upload your contacts or import them directly from your CRM.
1 thought on “How To Schedule WhatsApp Messages Using A Scheduler?”
Comments are closed.