
In this blog, you’ll learn how to order a plan for the Verify Email Service so you can start using it effectively.
Important Note – Verify Email and Email service both services have separate billing processes. You need to raise individual billing requests for each service through their respective options in the Billing Ticket section.
Learn More
Process Video
Step by Step Guide
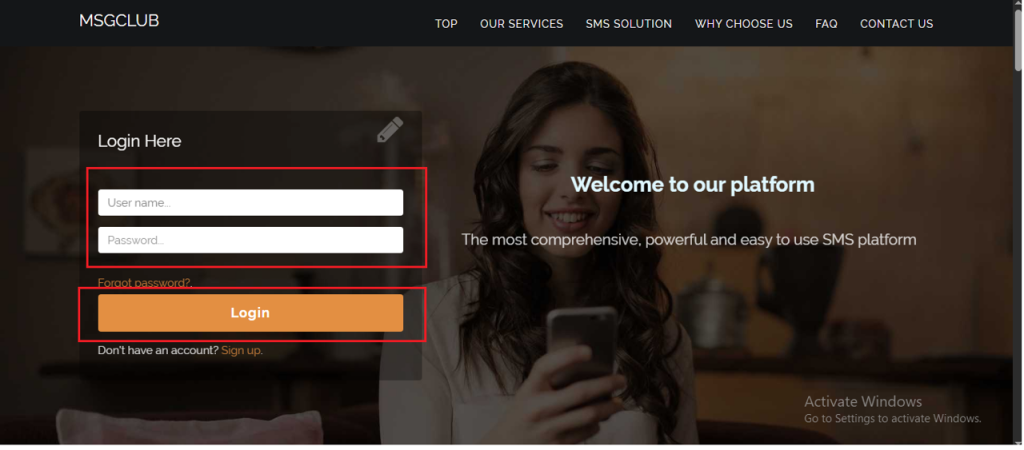
Step 1: Go to MsgClub Cloud Communication Platform Log in using your credentials.
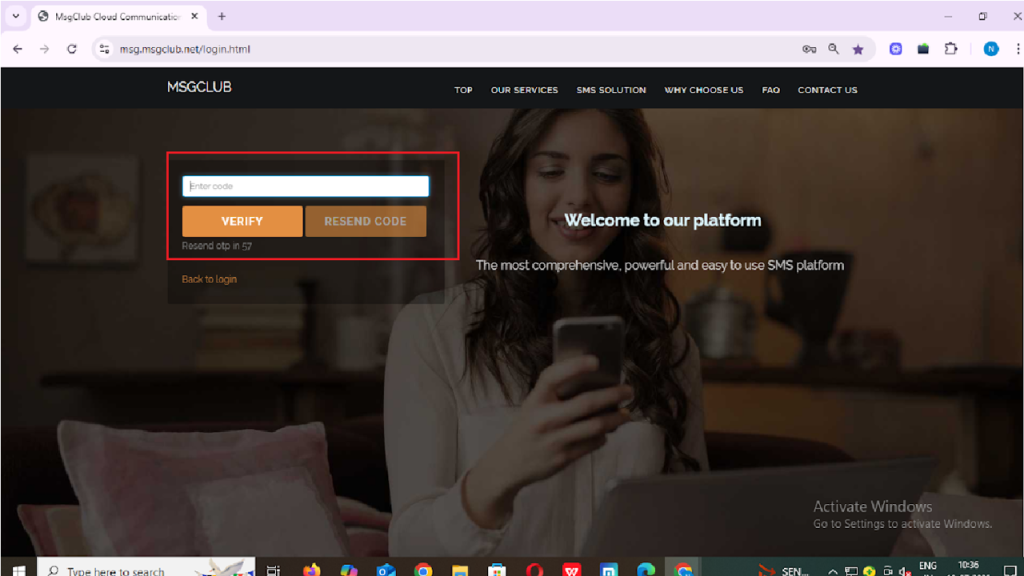
Step 2: You’ll receive an OTP on your registered mobile number. Enter the OTP and click Verify.
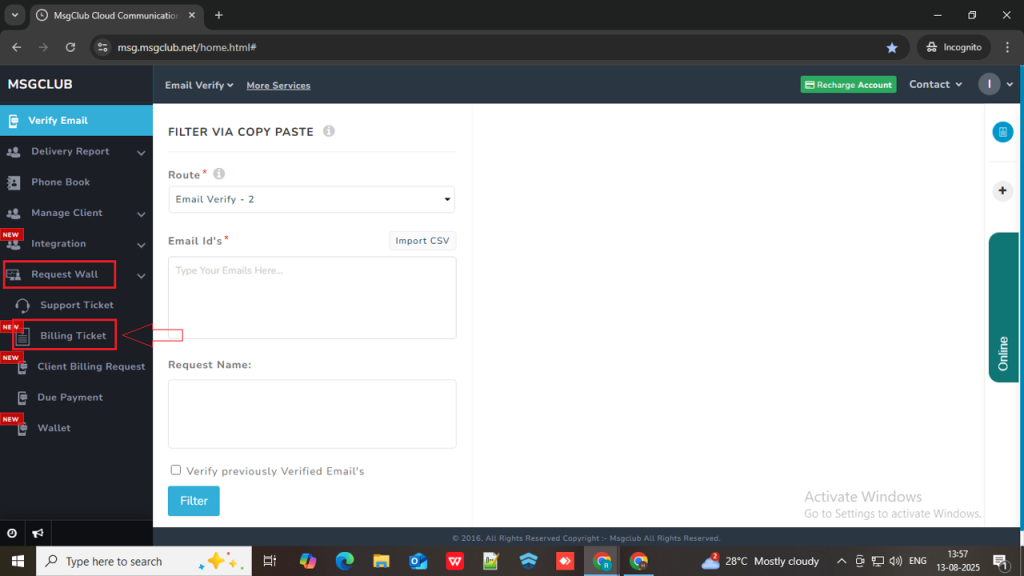
Step 3: Once verified, you’ll be redirected to the MsgClub dashboard, where you can select any Service.
Step 4: On the left side of the screen, find and click on the “Request Wall” option and in that select Billing Ticket.
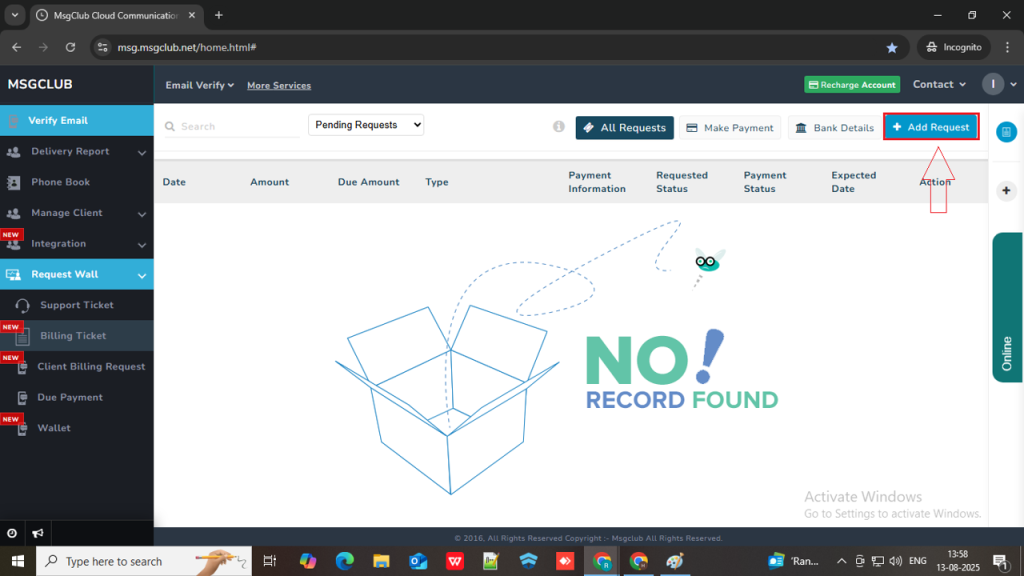
Step 5: On the Billing Ticket page, click on the Add Request button.
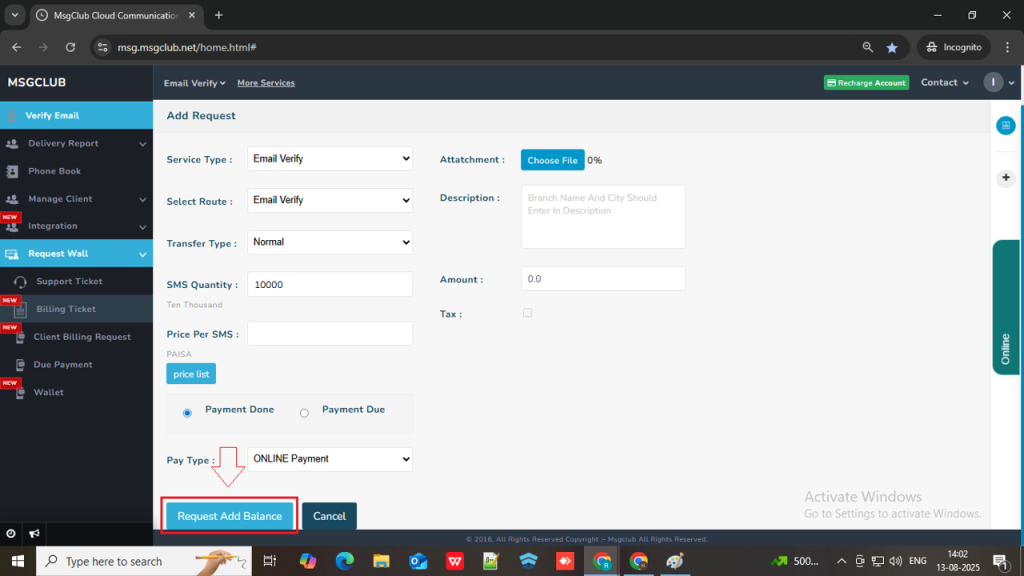
Step 6: On the Add Request page, fill in the required details as follows:
- Service Type: Select Email Verify Service from the dropdown.
- Select Route: Choose Email Verify from the dropdown.
- Transfer Type: Select Normal from the dropdown.
- SMS Quantity: Enter the quantity you require to verify email IDs.
- Per Email Price: This will be automatically filled with current price when you enter the email quantity that you require
- Attachment: Upload any relevant file related to the billing request.
- Description: Write a brief description of the billing request for future reference.
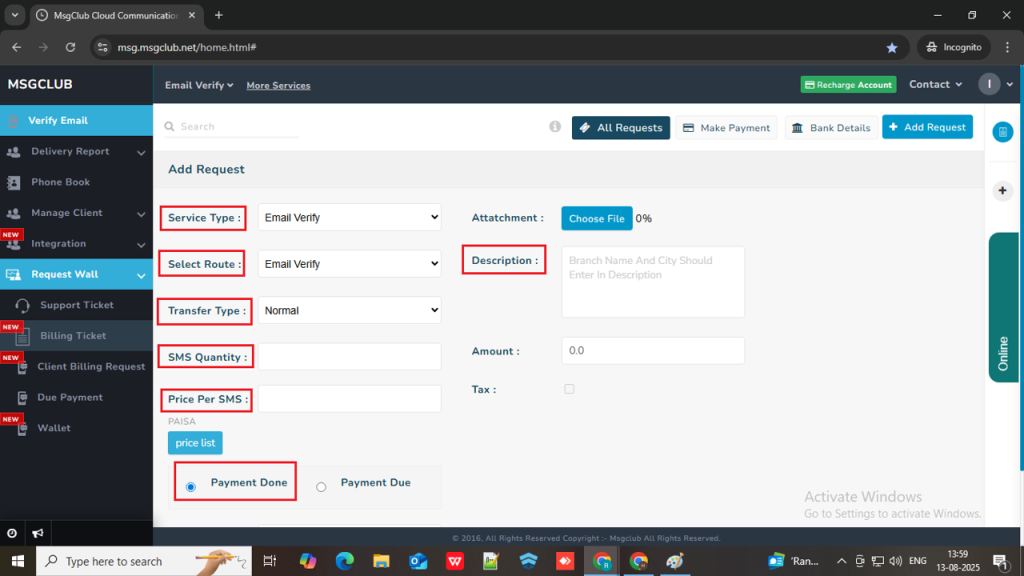
Step 7: There are two option for Payment which are Payment Done if you’re paying immediately and Payment Due if you’re planning to pay later.
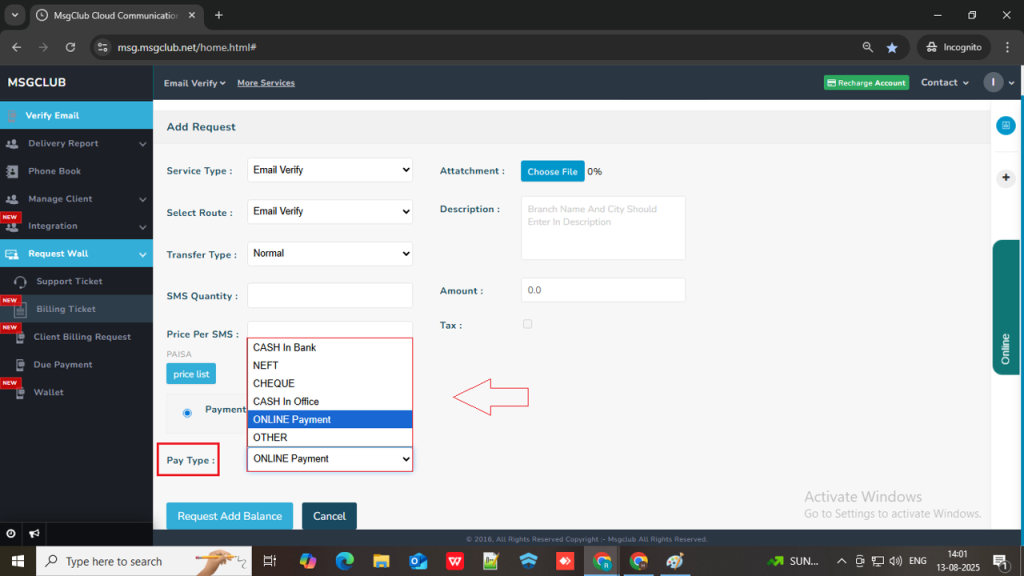
- When you select “Payment Done” then you will get below payment option. Choose your payment method from the available options:
- Cash in Bank – Select this option if you are depositing money in the bank.
- NEFT – Select this option if you are using NEFT to make the payment.
- Online Payment – Select this option if you are planning to pay using online methods.
- Cash in Office- Select this option if you are planning to pay in cash at the office.
- Cheque – Select this option if you are paying by cheque.
- Others – Select this option if none of the above apply or if the payment is being handled directly by your account manager.
- When you select “Payment Due“, the following payment options will be available. Choose your preferred payment method:
- Normal – Select this option if you plan to pay later, and select your expected payment date.
- Cheque – Enter your bank details, cheque number, and the expected payment date.
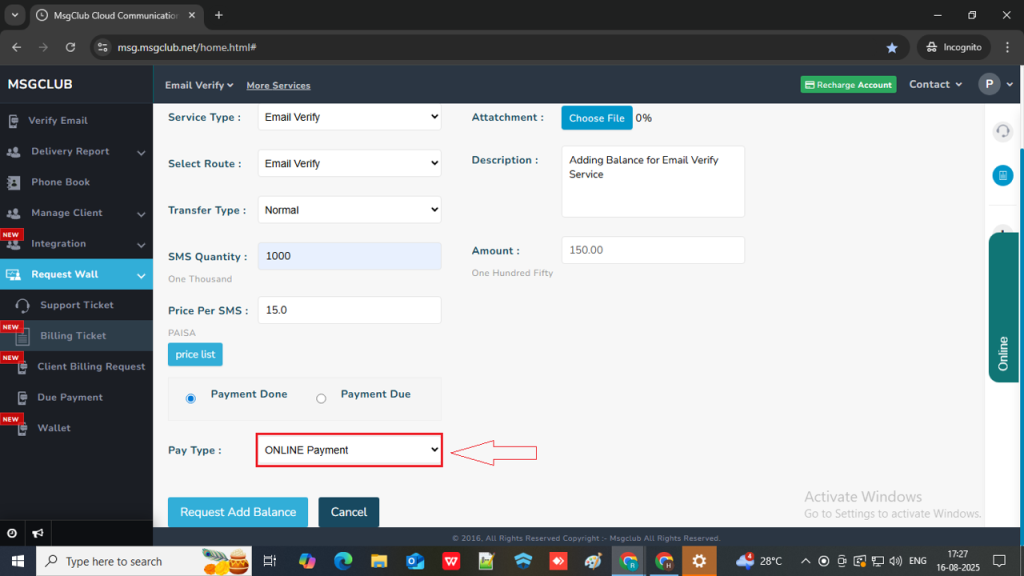
Step 8: If you select “Online Payment” in Payment Done, please follow the steps below:
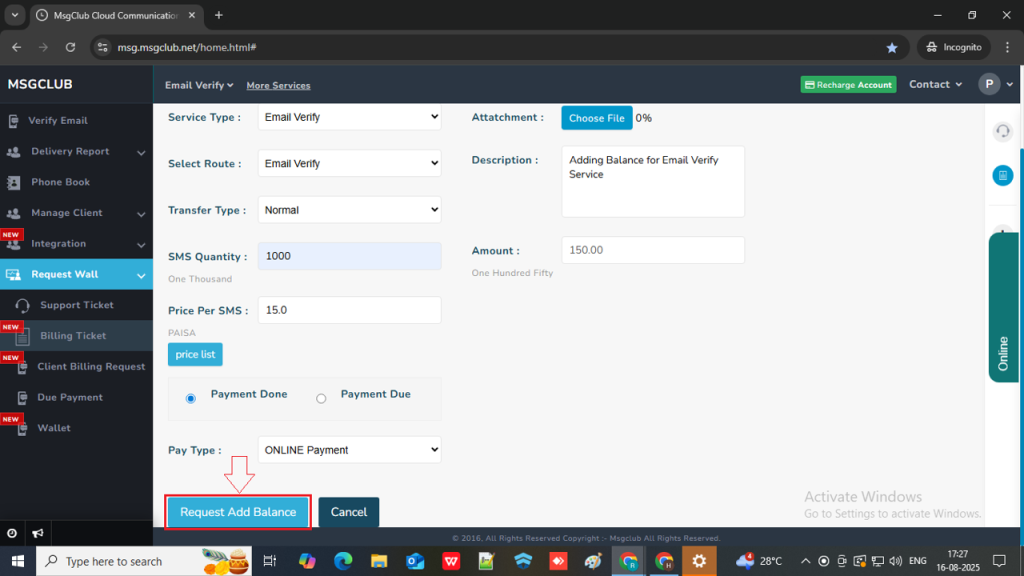
Step 9: After filling in all the details, click the “Request Add Balance” button.
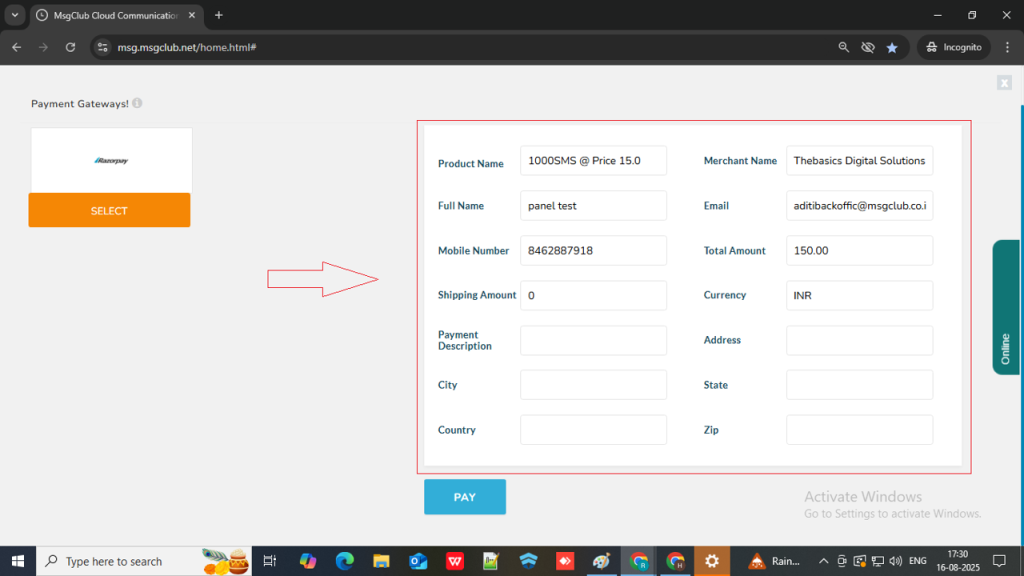
Step 10: Once you click “Request Add Balance”, you will be redirected to the Razorpay payment gateway. Some of your details will be pre-filled. If any details are missing, please fill in the following information:
- Product Name – Enter the name of the service. (prefilled)
- Full Name – Enter your full name. (prefilled)
- Mobile Number – Enter your mobile number. (prefilled)
- Shipping Amount – This field will be pre-filled. (prefilled)
- Payment Description – Add a brief description of the payment.
- City – Enter your city.
- Country – Enter your country.
- Merchant Name – This will be pre-filled. If not, enter Thebasics Digital Solutions Pvt. Ltd. (prefilled)
- Email- Enter your email address.(prefilled)
- Total Amount – This field will be pre-filled.(prefilled)
- Currency – Enter INR if you are Indian otherwise enter your countries currency code.(prefilled)
- Address -Enter your full address.
- State – Enter your state.
- Zip – Enter your zip code.
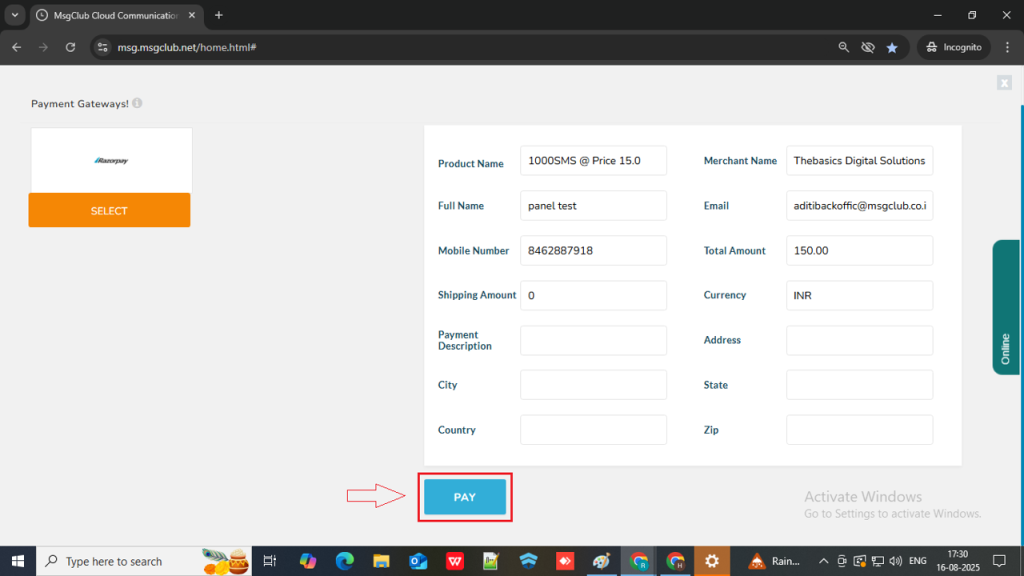
Step 11: After filling all the details click on the Pay button
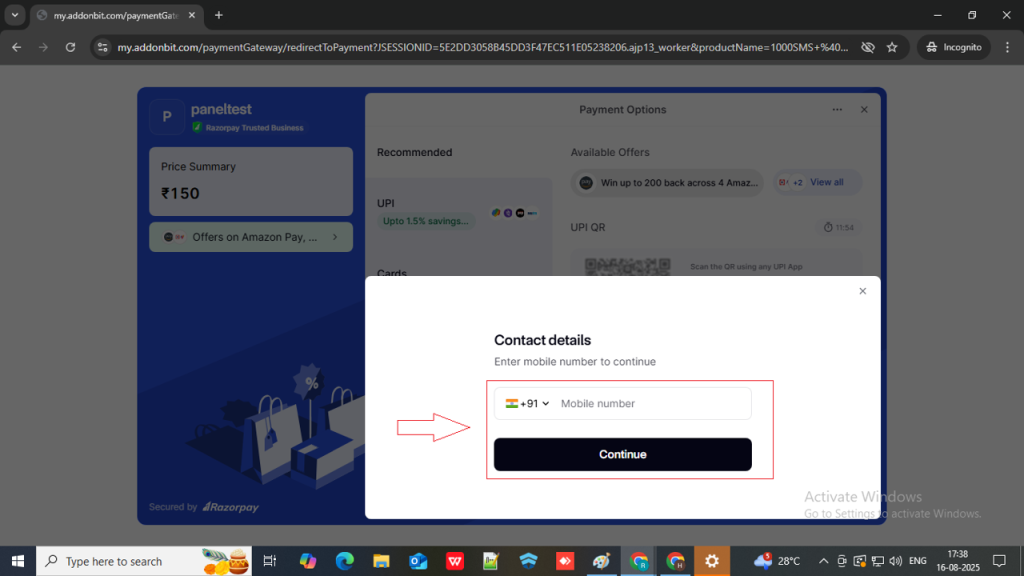
Step 12: In the next page you need to enter your Mobile Number
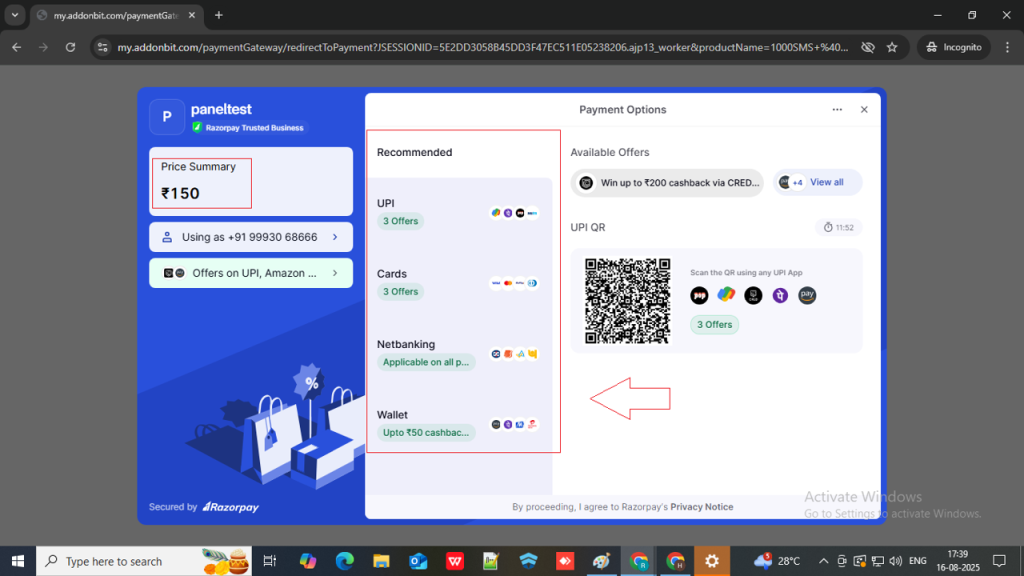
Step 13: On the Razorpay page, you will see different payment options like QR Code, UPI, Cards, Netbanking, and Wallets. Just choose your preferred option and make the payment.
Step 14: Once your payment is done, your request will be submitted to our account team and you will be able to start using the Email Verify Service.
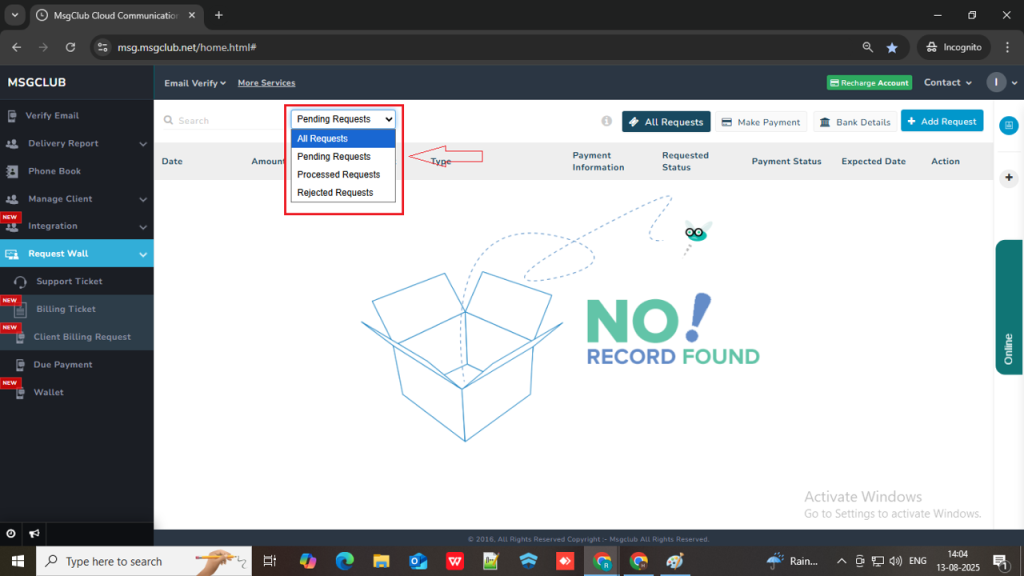
How to check your Payment Request Status
After completing all the steps above, you can check the status of your request using the filter options available on the Billing Ticket page. The available filters are:
- All Requests: Displays all your billing requests, regardless of their status.
- Pending Requests: Shows all requests that are currently awaiting processing.
- Processed Requests: Displays requests that have been successfully processed.
- Rejected Requests: Shows all requests that have been rejected.
FAQs
Q. How do I order a Verify Email plan?
Ans. To order a Verify Email plan, go to the Billing Ticket page and follow the above steps.
Q. Do the Email Service and Verify Email Service have separate billing processes?
Ans. Yes, both services have separate billing processes. You need to raise individual billing requests for each service through their respective options in the Billing Ticket section.
Q. Can I make an online payment for the Verify Email Service?
Ans. Yes, online payment is available. While submitting your billing request, simply select Online Payment as your payment type and follow the steps mentioned above.
Q. How long does it take to process a billing request?
Ans. Billing requests are typically processed within a short time after submission, depending on internal approval. You can track the status of your request on the Billing Ticket page using the available filters.
1 comment
Comments are closed.