
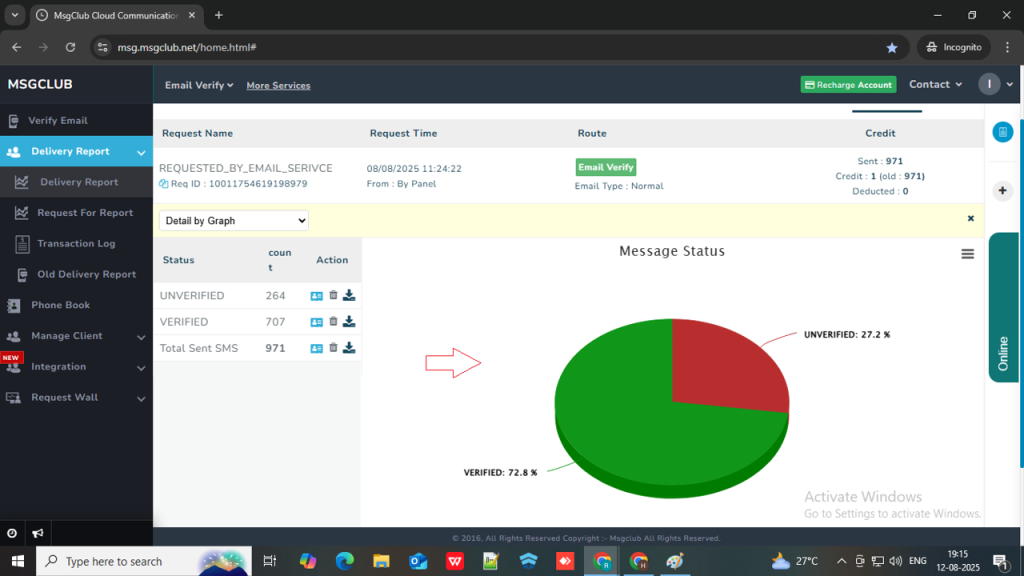
After filtering emails using the Verify Email Service, users can view the verified and unverified email IDs in the Delivery Report section.
You also have the option to download the list of verified email IDs directly from the report. This verified list can then be used to send bulk emails efficiently.
Learn More
Process Video
Step by Step Guide
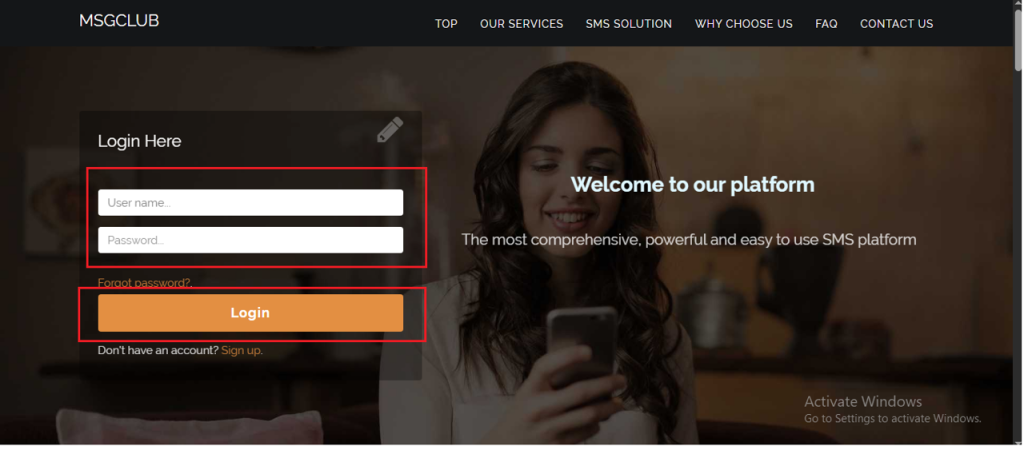
Step 1: Sign in to MsgClub using your Username and Password.
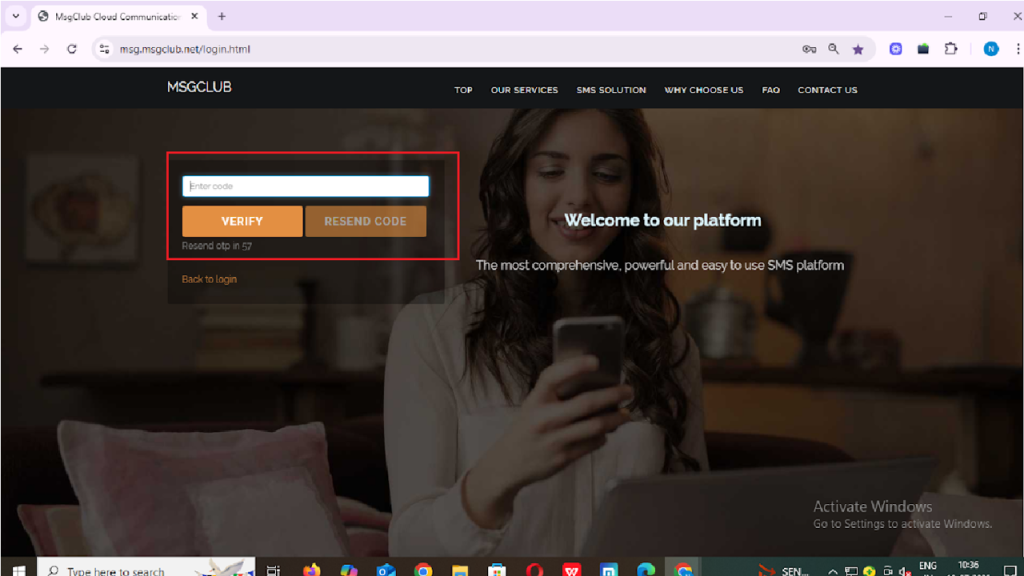
Step 2: You’ll receive an OTP on your registered mobile number. Enter the OTP and click Verify.
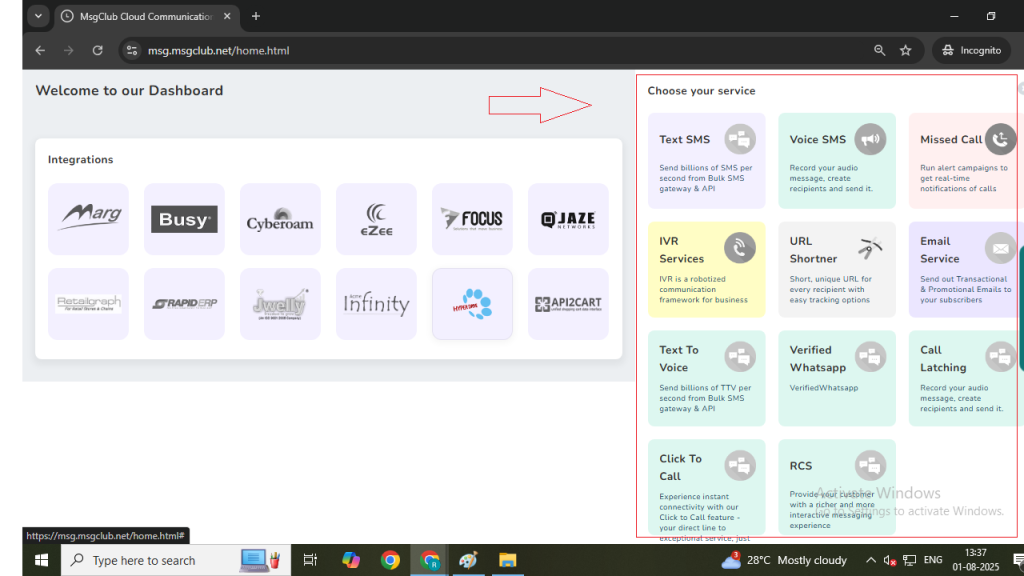
Step 3: From the Dashboard, select any Service.
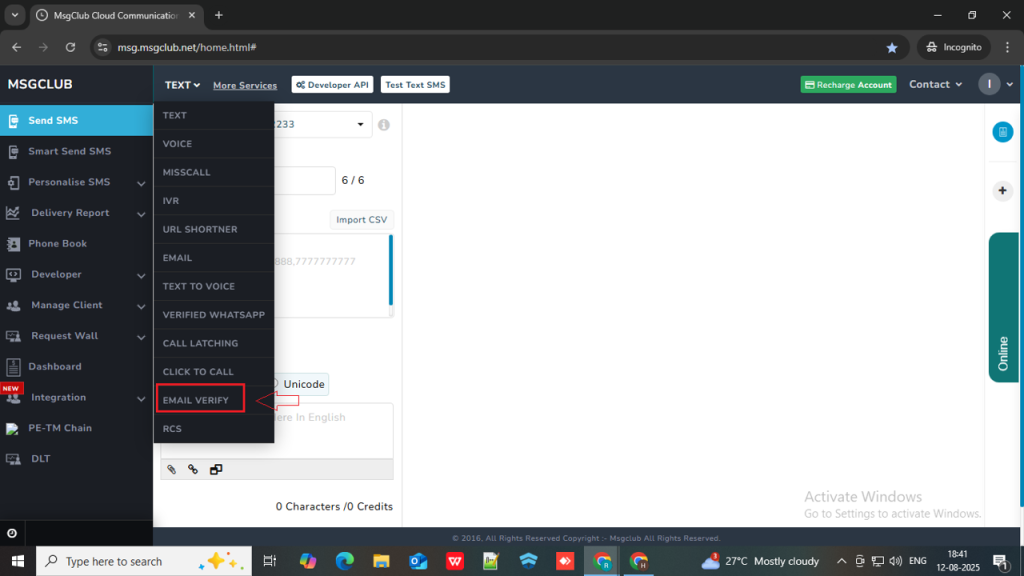
Step 4: From header choose Email Verify service.
Step 5: In the left-hand panel, click on Delivery Report.
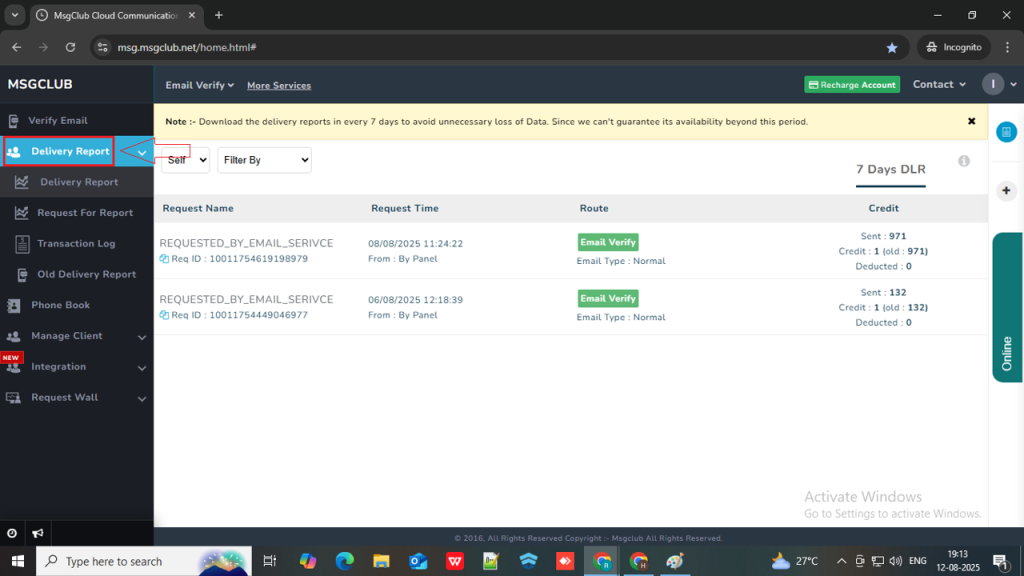
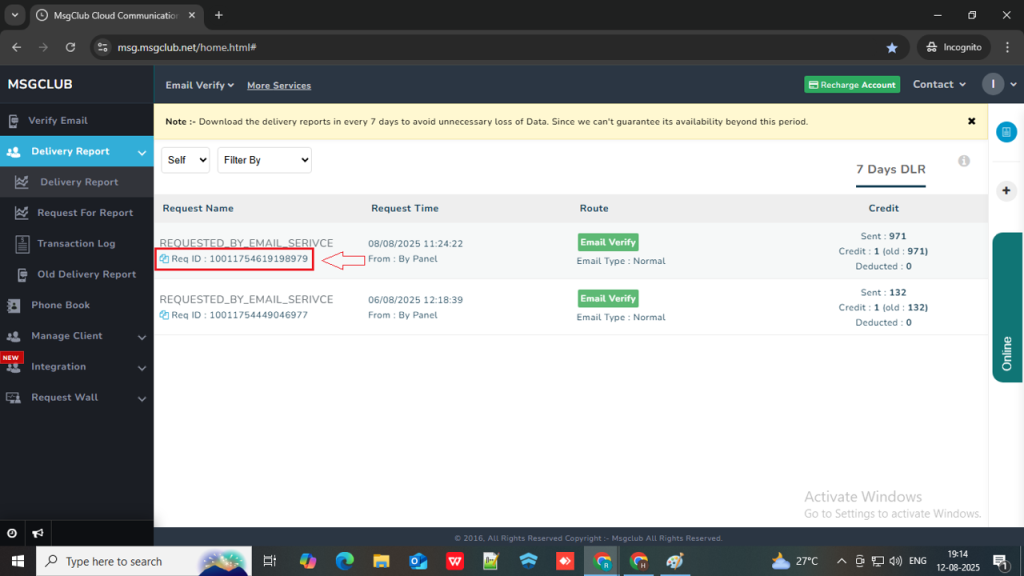
Step 6: Locate the Request Name you entered during verifying email Ids. Just below it, you will find the Request ID. Click on the Request ID to view the details.
Step 7: After clicking on the Request ID, you will see a graph representation showing the number of verified and unverified email IDs.
Step 8: Under the Status column, you’ll see a Download icon. Click on it to download:
- Only Verified email data
- Only Unverified email data
- Or the Complete List (total data)
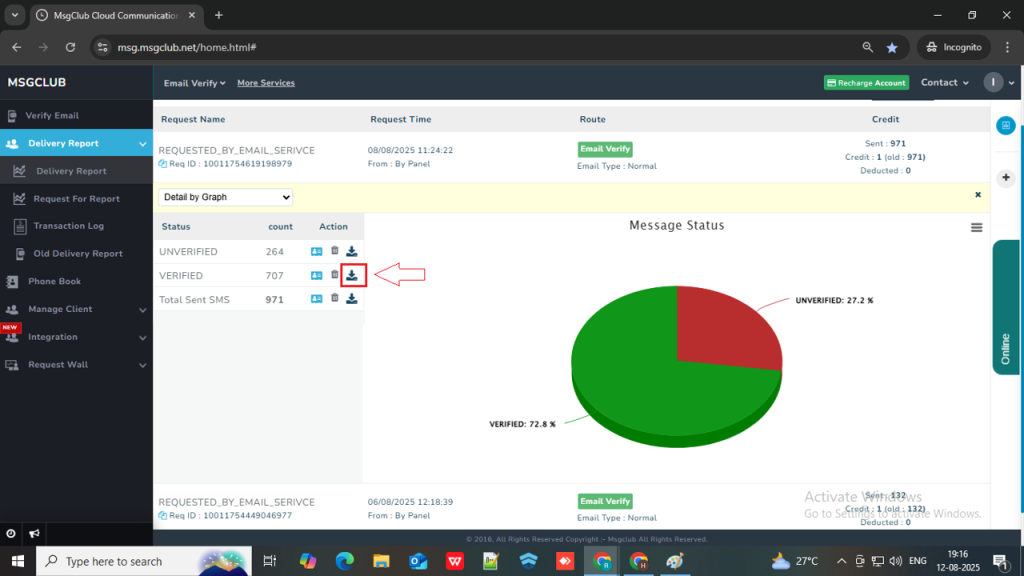
Once the file is downloaded, you can open it to view all the verified email addresses. These verified emails can now used for sending bulk email.
FAQs
Q. Can I download verified and unverified email IDs?
Ans. Yes, you can download separate files for verified and unverified email IDs, or a unified file containing both.
Q. Can I send emails to verified email IDs?
Ans. Yes, you can send emails to verified email IDs using MsgClub’s Email Service.
Q. What happens if I send emails to unverified email IDs?
Ans. Sending emails to unverified email IDs can increase your bounce rate and put your domain at high risk of being blocked or blacklisted.