
When you log in to MsgClub for the first time, the first step is to order a plan to use Email service. Only after ordering a plan you can start using email service.
Learn More
Process Video
Step by Step Guide
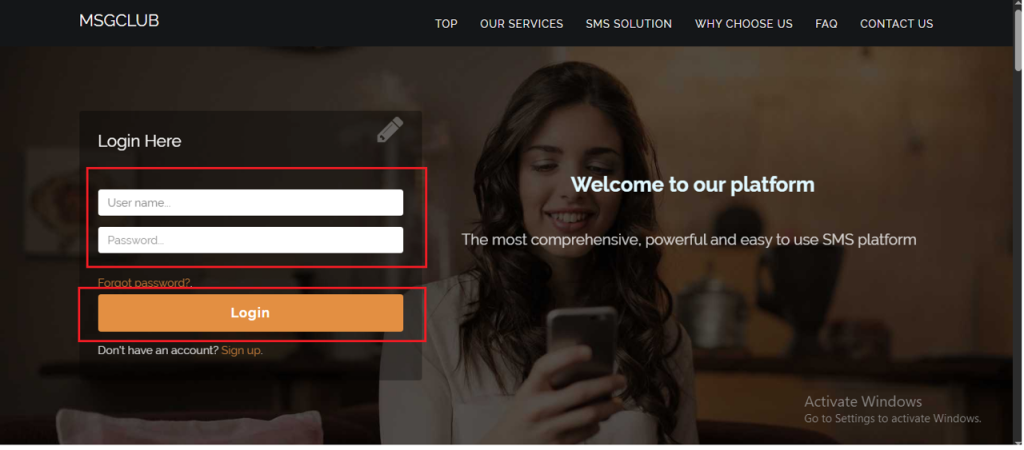
Step 1: Log in using your credentials.
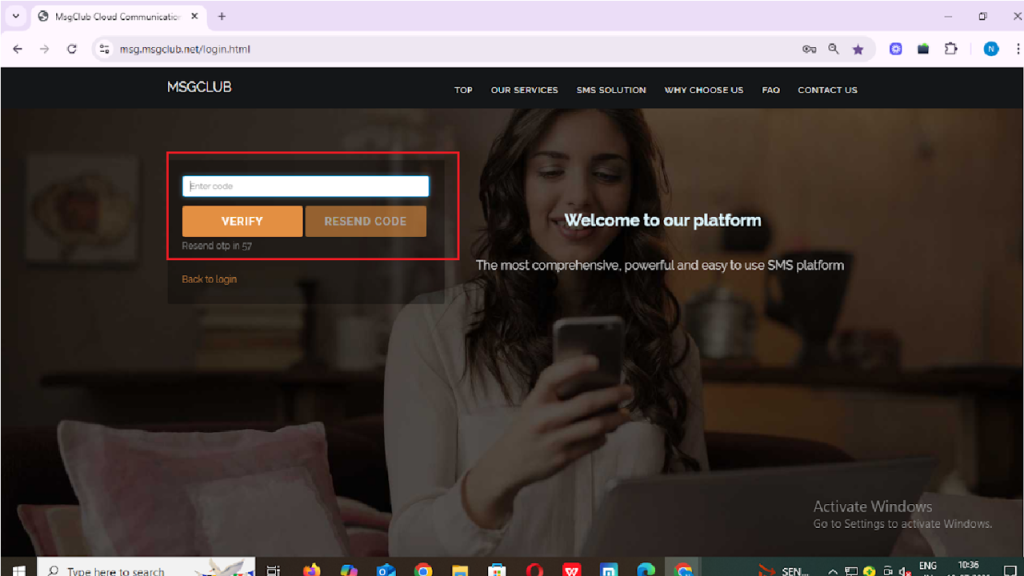
Step 2: You’ll receive an OTP on your registered mobile number. Enter the OTP and click Verify.
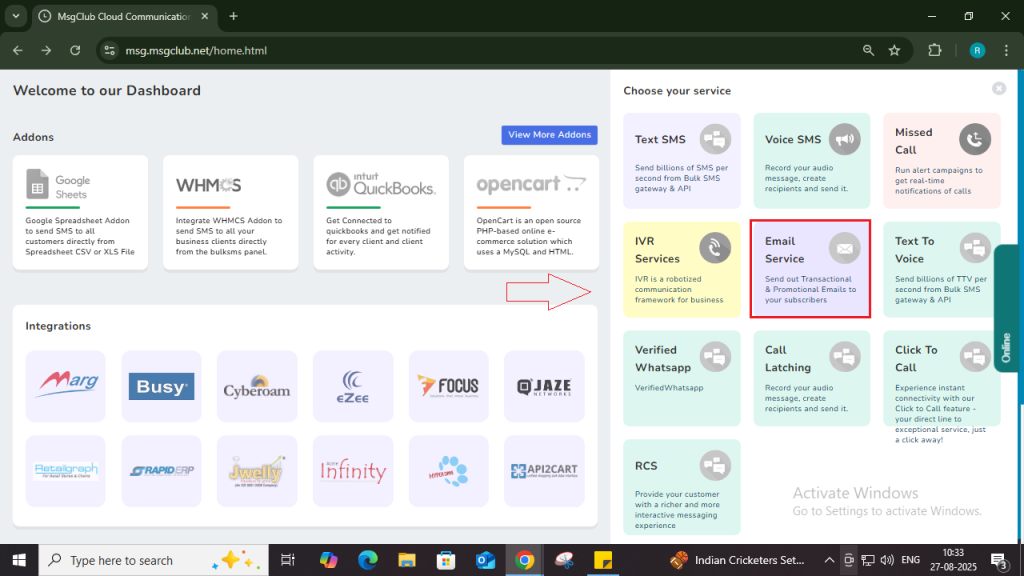
Step 3: Once OTP is verified, you’ll be redirected to the MsgClub dashboard, where you can select Email service.
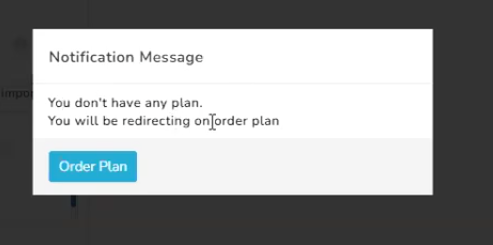
Step 4: Once you are in Email service page, MsgClub will notify you with a pop-up that no plan is selected and then redirect you to the “Order Plan” page to choose and purchase one.
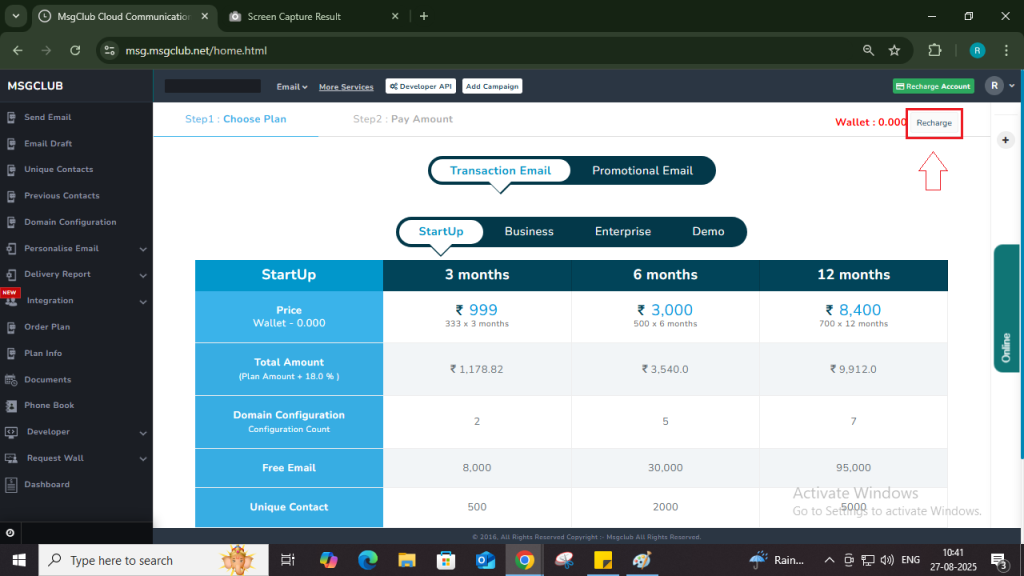
Step 5: Here, you’ll see the current MsgClub Email Service Plans. Before selecting a plan, you must recharge your wallet. To do that, simply click on the Recharge button above.
Step 6: On the Recharge page, you’ll need to fill in the following details:
- Service Type – Select “Wallet” from the dropdown.
- Transfer Type – Choose “Normal”.
- Wallet Amount – Enter the amount you want to add to your wallet. Make sure it’s sufficient to place an order for your desired plan.
- Price List – Click this button to view the current pricing details.
- Attachment – Upload any relevant file related to the billing request.
- Description – Write a brief description of the billing request for future reference.
Once you enter the wallet amount, fields like Amount, Tax, Tax Amount, and Net Amount will be auto-filled.
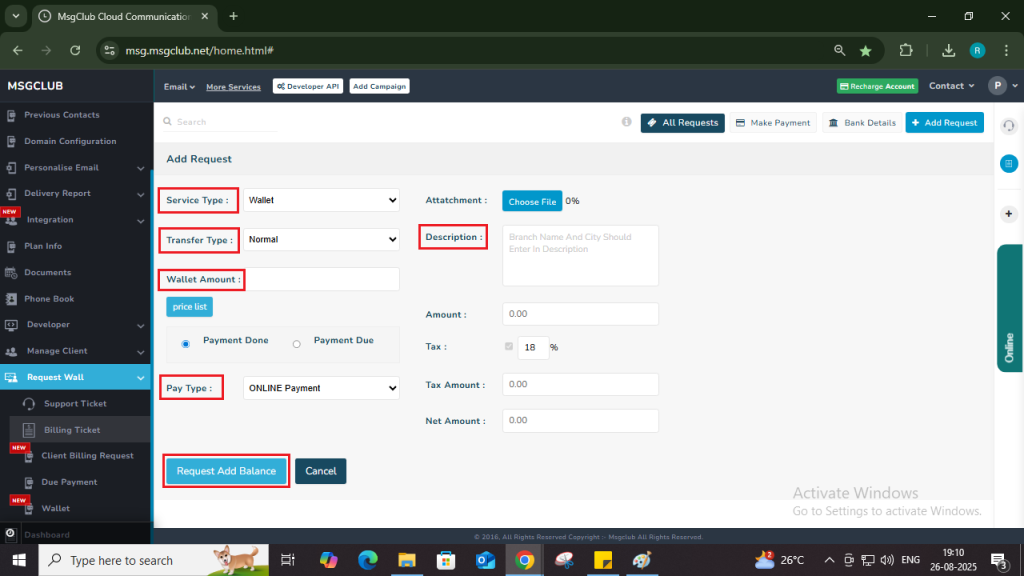
Step 7: There are two option for Payment which are Payment Done if you’re paying immediately and Payment Due if you’re planning to pay later.
- When you select “Payment Done” then you will get below payment option. Choose your payment method from the available options:
- Cash in Bank – Select this option if you are depositing money in the bank.
- NEFT – Select this option if you are using NEFT to make the payment.
- Online Payment – Select this option if you are planning to pay using online methods.
- Cash in Office- Select this option if you are planning to pay in cash at the office.
- Cheque – Select this option if you are paying by cheque.
- Others – Select this option if none of the above apply or if the payment is being handled directly by your account manager.
- When you select “Payment Due“, the following payment options will be available. Choose your preferred payment method:
- Normal – Select this option if you plan to pay later, and select your expected payment date.
- Cheque – Enter your bank details, cheque number, and the expected payment date.
Note: If you selected “ONLINE Payment” as the Pay Type, follow the steps below.
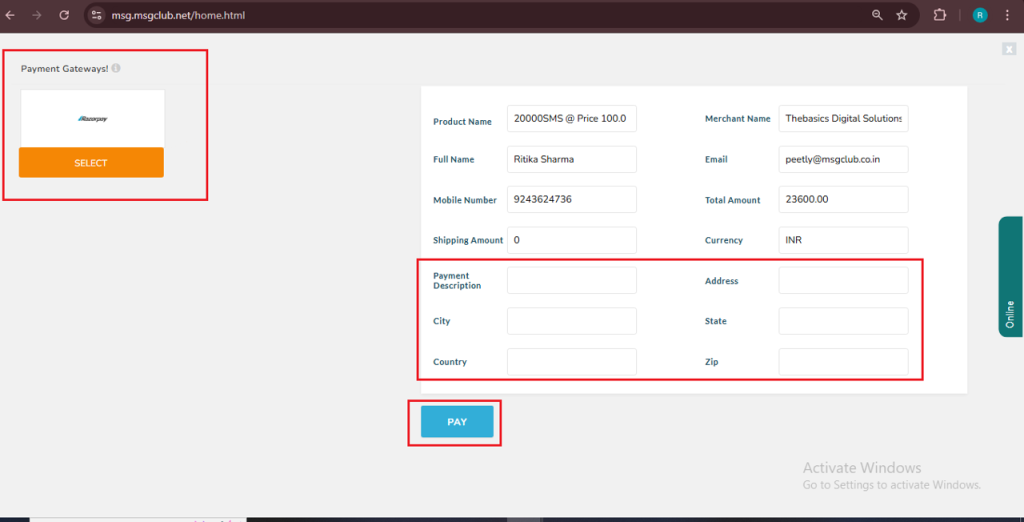
Step 8: Click on the “Request Add Balance” button. You will be redirected to the payment page, where you can add a few more details. Select Razorpay as your payment option and click the “Pay” button to proceed.
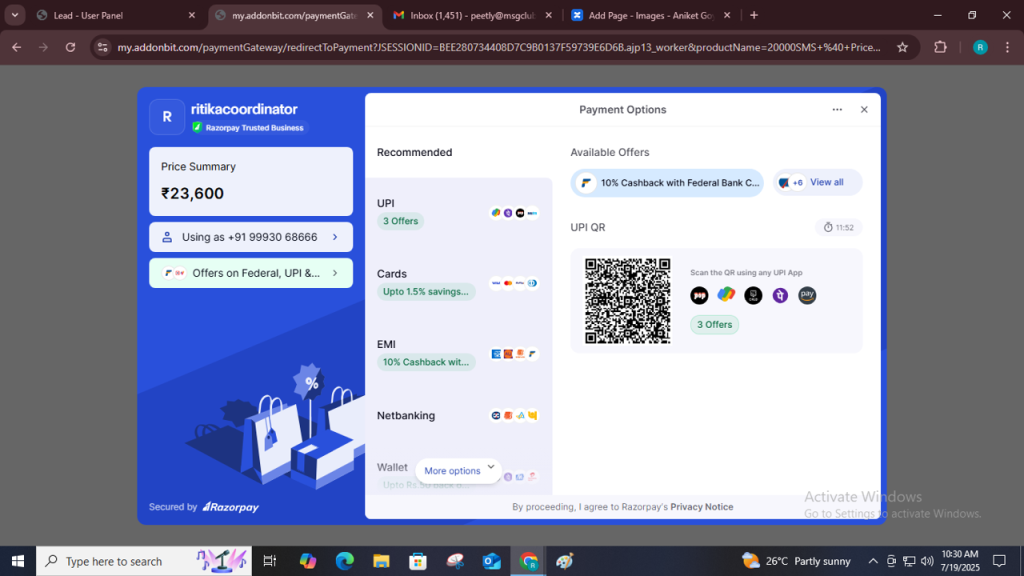
Step 9: You will now be redirected to the Razorpay payment screen to complete your transaction.

Step 10: On the Razorpay screen, enter your mobile number to proceed with the payment.
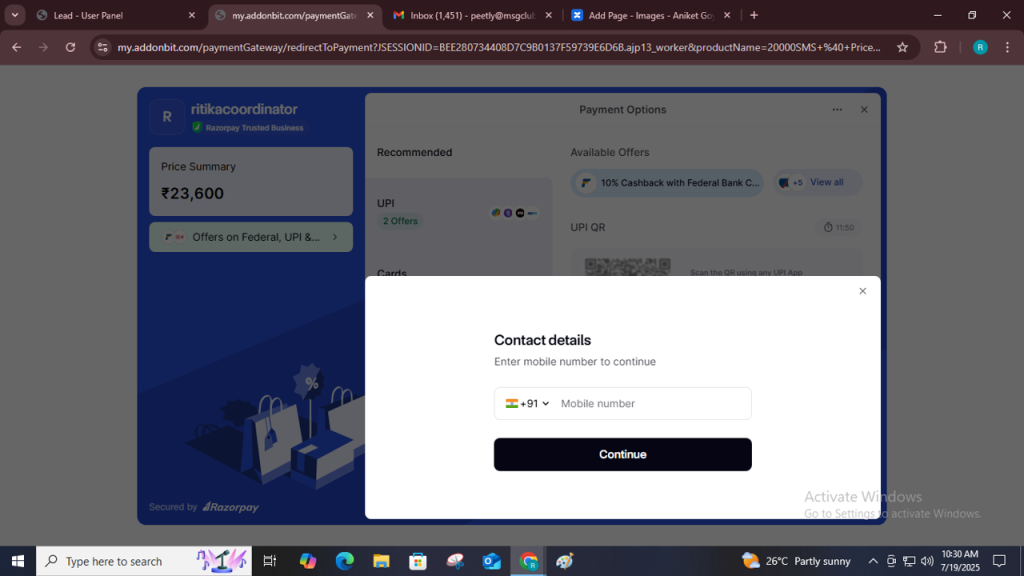
Step 11: On the Razorpay screen, you can select your preferred payment method such as UPI, Cards, EMI, Net Banking, and more.
Step 12: After successfully adding balance, you’ll be redirected back to MsgClub. Your updated wallet balance will be visible, and you can now proceed to select any of the available plans.
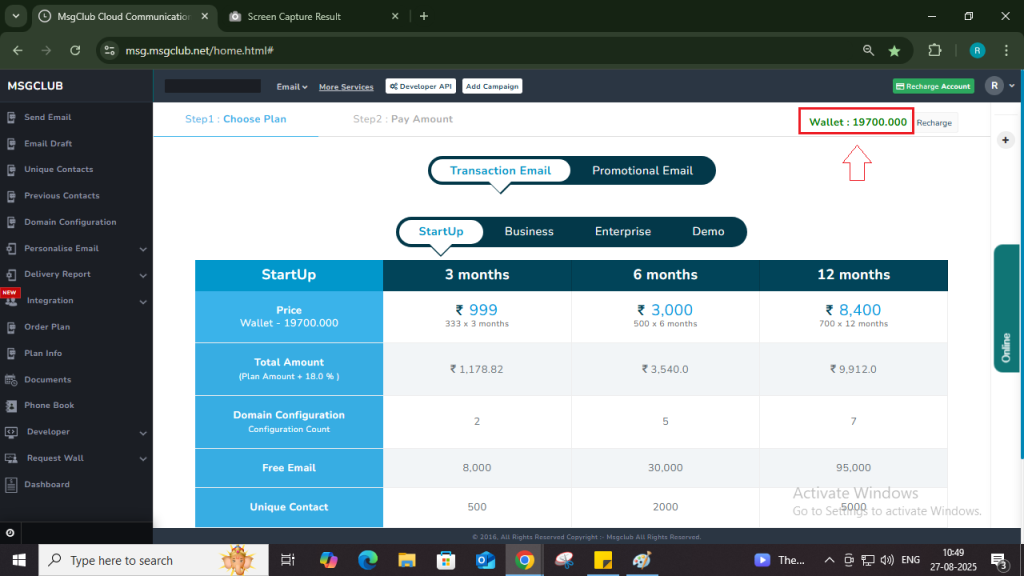
Step 13: Here on Plan info screen, you’ll see all three available plans: “StartUp”, “Business”, “Enterprise”, and “Demo”. in two type of plan Transactional and Promotional. Select the plan according to your need.
Note – If you need to send invoice, billing details, information email than use Transactional email and if you need to do marketing, promotion, send offers etc you can select Promotional Email.
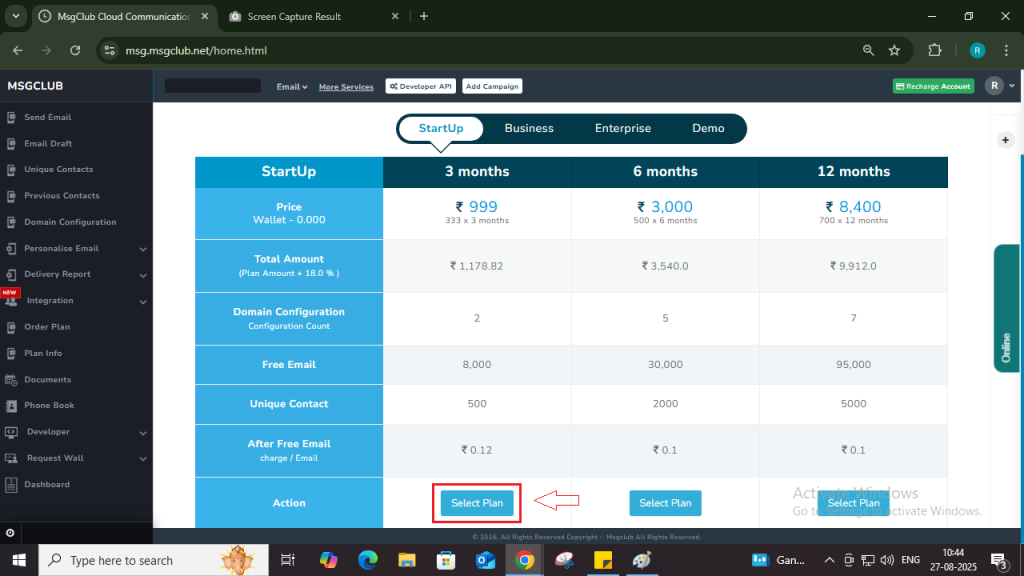
Step 14: Once you click on your desired Plan, Choose the duration and click on the Select Plan Button.
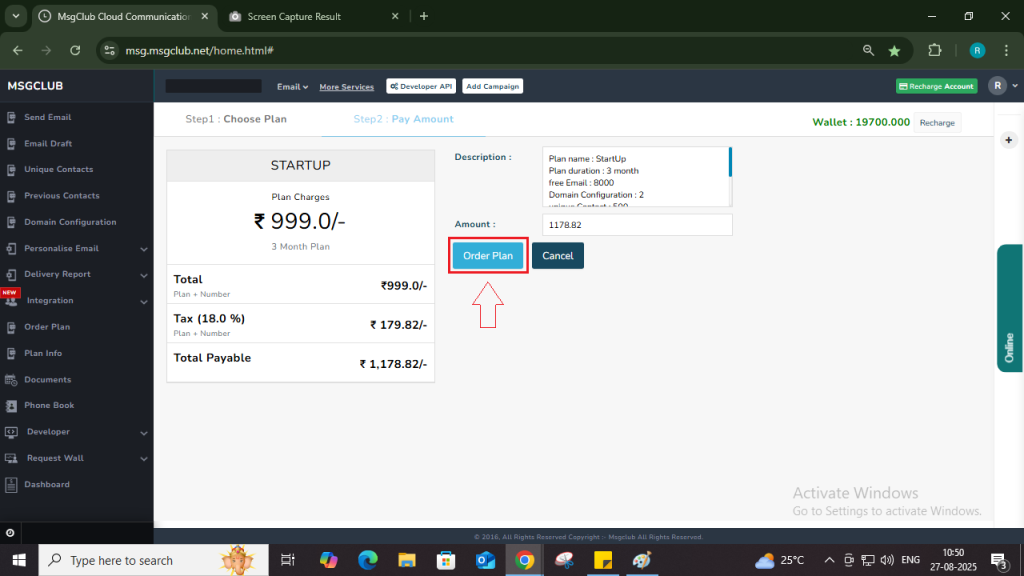
Step 15: After clicking on Select Plan, you’ll be taken to the payment page. Click the Order Plan button to raise your request. Our team will then process the payment and add the balance. Once done, your plan will be activated.
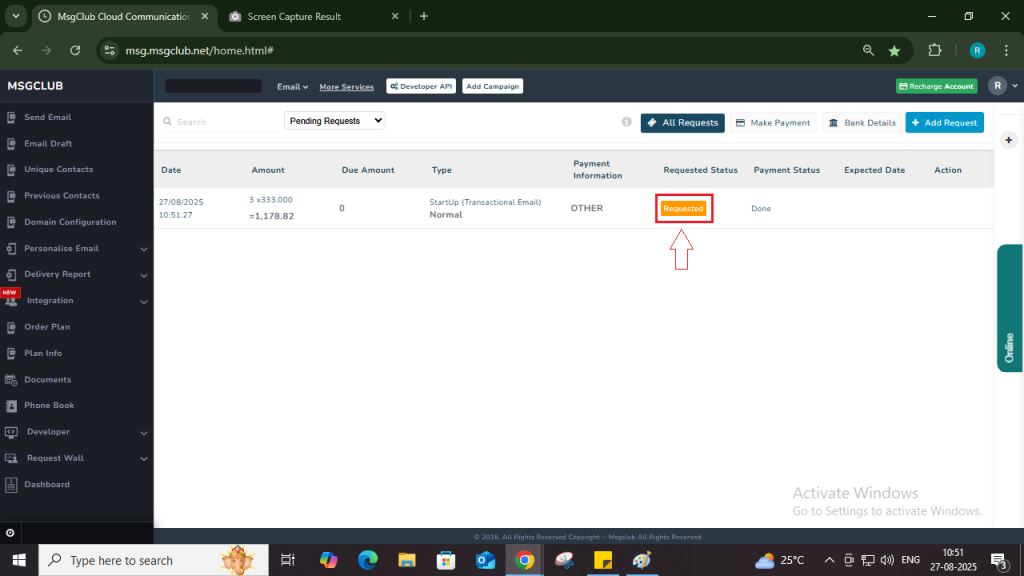
Step 16: After you order your plan, it will show as Requested on the Plan Info page until the payment is processed from MsgClub Account team.
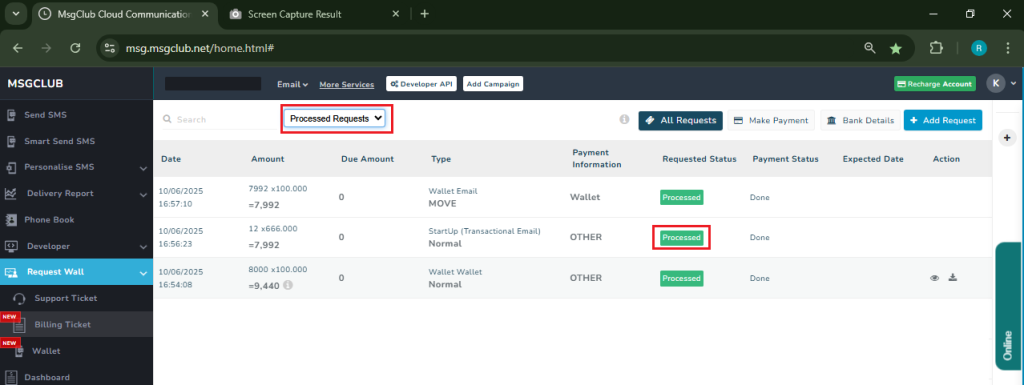
Step 17: Once your plan is ordered you will get the Processed written on the Requested Status and your plan will be activated and then you can use Email service.
FAQs
Q. How do I order a plan for the Email Service?
Ans. To order a plan for the email service, please follow the steps provided in this blog
Q. Can I pay online for the Email Service?
Ans. Yes, you can pay online for the email service through Razorpay. It supports multiple payment options, including UPI, net banking, debit/credit cards, and more.
Q. How long does it take to activate the Email Service plan?
Ans. Once you place the order, your email service plan will be activated within a few minutes.
Q. What is the cost of the Email Service in MsgClub?
Ans. MsgClub offers a variety of plans for the email service. You can view all available plans and their pricing under the “Plan Info” section in the Email Service.
Q. Can I order the Email Service without adding balance to my wallet?
Ans. No, you must first add balance to your wallet. Only then will you be able to select and purchase an email service plan.