
The Phonebook Group option in MsgClub allows users to create groups with contact information for better client segmentation and management. This feature is available across all MsgClub services. So, if you create a Phonebook Group in the Text Service, it will also be visible in other MsgClub services when you click on the Phonebook option. Additionally, you can add contacts directly from the delivery report. This is useful if you notice a customer who has shown interest or responded to your promotional message — you can instantly add them to a Phonebook Group and follow up with them at a more convenient time.
Learn More
Process Video
Step by Step Guide
Step 1: Sign in to MsgClub using your Username and Password.

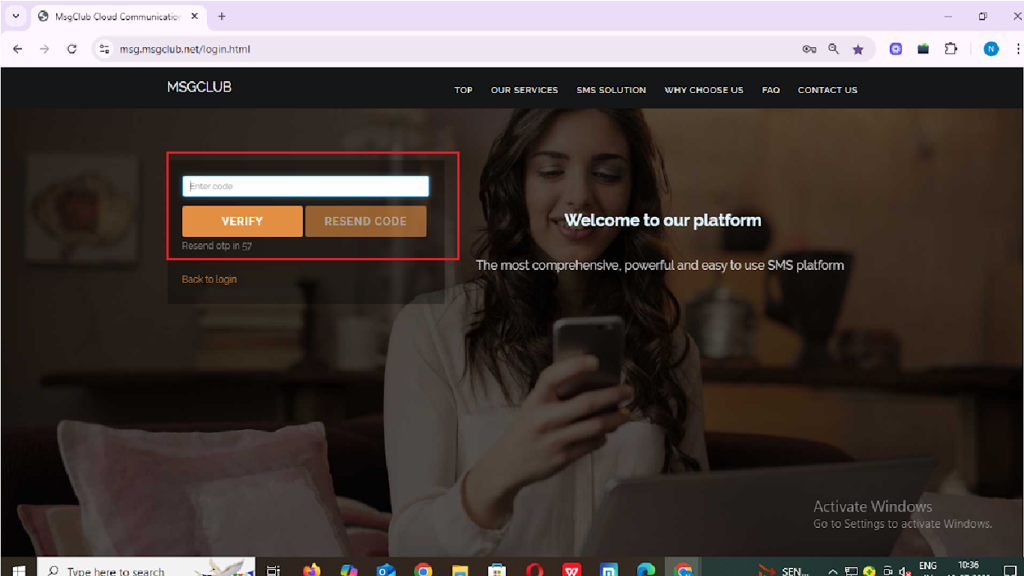
Step 2: You’ll receive an OTP on your registered mobile number. Enter the OTP and click Verify.
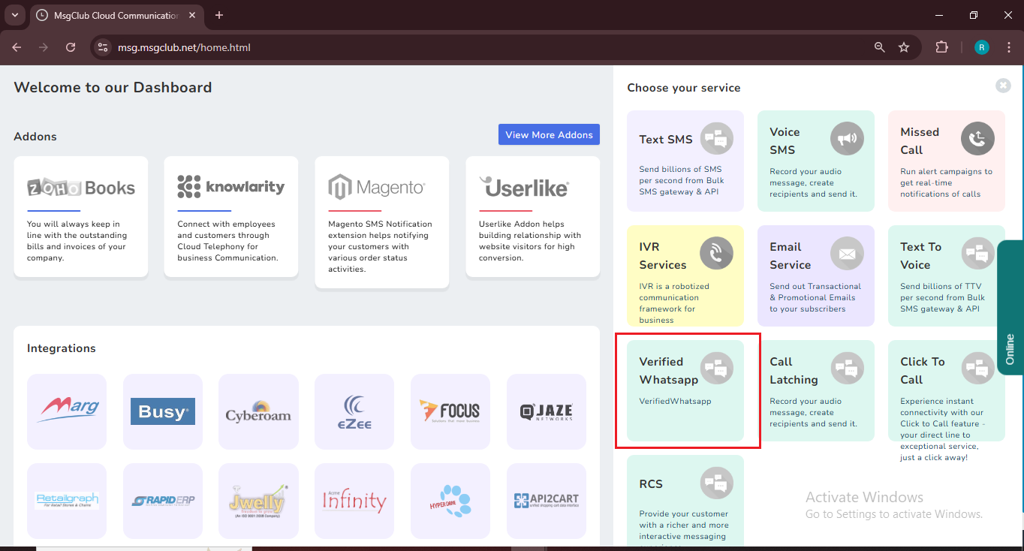
Step 3: From the Dashboard, select Verified WhatsApp Service.
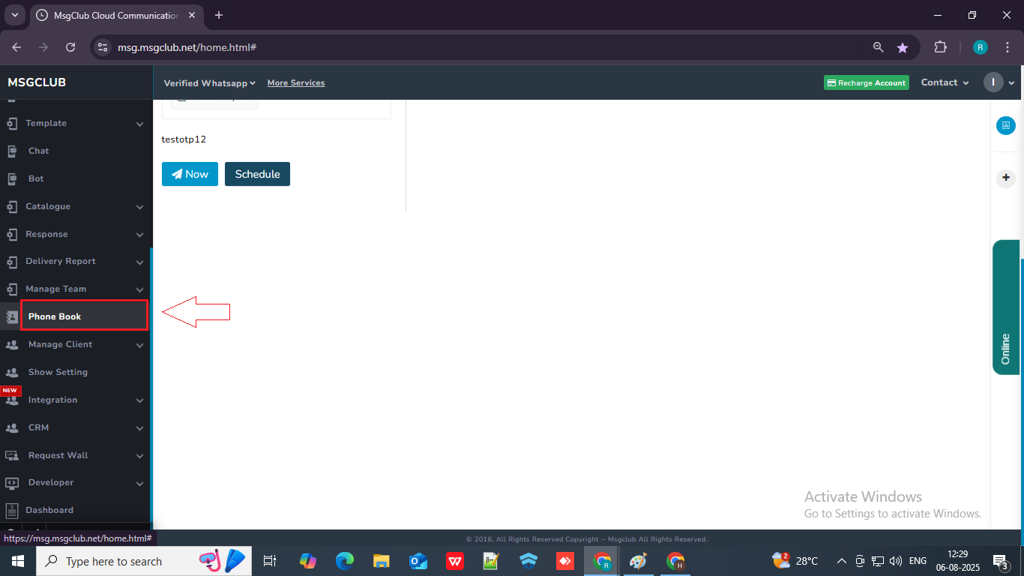
Step 4: In the left-hand panel, click on Phonebook option
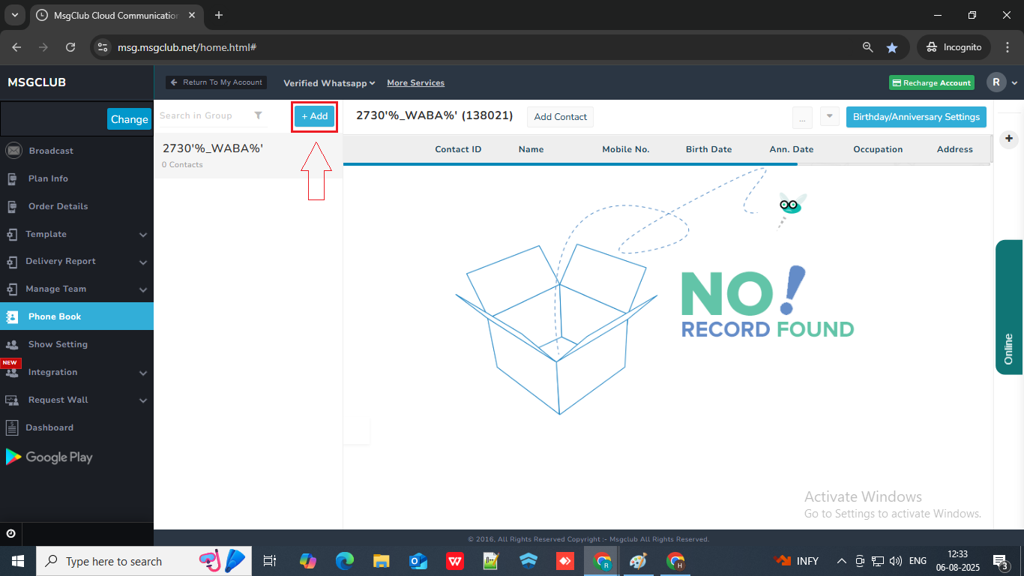
Step 5: In phonebook page, click on the add button to create a group
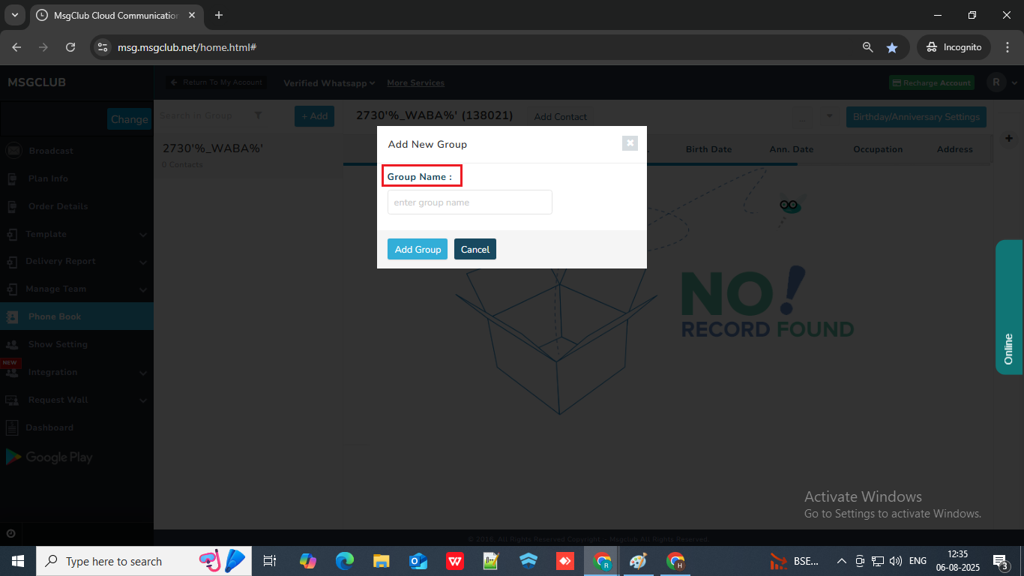
Step 6: When you click on the Add button a popup will open, you need to enter the group name
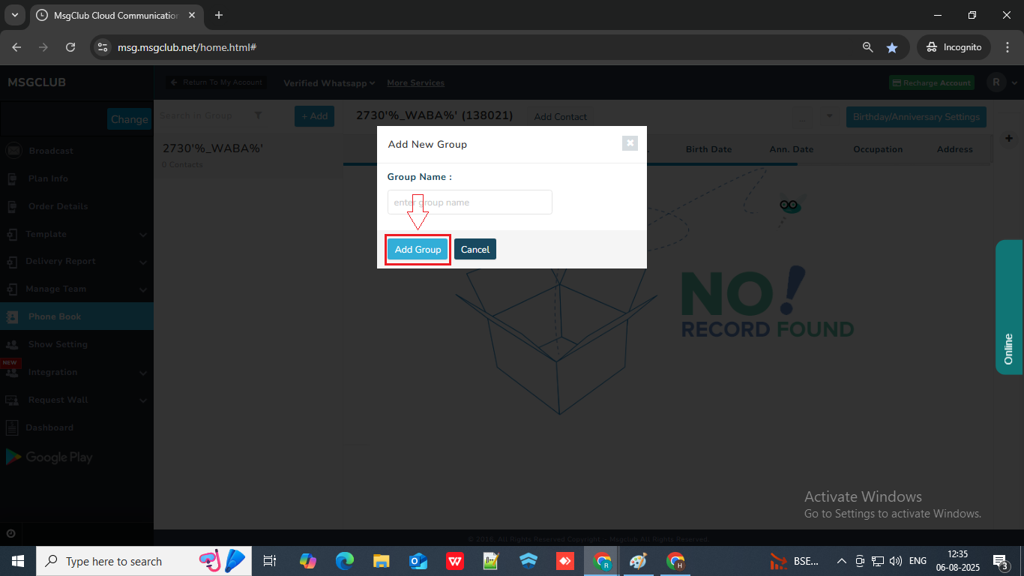
Step 7: Click on the Add Group button and your group will be create and added in the list
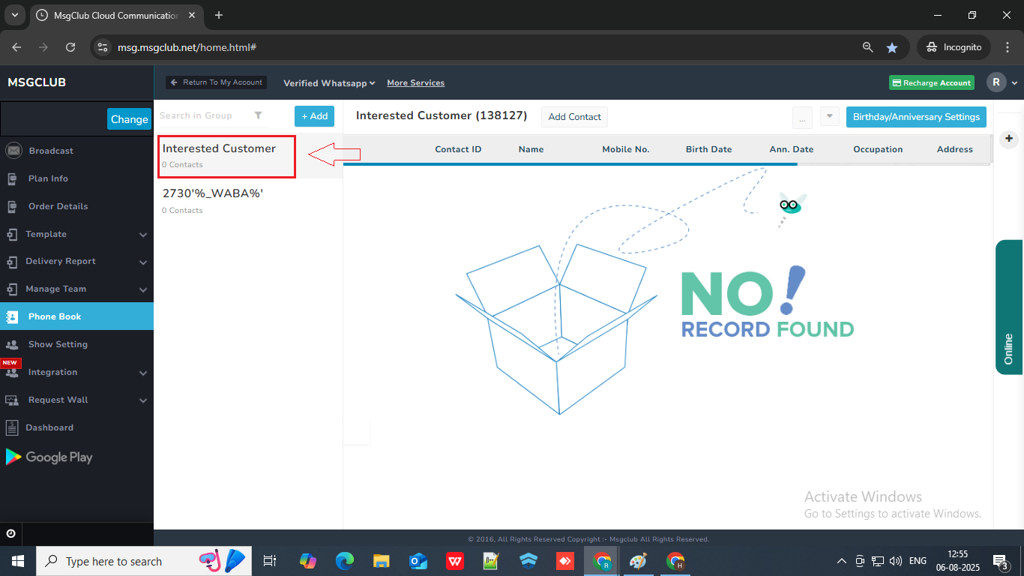
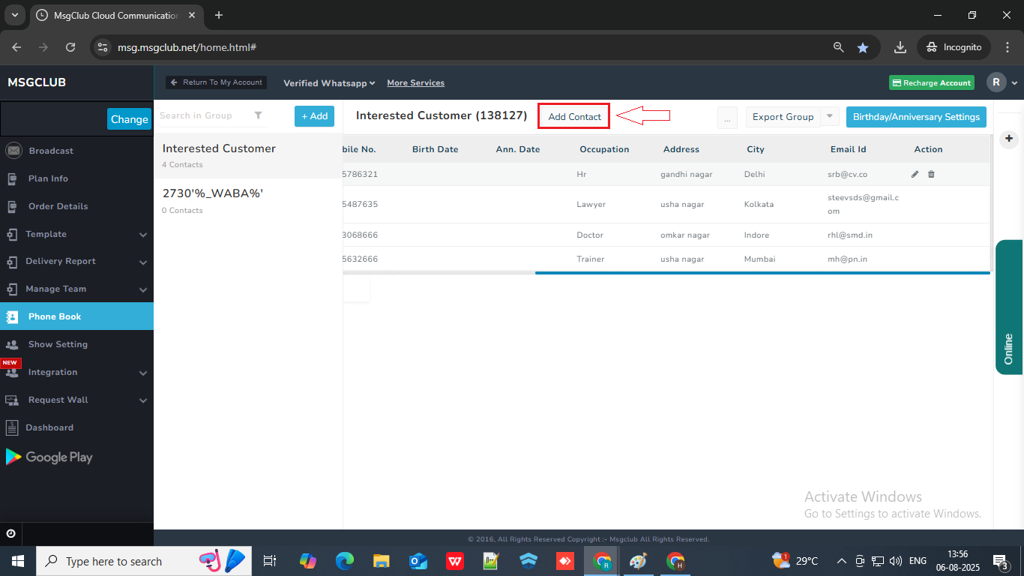
Step 8: Select the group and then click on the Add Contact button above
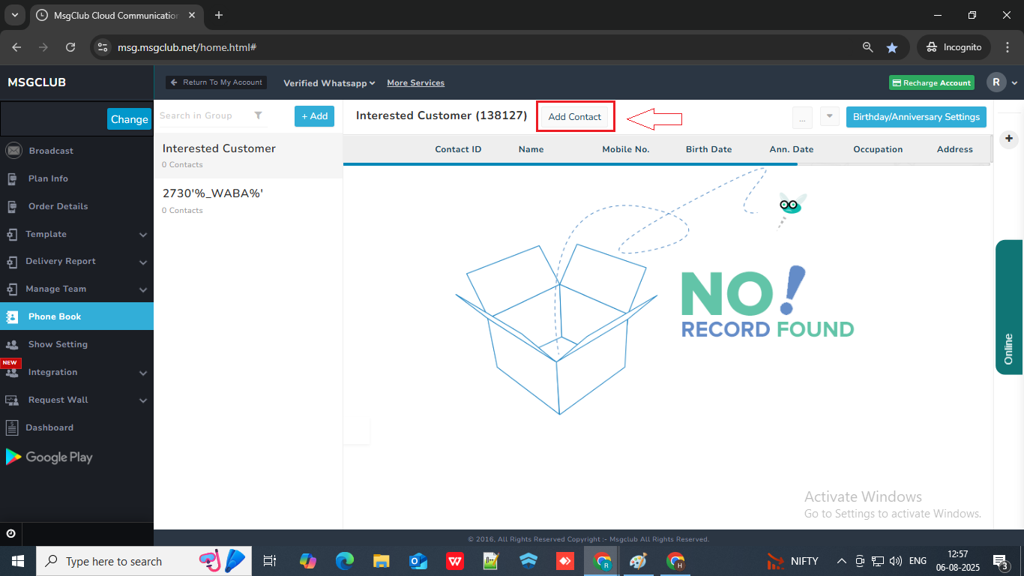
Step 9: Once you click on Add contact button a form will open and there will be four option on how to add contact details
- Add Manually
- Import to Group
- Import to Multiple Groups
- Import in Multiple Groups (Advanced)
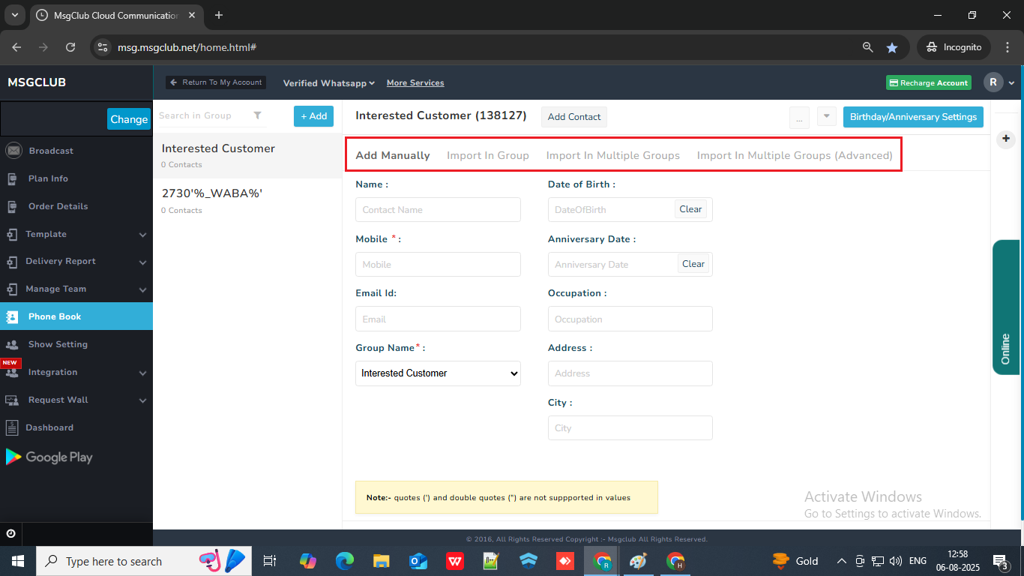
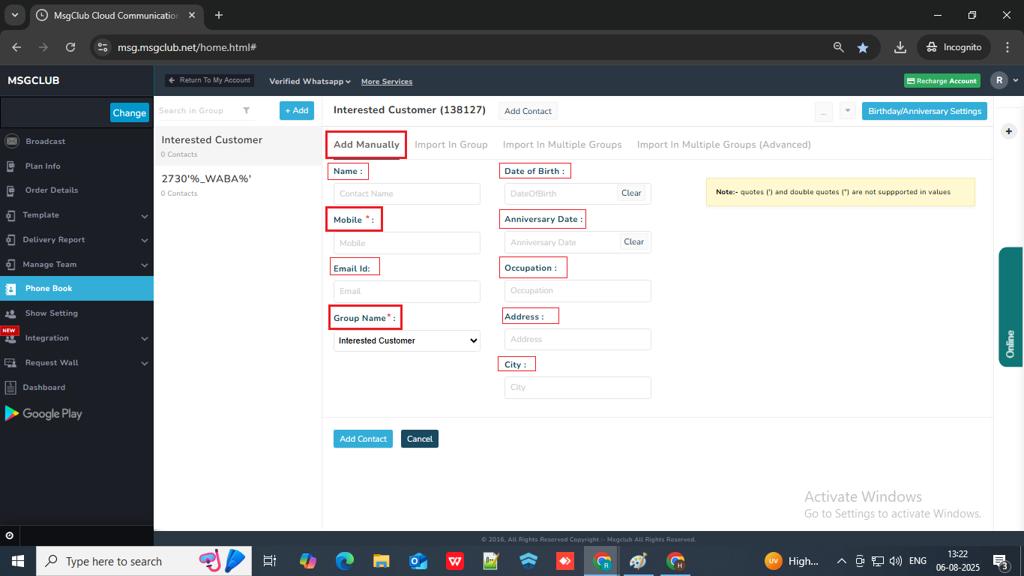
Add Manually
In Add Manually there will be a form that you need to fill up
- Name : Write customer name.(Optional)
- Mobile : Enter customer mobile number.(Mandatory)
- Email Id : Write customer email address (Optional)
- Group Name : Select Group Name from dropdown.(Mandatory)
- Date of Birth : select customer date of birth (Optional)
- Anniversary Date : select customer anniversary date.(Optional)
- Occupation : Write customer occupation.(Optional)
- Address : Write customer address details.(Optional)
- City : write customer city.(Optional)
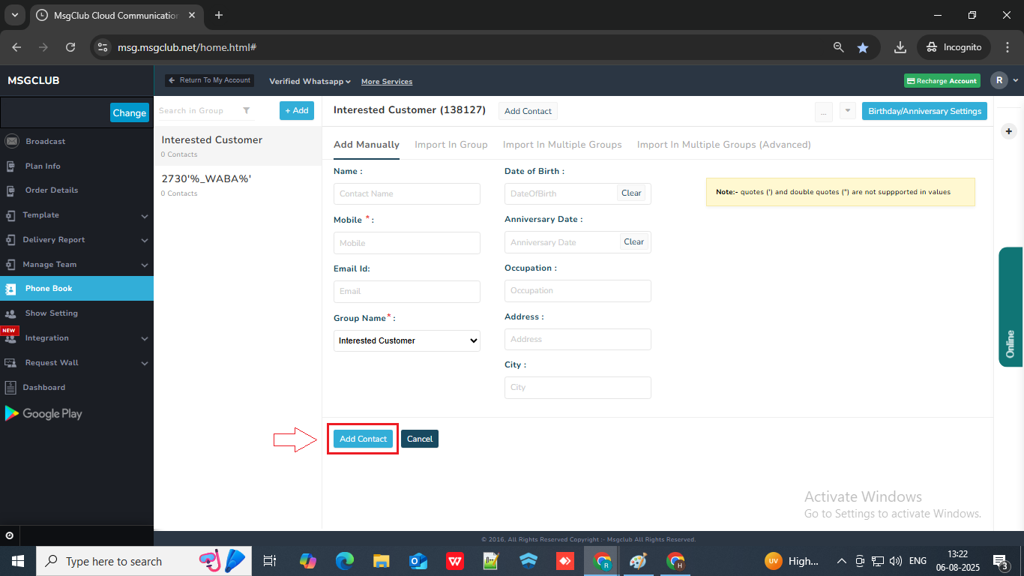
After entering all the details click on Add Contact button and you contact will be added in the group.
Import Group
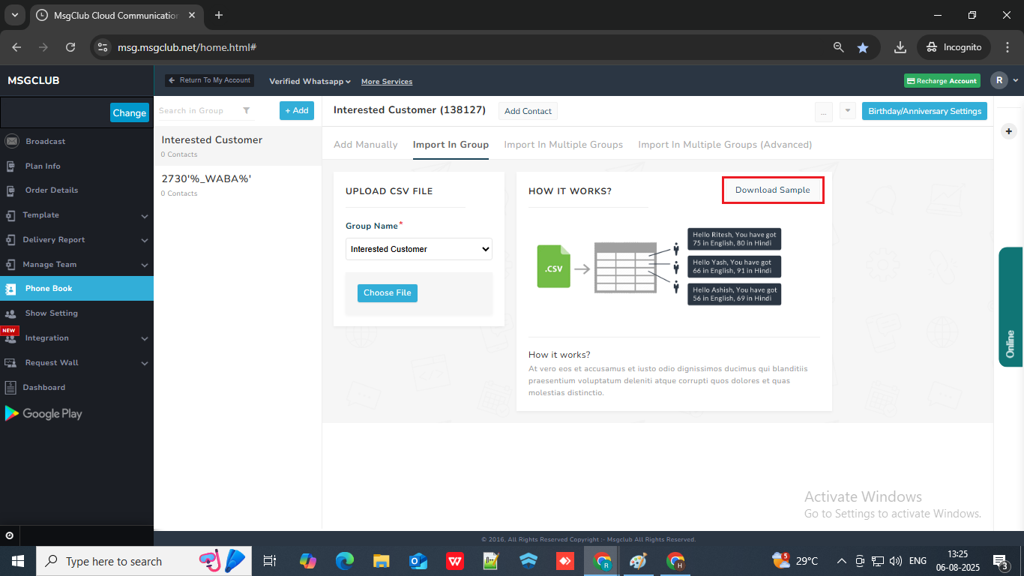
In import group option you can upload a csv file with contact information in the selected group
- In group name select group from the dropdown
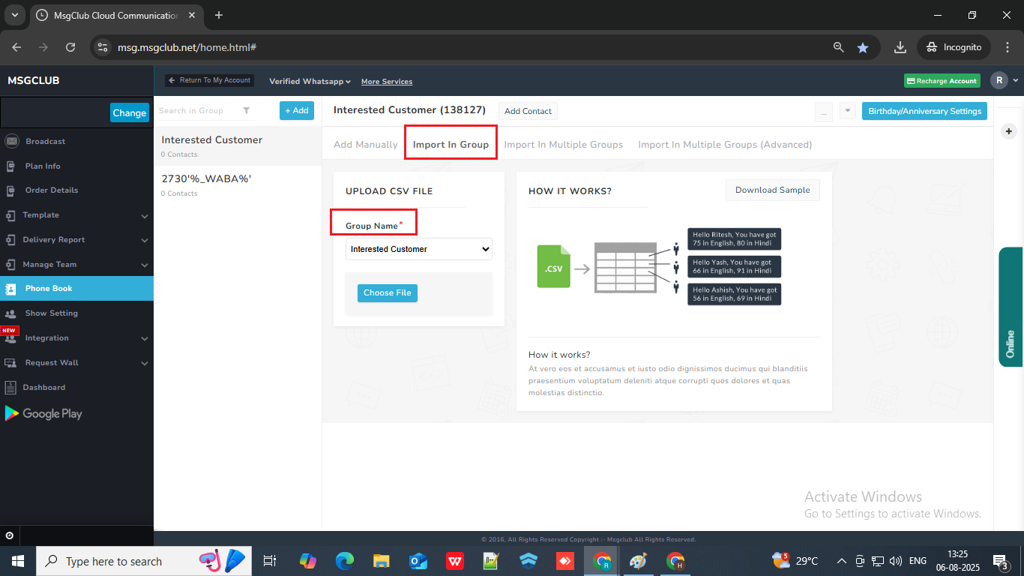
- You can download a sample file and fill in the details.
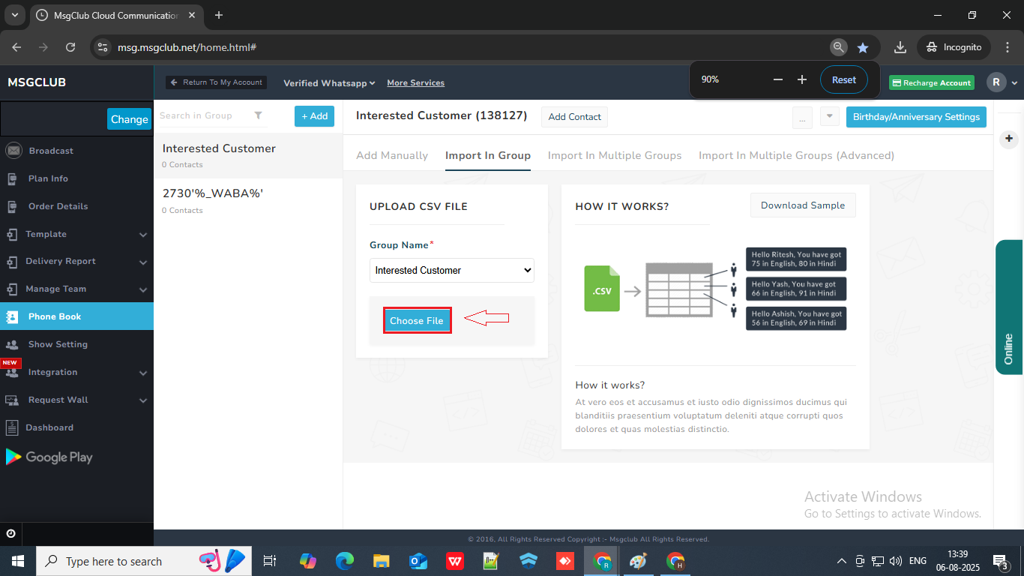
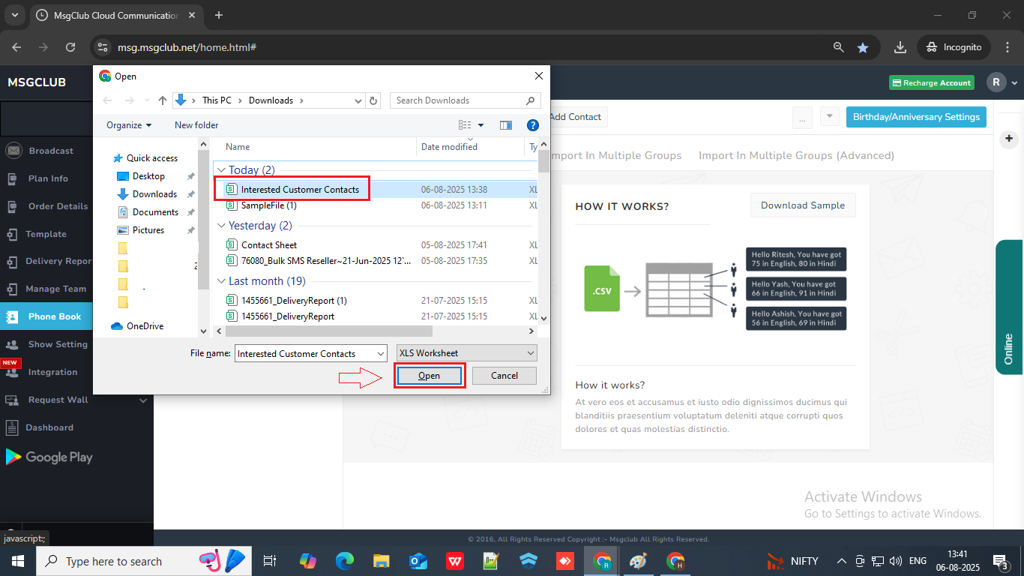
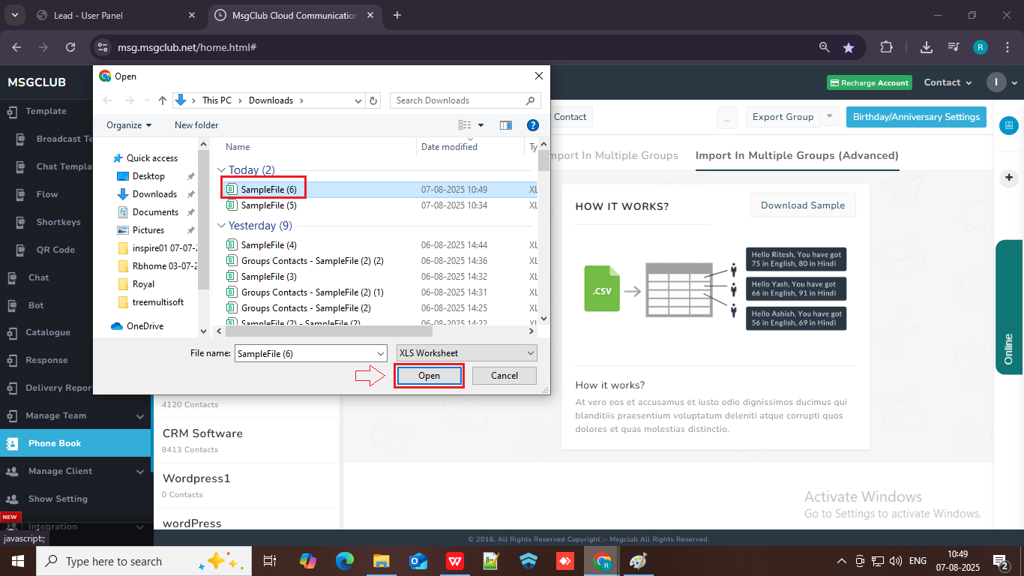
- Click on the ‘Choose File’ button and upload the file containing the customer details.
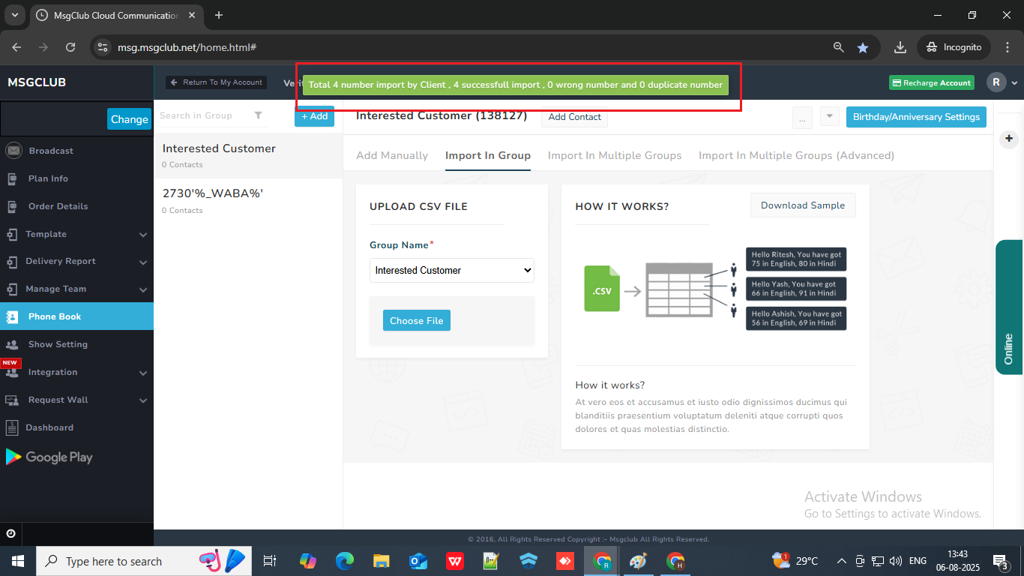
- Once the file is successfully uploaded, a message will appear above stating: ‘Total [number of contacts] number import by Client, [number of successful imports] successful import, [wrong number count] wrong number and [duplicate number count] duplicate number’
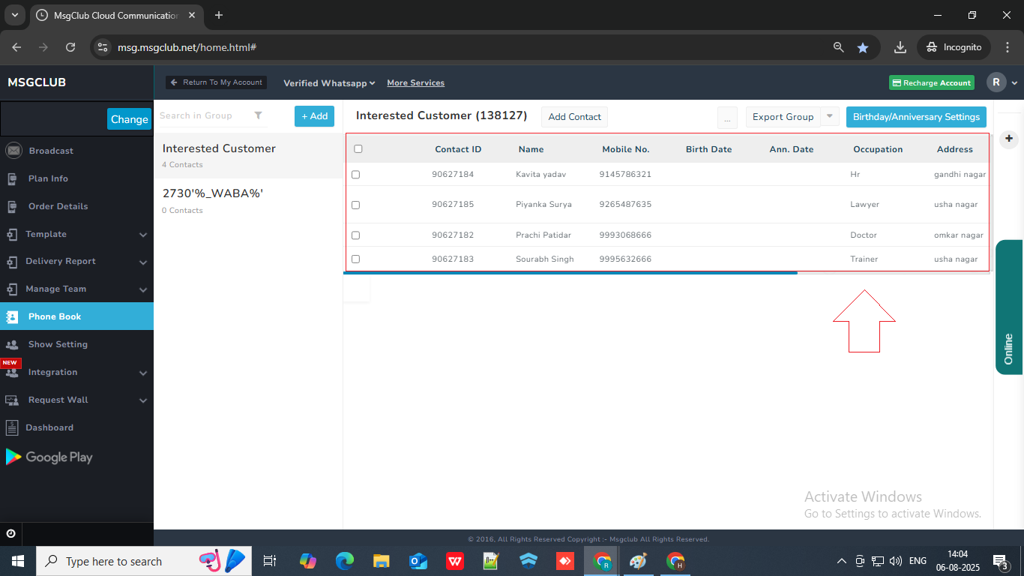
- The customer details will appear as shown in the image below.

- These contact details can be edited or deleted.

- And you can also add more contact into this group using Add Contact button
Note :
- (*) Indicate Mandatory fields (#) Indicate Optional fields
- *Mobile Number consist of 10 or 12 digits
- #Contact name should consist 1 to 200 characters.
- #Date of birth Format should be dd/mm/yyyy only
- #Anniversary date Format should be dd/mm/yyyy only
- #Occupation should consist 1 to 50 characters(Space, Underscore, Hypen).First Letter should be alphabet
- #Address should have min 2 and max 1000 characters, except Unicode.
- #City should consist 1 to 50 characters (Digit, Space, Underscore, Hypen).First Letter should be alphabet
- #Email should be valid
- Do not delete the column names
- \ (Backslash), ; (Semicolon) and , (Comma) is not allowed in values
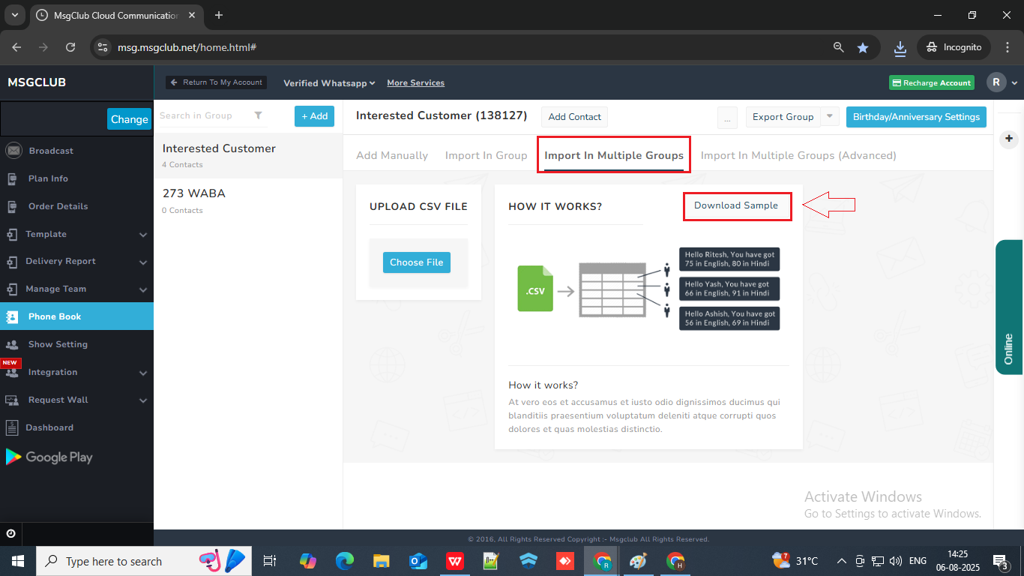
Import in Multiple Groups
If you have a contact list that you want to add to multiple groups, then follow the steps below.
- Download the sample file, then use it as a guide to create your own. Just make sure your file has the same format.
(Tip : – You can also upload this file to Google Drive, open it with Google Sheets, and follow the instructions provided in the sheet. Once you’ve filled in the customer details, download the file in CSV format and upload it to MsgClub.)
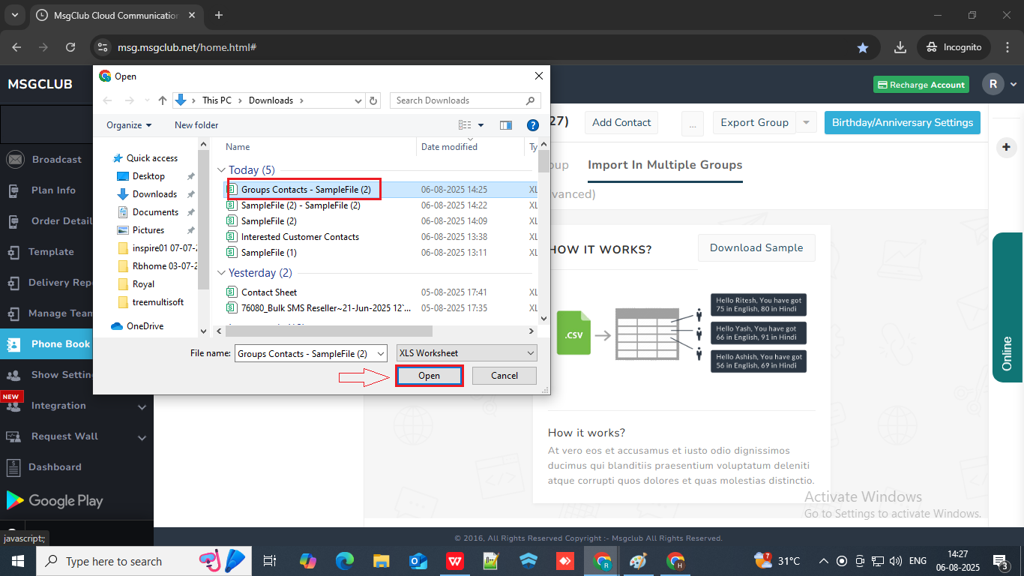
- Click the ‘Choose File’ button and upload your file.
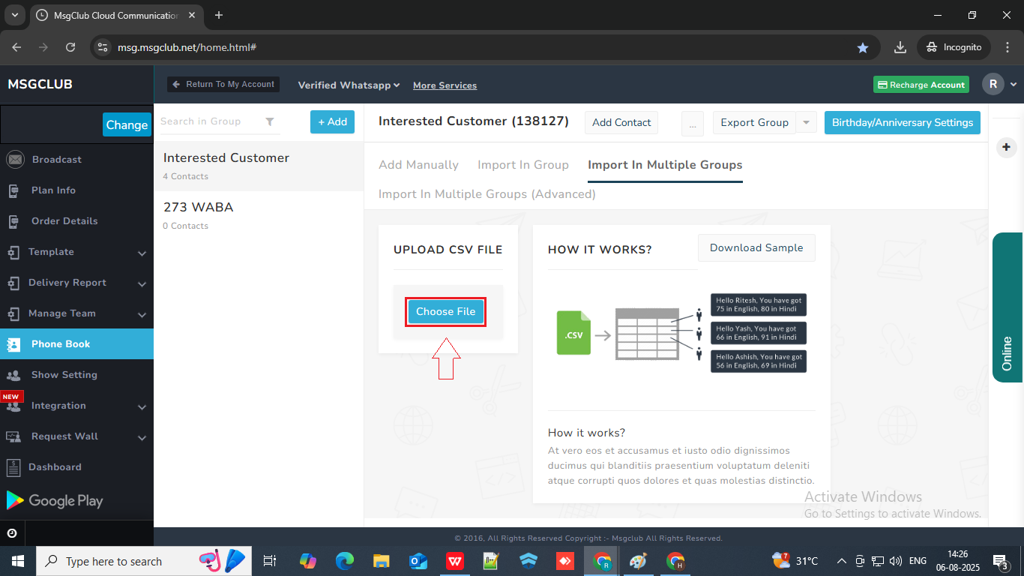
Once the file is successfully uploaded, your contacts will be added to the groups.
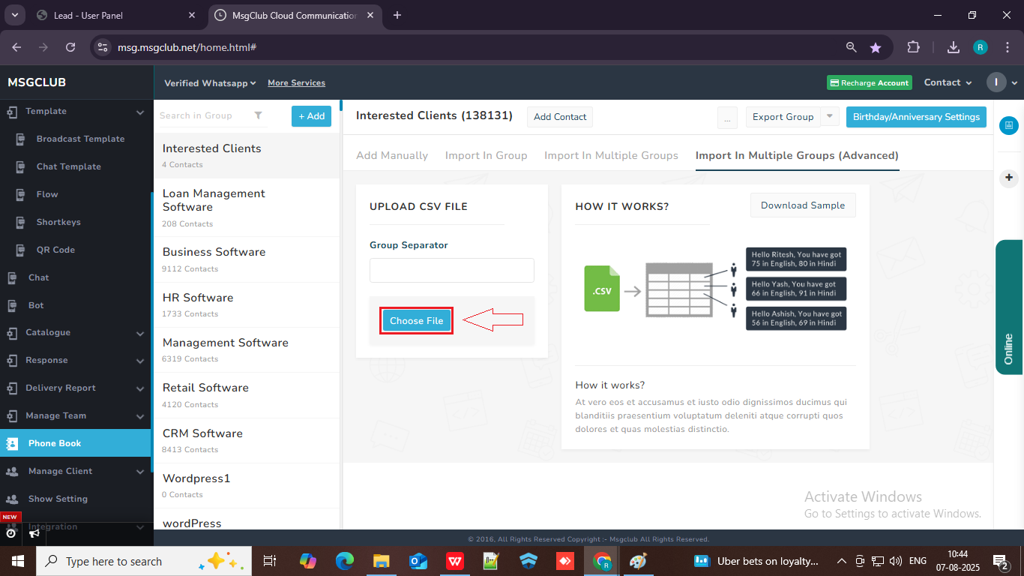
Import in Multiple Group (Advanced)
If you want to add a contact list with custom information to multiple groups, follow these steps
- Download Sample file and create a similar file, make sure this file is in correct format

- Click on Choose File button and upload your file
- Once the file is successfully uploaded you will get the below message
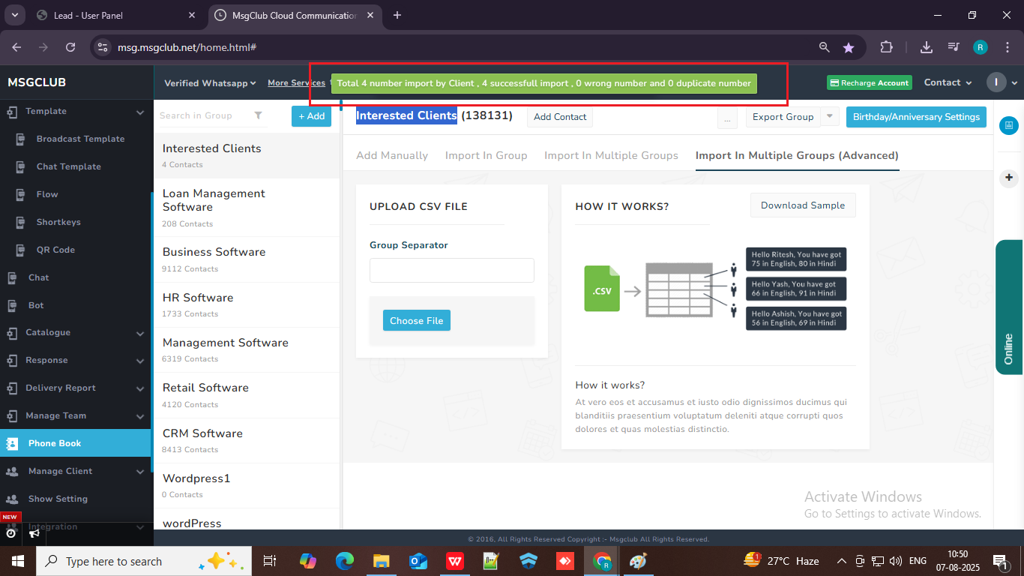
- And your contacts will be added successfully
Additional Options in Phonebook
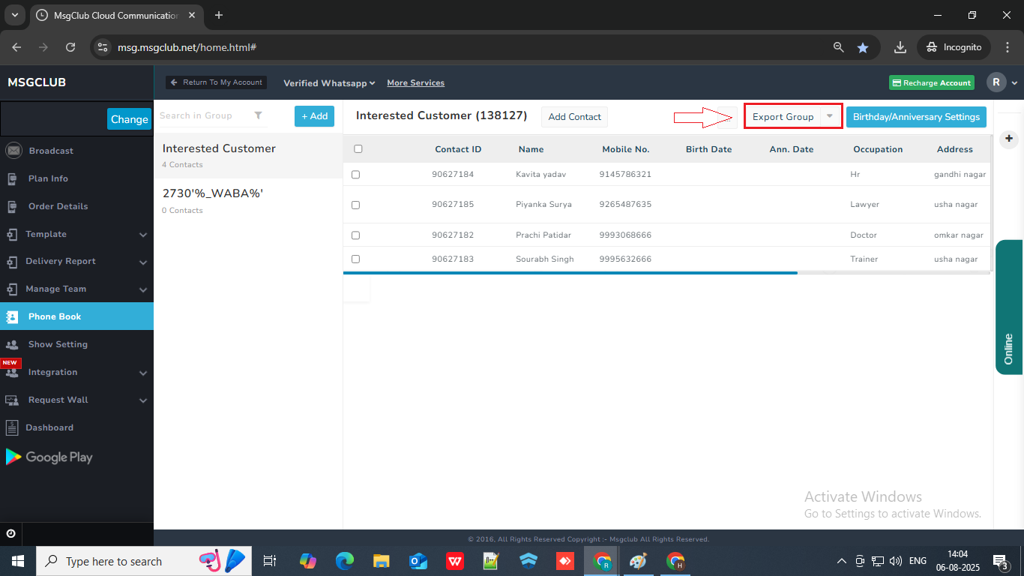
Export Group: You can download this group as a CSV file by clicking the ‘Export Group’ button.
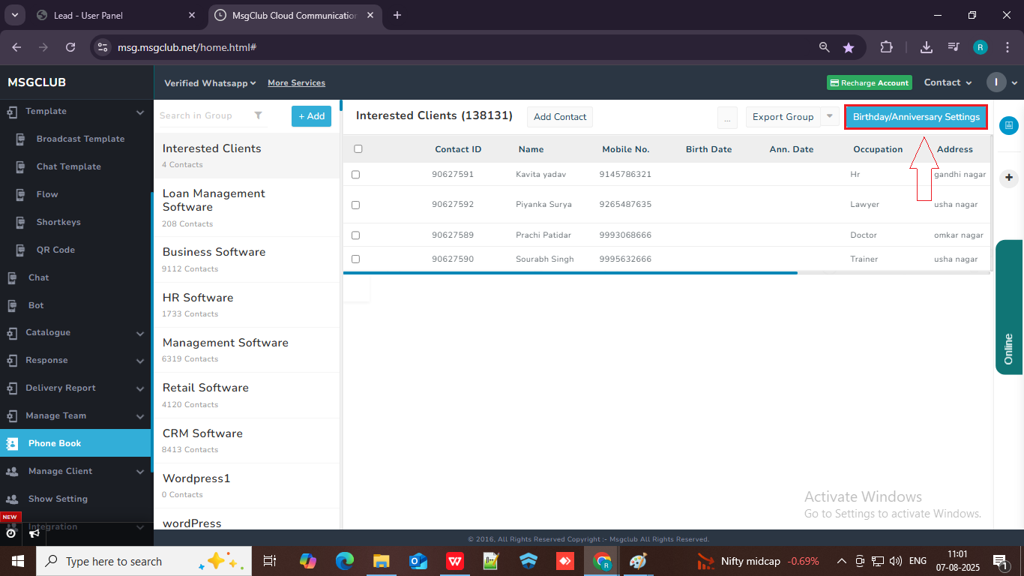
Birthday/Anniversary Setting: If you want to send your client birthday and anniversary wishes message than you can use Birthday/Anniversary Setting option.
- Click on the Birthday/Anniversary Setting button on the top right corner.
- Choose from Birthday or Anniversary tab (Both have similar setting)
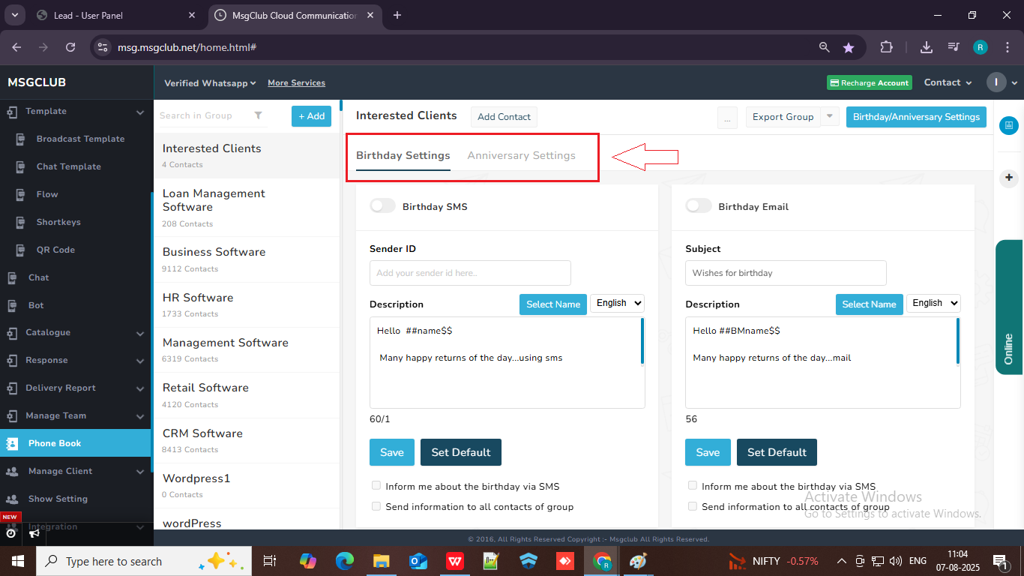
- To send SMS, toggle the SMS option to enable it. To send birthday or anniversary emails, toggle the email option to enable it. You can enable both at the same time if you wishes to send both email and SMS.
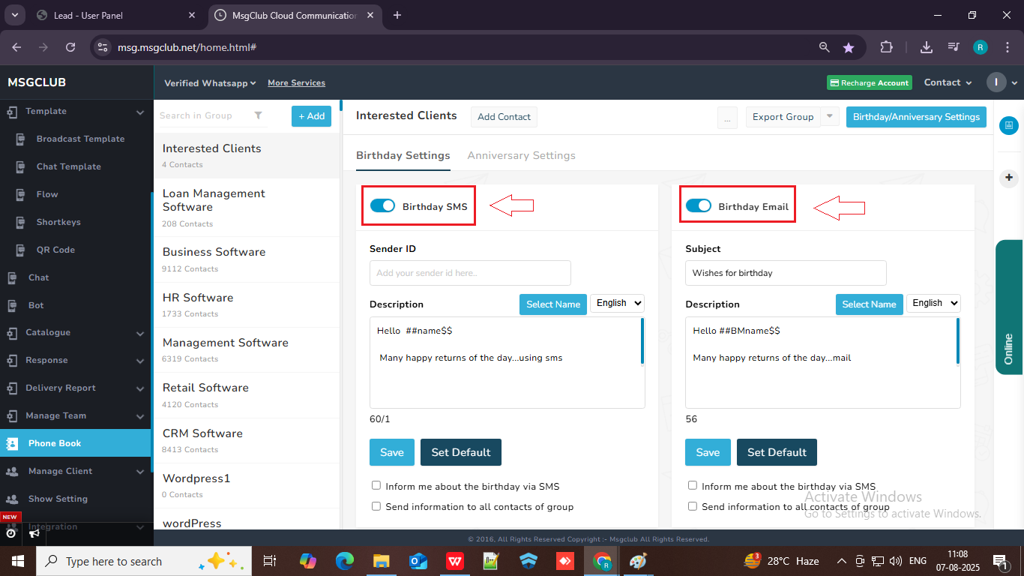
- In the SMS section, enter your Sender ID and write your birthday wish message. Then, click the ‘Select Name’ button to insert a name variable—this will automatically include the client’s name in the message.
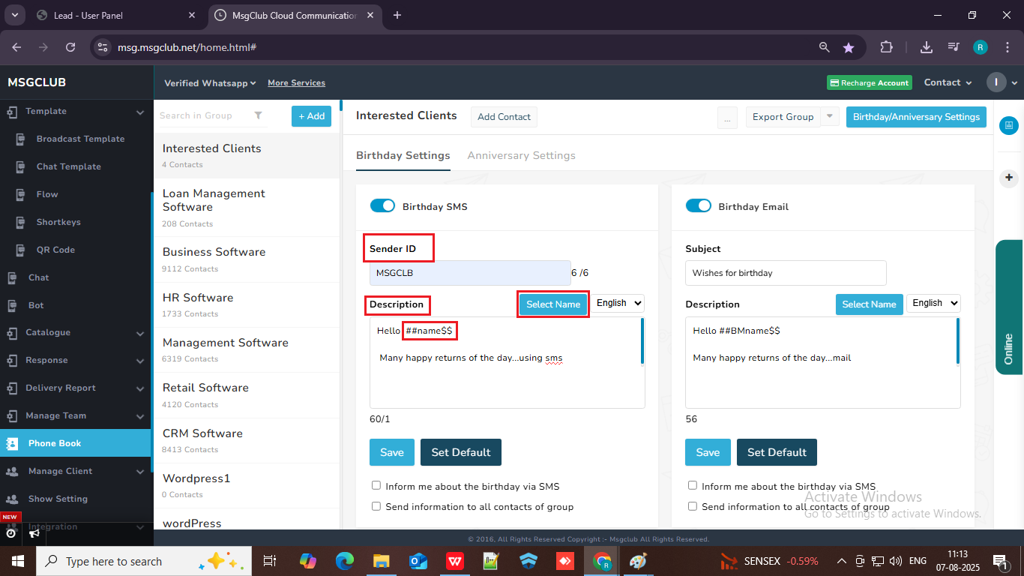
Note: You can also change the message language to your regional language by switching from English to Unicode.
- Click on Save button and your SMS will be save.
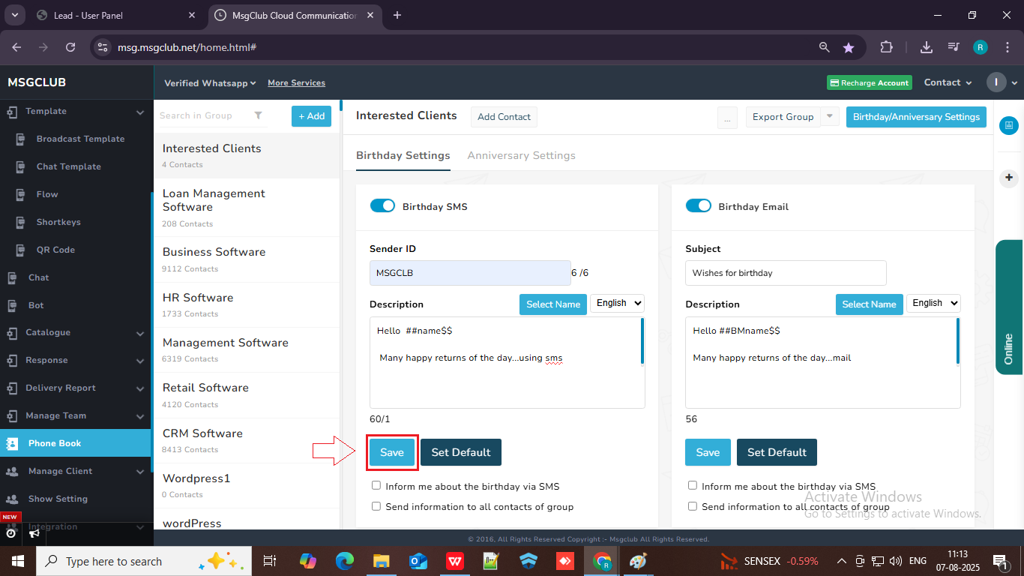
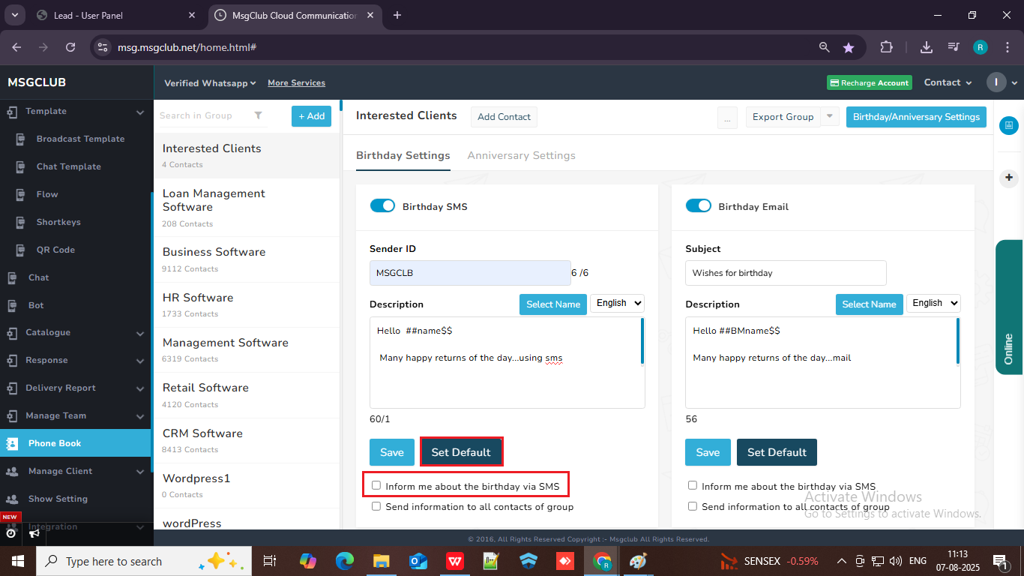
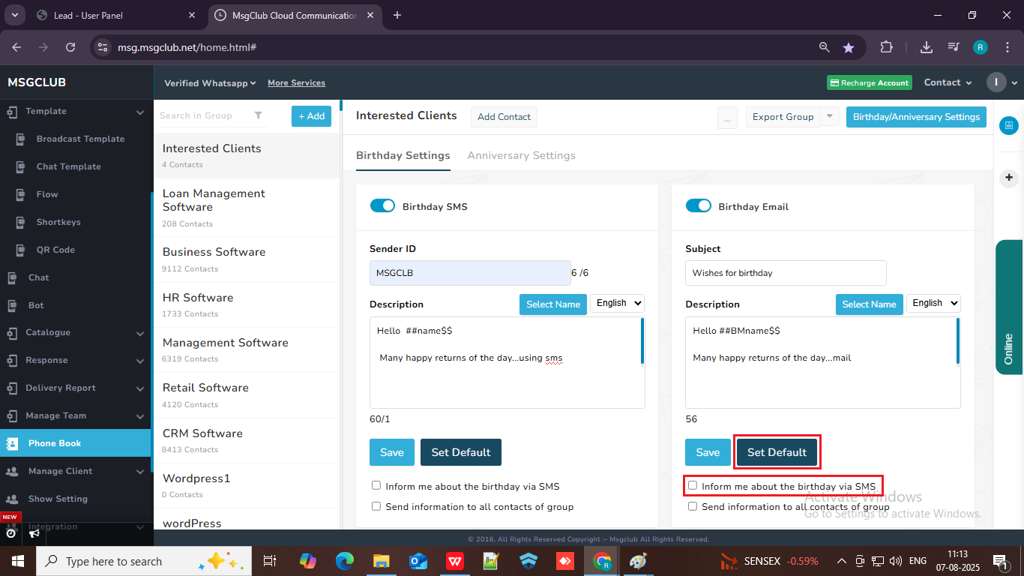
Note: You can use the default settings if you don’t want to save your edits. If you’d like to receive an SMS notification on your client’s birthday, check the ‘Inform me about the birthday via SMS’ option.
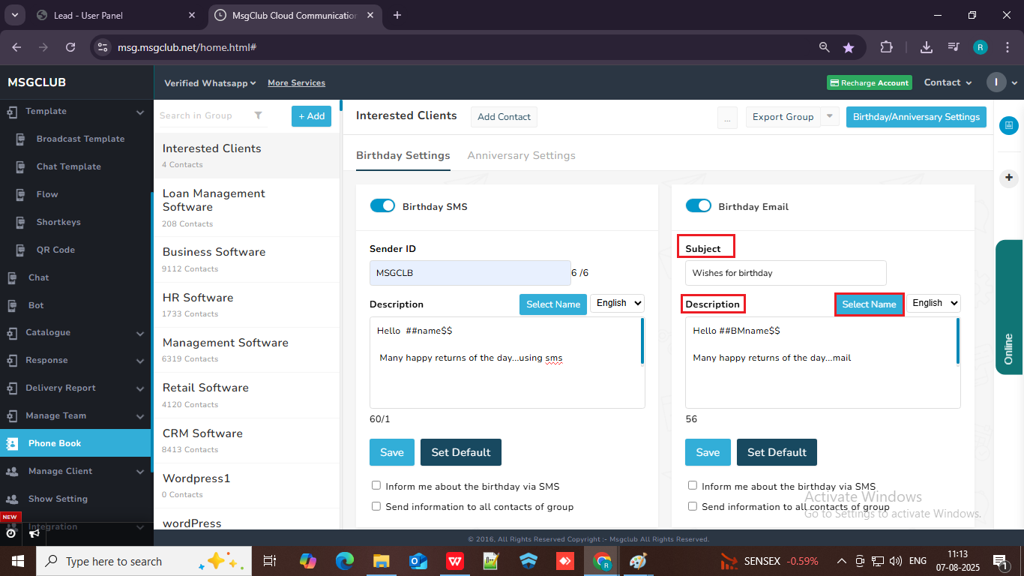
For Birthday / Anniversary Email
- Enter your email subject, then write the email content in the description box. Click the ‘Select Name’ button to insert a variable that will automatically include your client’s name in the email.
Note: You can also change the email language to your regional language by switching from English to Unicode.
- Click on Save button and your email will be saved.
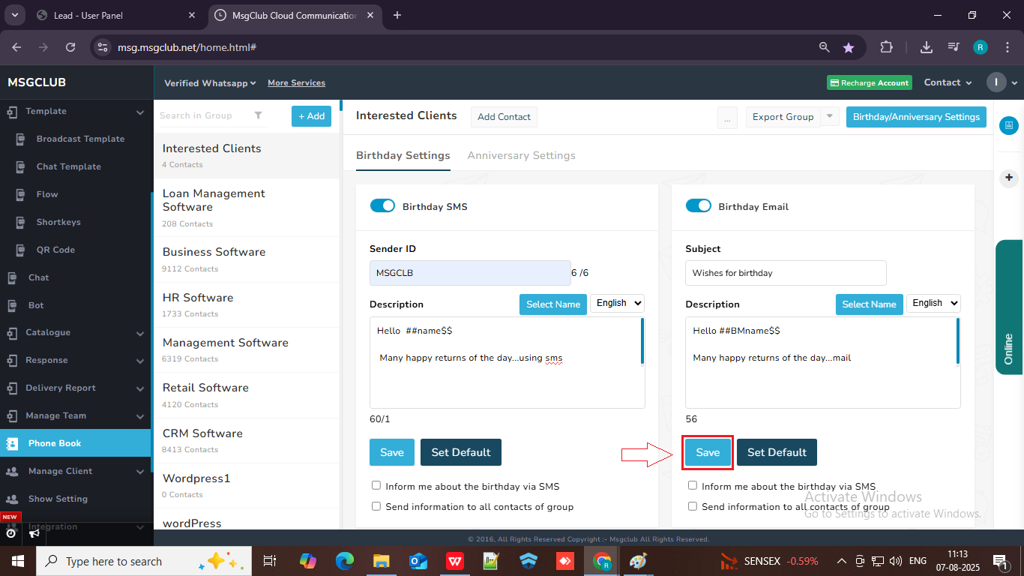
Note: You can use the default settings if you don’t want to save your edits. If you’d like to receive an SMS notification on your client’s birthday, check the ‘Inform me about the birthday via SMS’ option.
( Anniversary Has the exact same steps )
Delete Group : If you no longer need a group, you can delete it using this option.
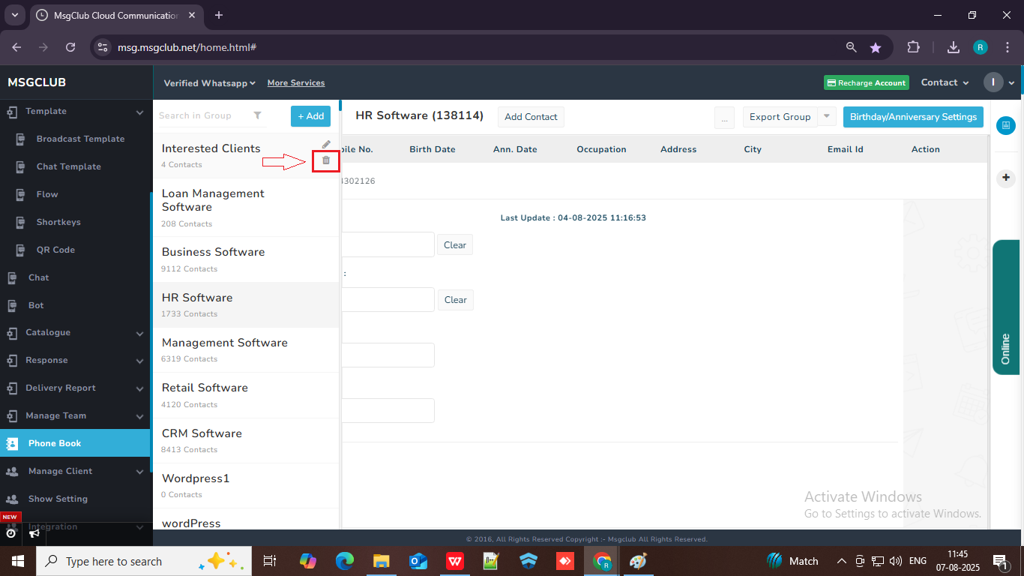
Edit Group: To edit the group name, use the Edit option.

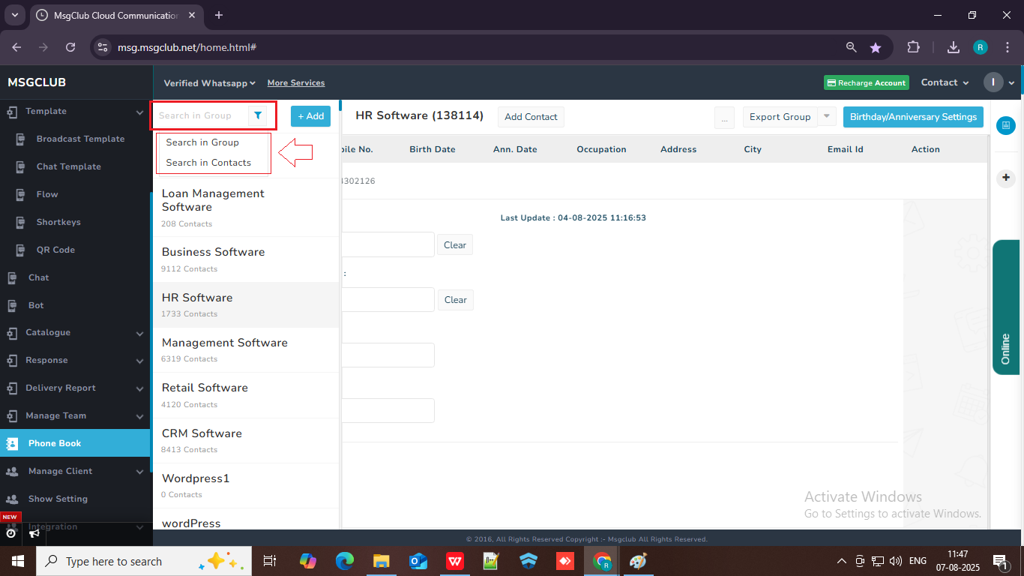
Search Filter: To find a specific contact, enter any client detail and use the Search in Group or Search in Contact filter options.
FAQs
Q. Can I edit a Phonebook Group after creating it?
Ans: Yes, you can edit a Phonebook Group anytime. You can update contact details, add new contacts, or remove existing ones as needed.
Q. How many contacts can I add to a Phonebook Group?
Ans: There is no strict limit. You can add thousands of contacts to a Phonebook Group, depending on your MsgClub plan and usage needs.
Q. Can I upload an Excel or CSV file to create a Phonebook Group?
Ans: Yes, you can easily upload contact lists in CSV format to create or update a Phonebook Group.
Q. What types of client data can I store in a Phonebook Group?
Ans: You can store various types of data such as name, mobile number, email, city, DOB, anniversary date, occupation and address fields that help personalize your messages.
Q. Can I use Phonebook Groups in both SMS and WhatsApp ?
Ans: Yes, Phonebook Groups are accessible across all MsgClub services. You can use the same group for both SMS and WhatsApp messaging without needing to recreate it.
Q. Can I search or filter contacts within a Phonebook Group?
Ans: Yes, you can use the search and filter options to quickly find contacts within a group and contacts both.
1 comment
Comments are closed.