
Doing Promotion, managing and reaching out to multiple contacts becomes easier when your data is well-organised. MSGClub allows you to create phonebook groups, upload contacts in bulk, and send broadcast messages efficiently.
By using the Phonebook and Broadcast features together, you can upload contacts via CSV, group them systematically, and send targeted messages instantly or at a scheduled time. This helps streamline communication, save time, and improve campaign effectiveness.
Learn More
Step-by-Step Guide
Step 1: Sign in to MsgClub using your Username and Password.

Step 2: You’ll receive an OTP on your registered mobile number. Enter the OTP and click Verify.
Step 3: From the Dashboard, select Verified WhatsApp Service.
Step 4: From the left-hand panel, click on Phonebook.
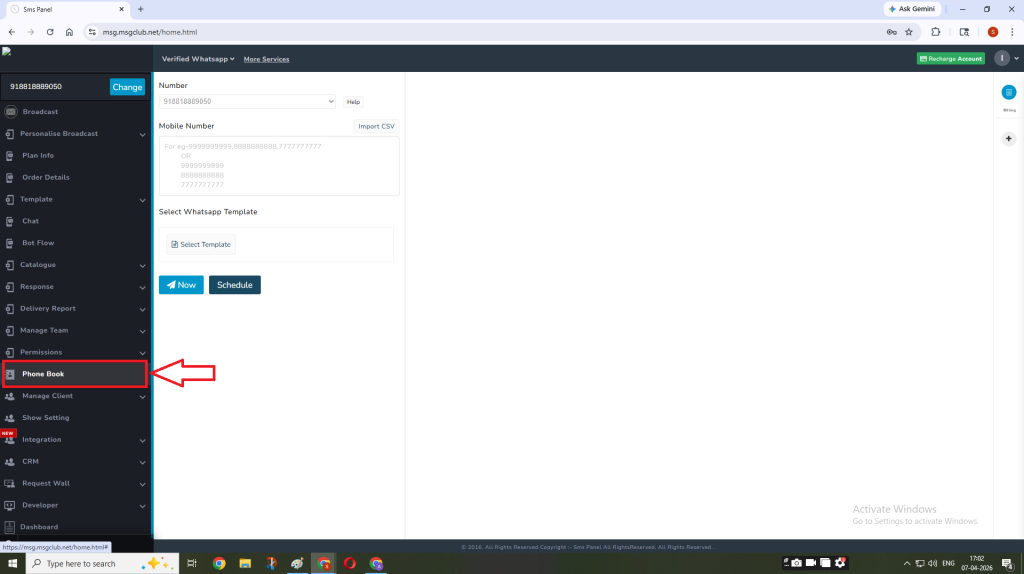
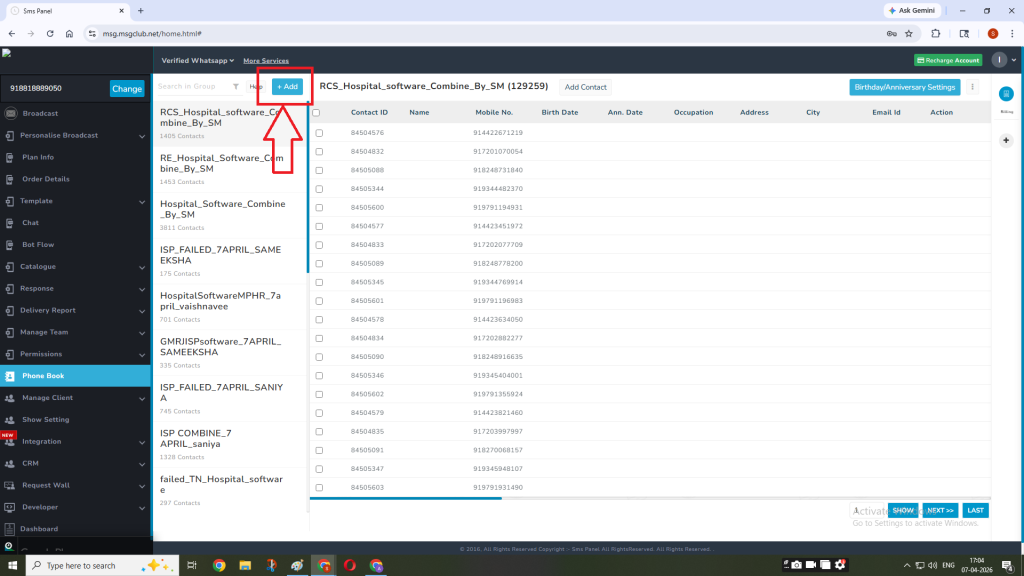
Then click on Add button to add a new phonebook group..
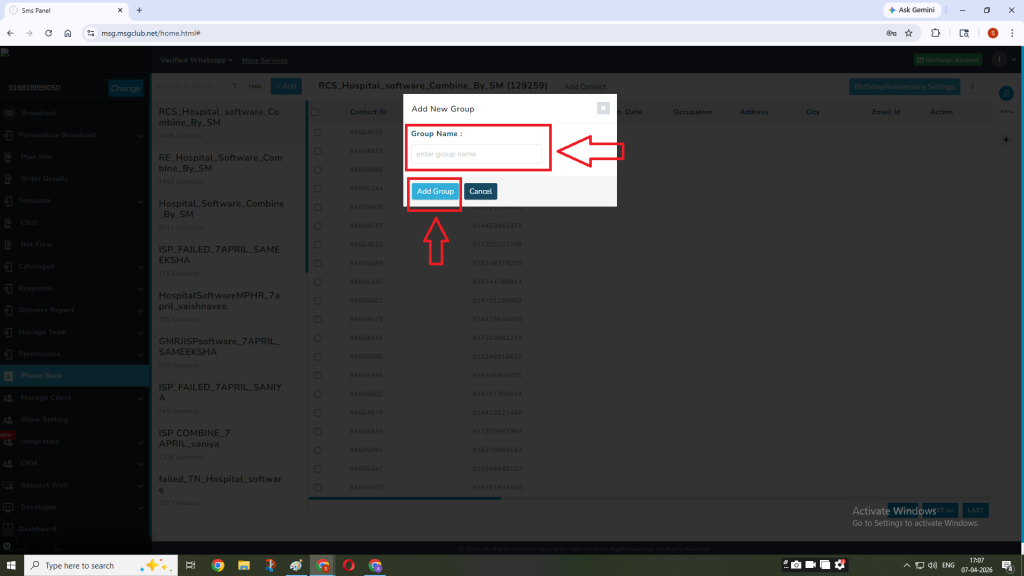
Now enter the group name and click on Add Group button
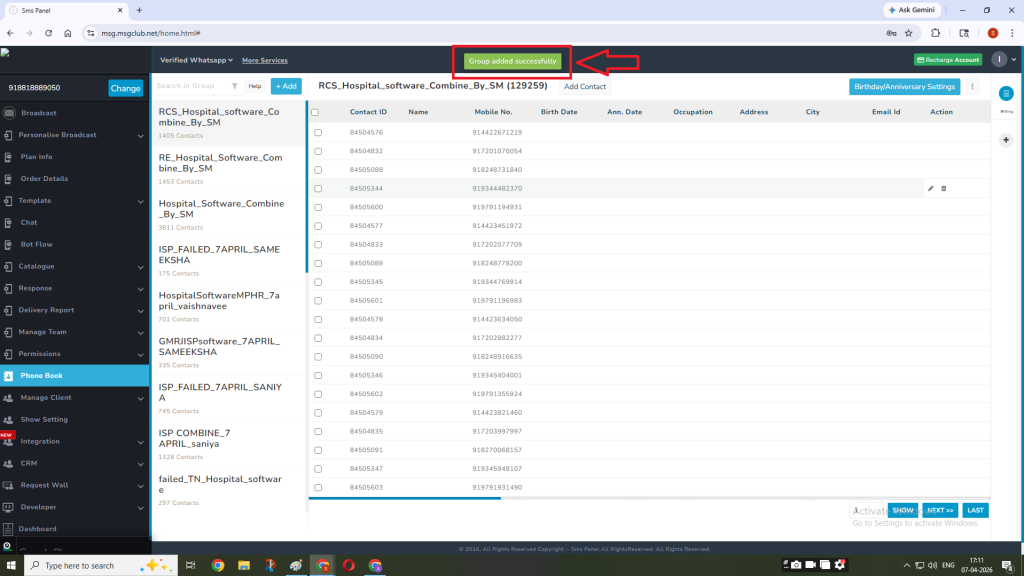
Once the group has been added, you’ll get an alert that your group has been added successfully.
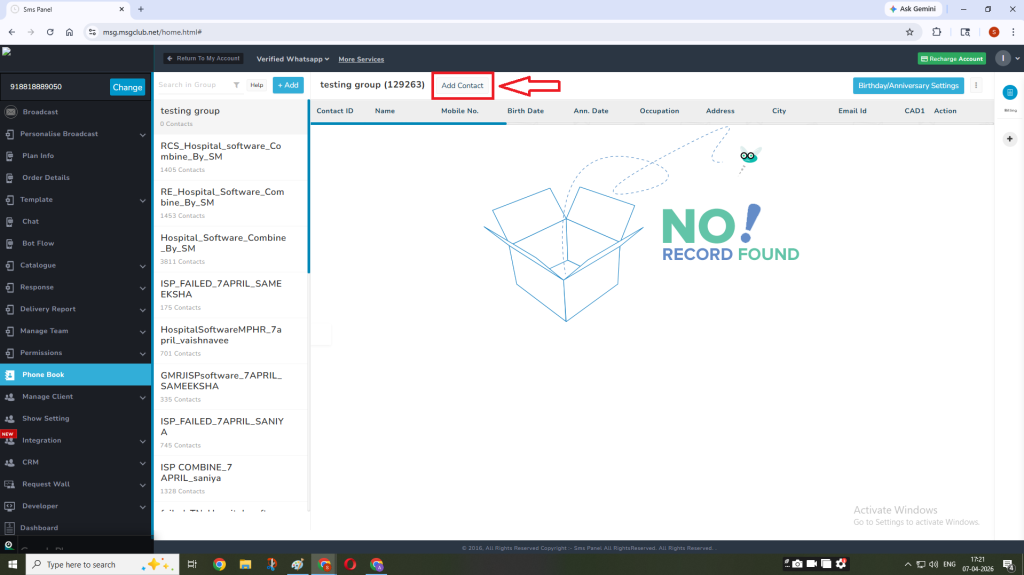
Step 5: Now click on the Add Contact button.
Click on the Import in Group.
You can download the sample csv by clicking on the Download Sample button.
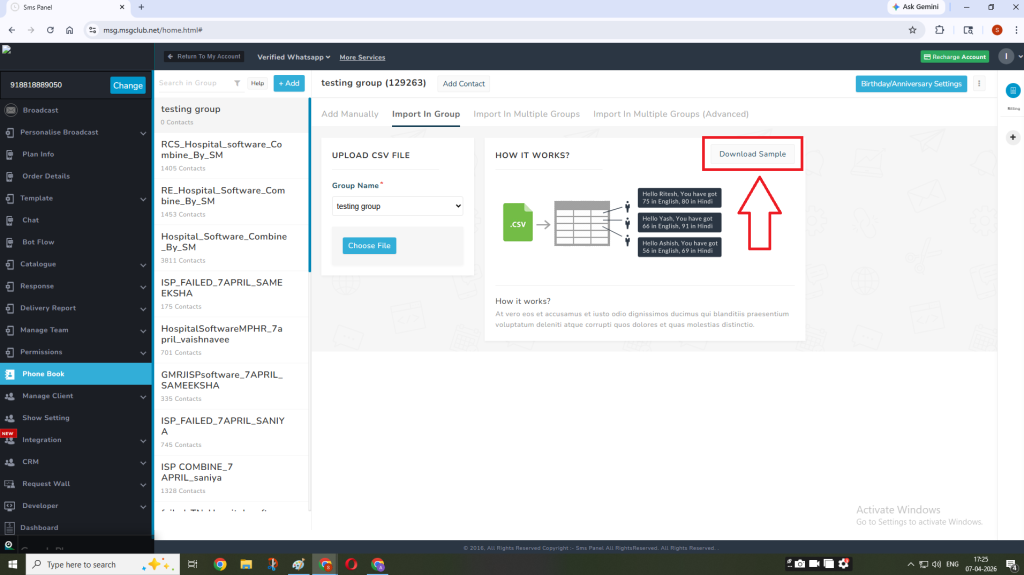
Click on Choose File button.
Step 6: Now, select the file you want to upload in the phonebook group and then click on Open button.
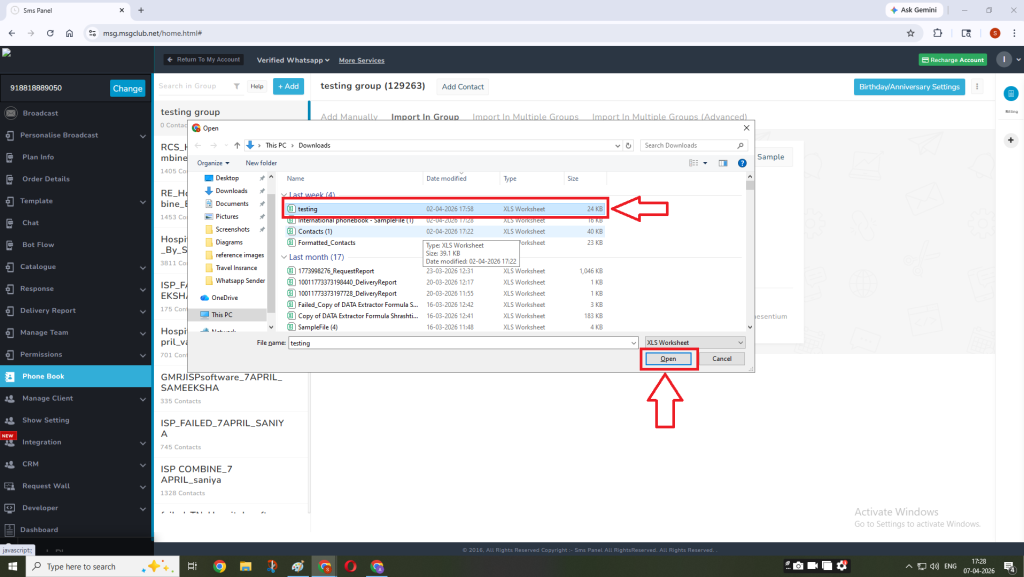
Note: Supported file formats – Comma-separated values (.csv)
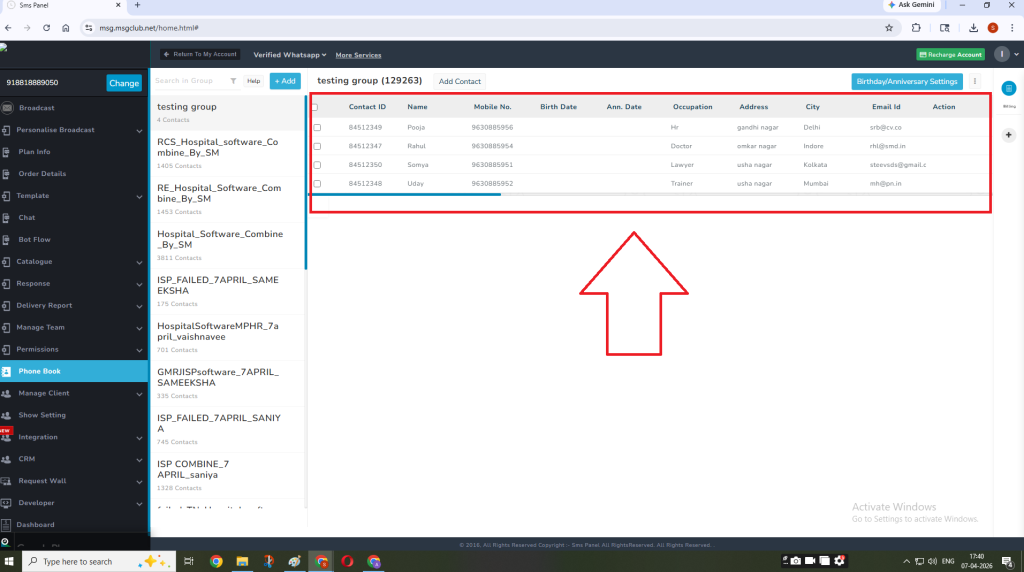
Step 7: When your data will be uploaded you get an alert that your data has been added successfully to the phonebook group.
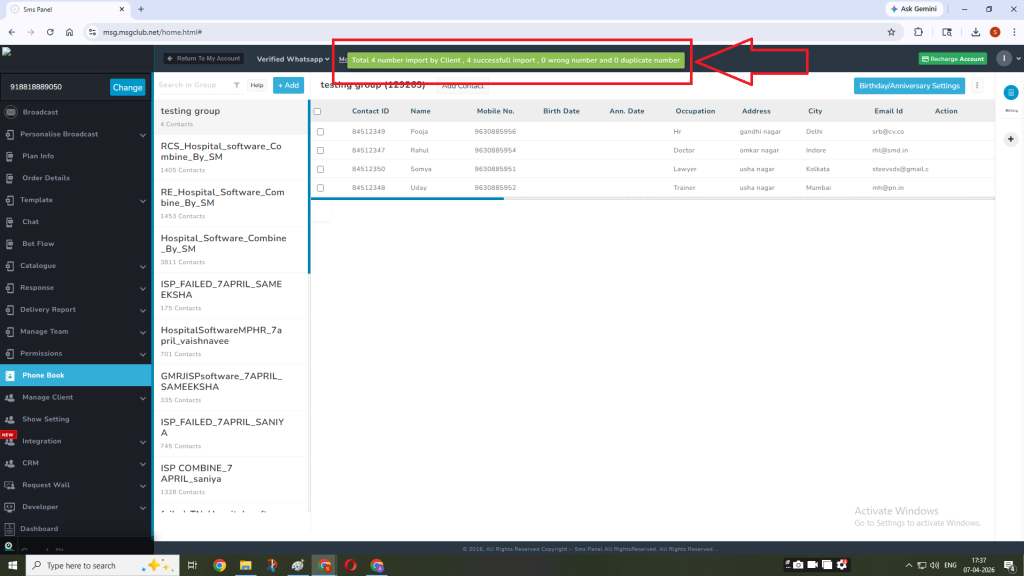
And your data will be visible in the group.
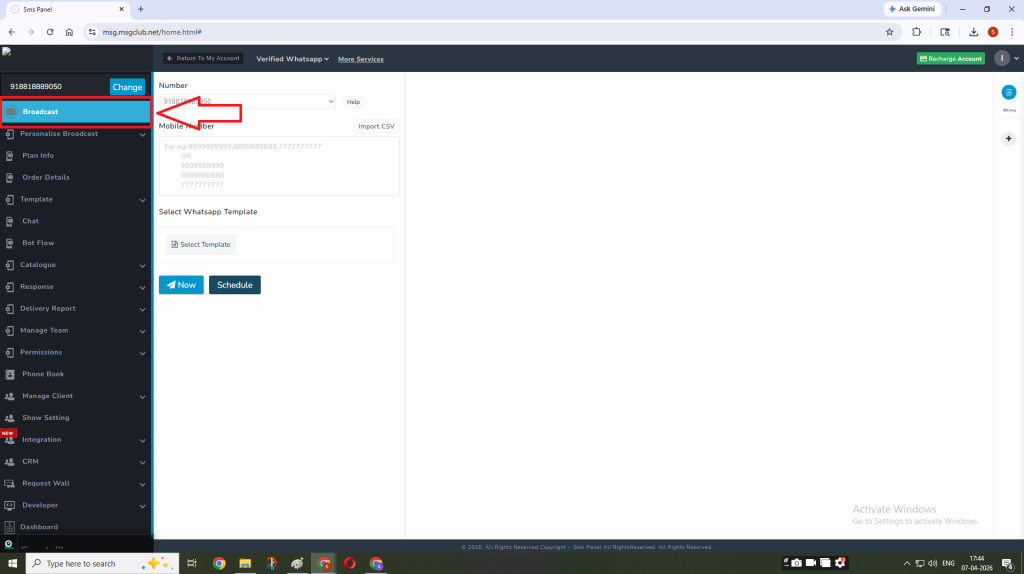
Step 8: Once the group is created, go to the left panel and click on the Broadcast.
Step 9: Now click in the text box below Moblie Number, it will open the panel with all the phonebook groups.
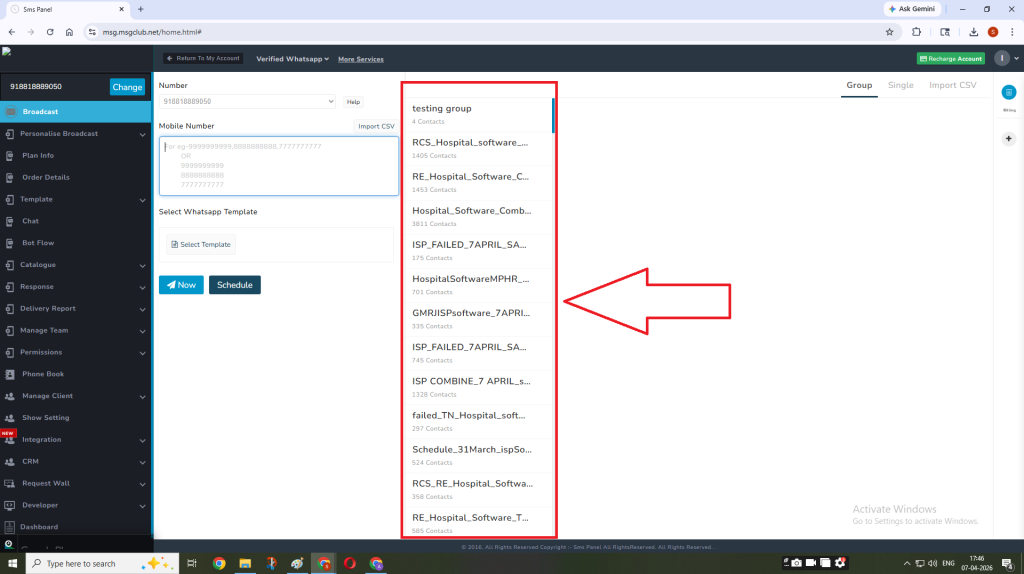
Step 10: Now select the phonebook group on which you want to do the promotion.
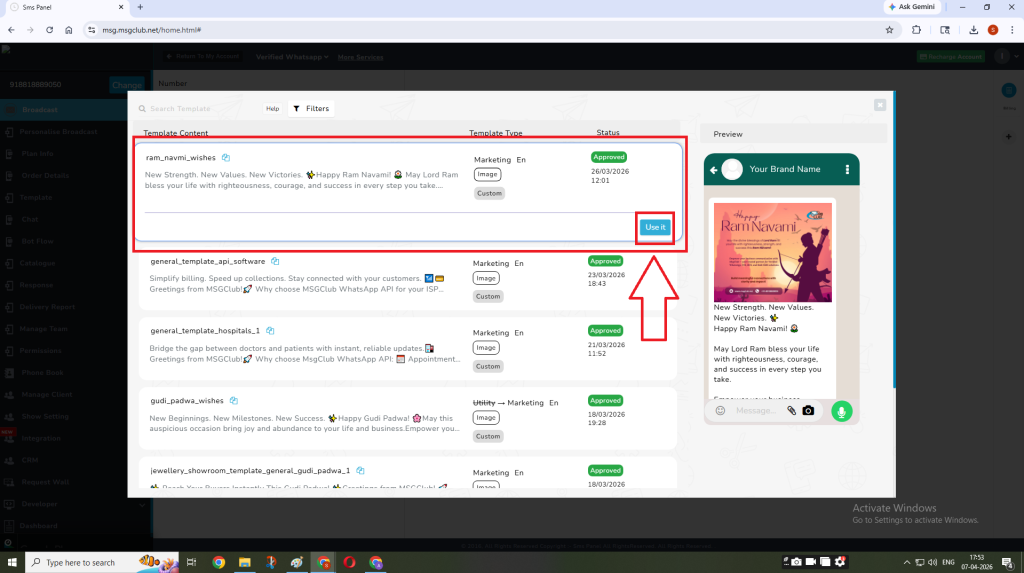
Step 11: Click on the Select Template button to add the broadcast template you want to send.
Step 12: Now select the template which you want to send and then click on the Use It button.
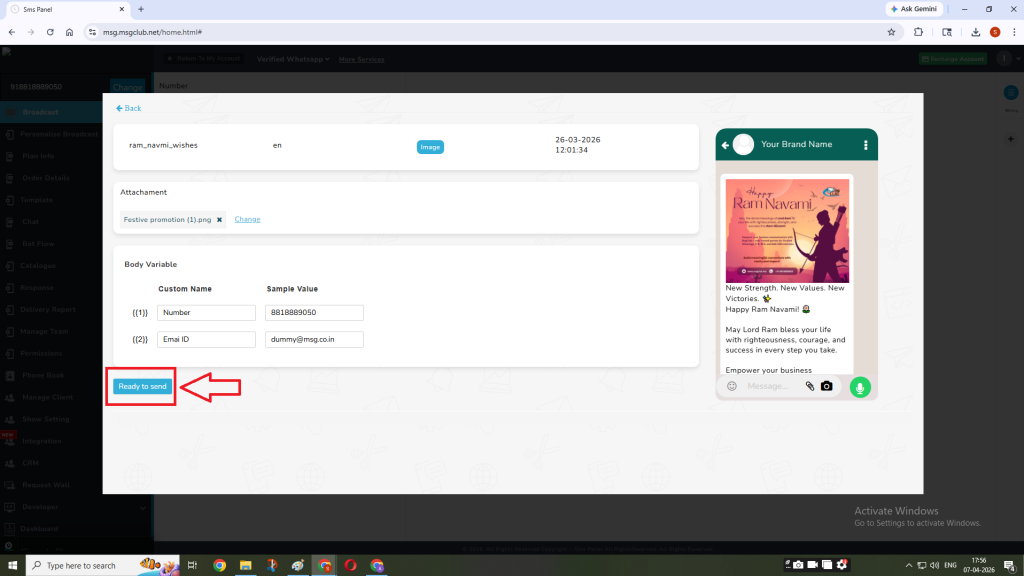
Step 13: Enter the values in the variable section (if available) and then click on the Ready to Send button.
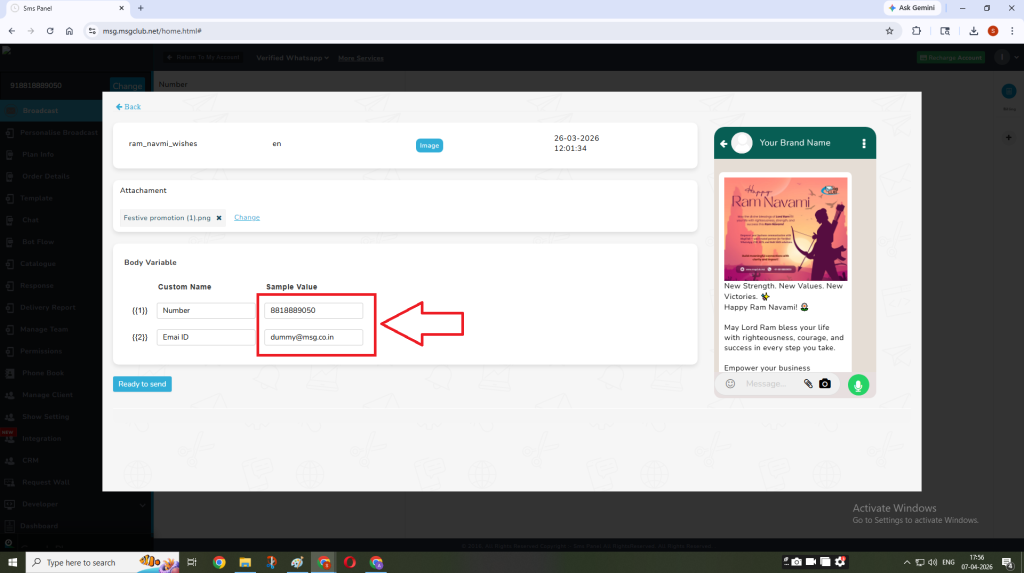
Step 14: Enter the values in the variable section (if available) and then click on the Ready to Send button.
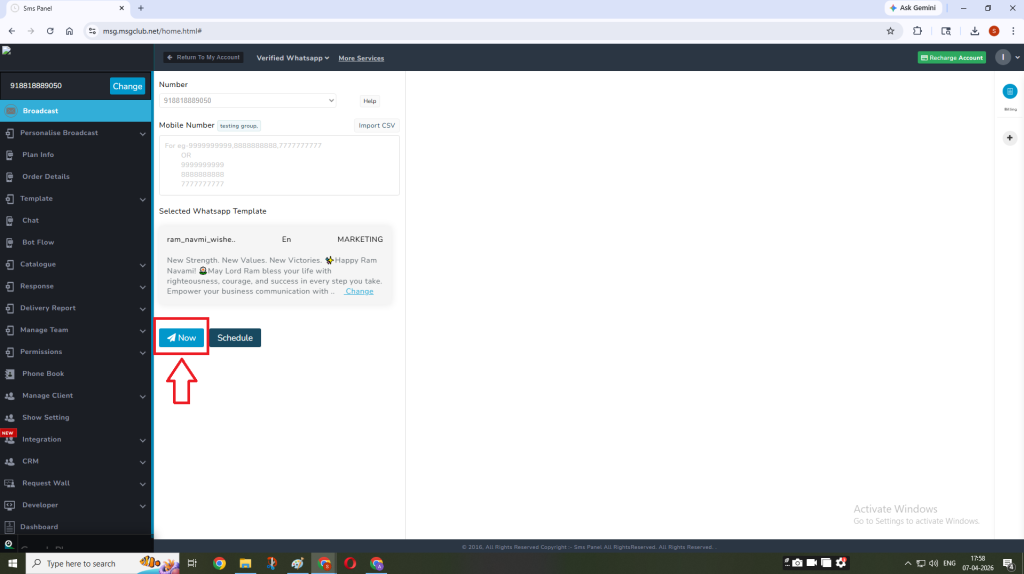
Step 15: Click on the Now button to send the broadcast message now.
Or your may schedule it for a later date & time by clicking on the Schedule button.
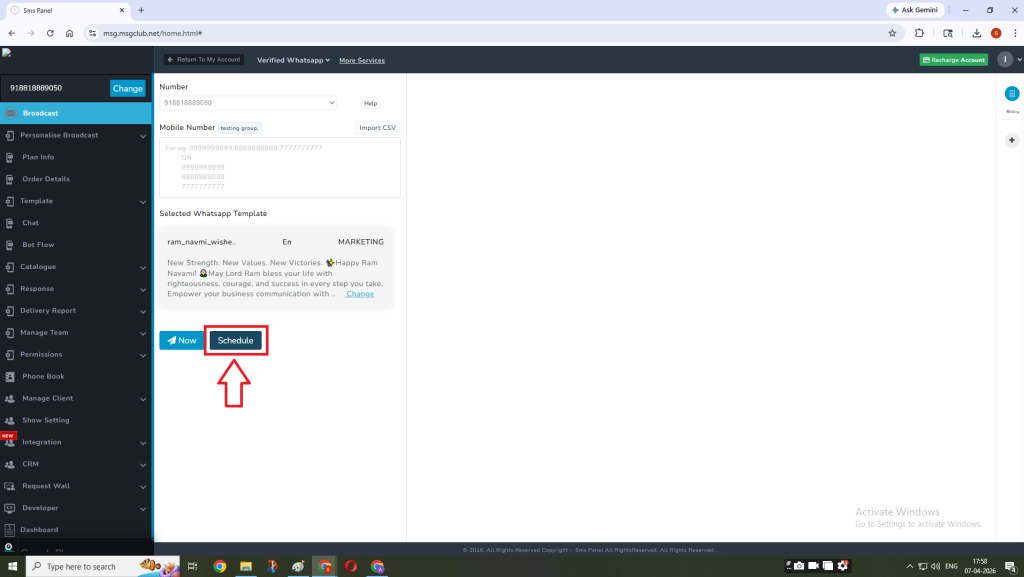
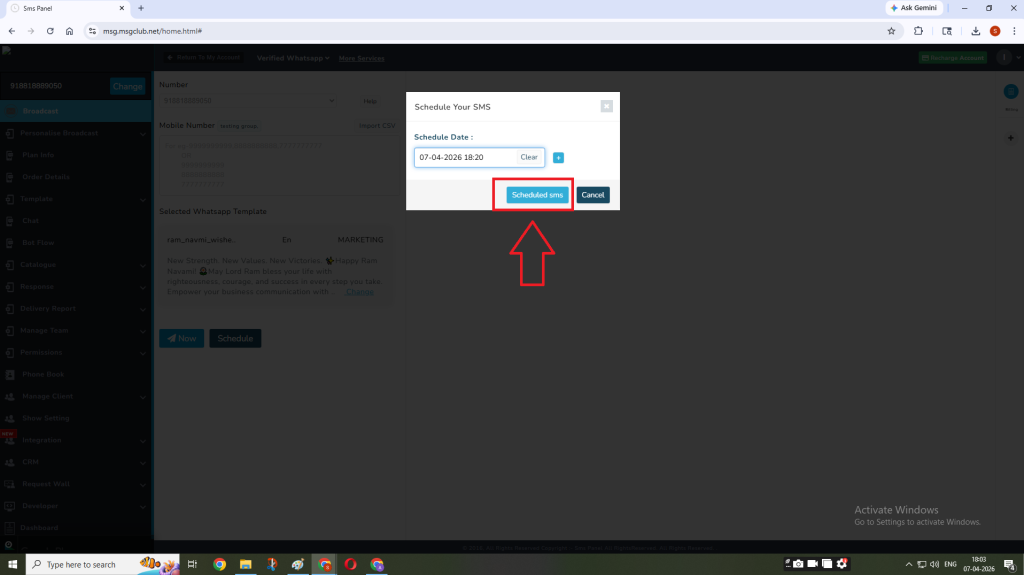
To schedule the message select your preferred date & time.
Now click on the Schedule SMS button
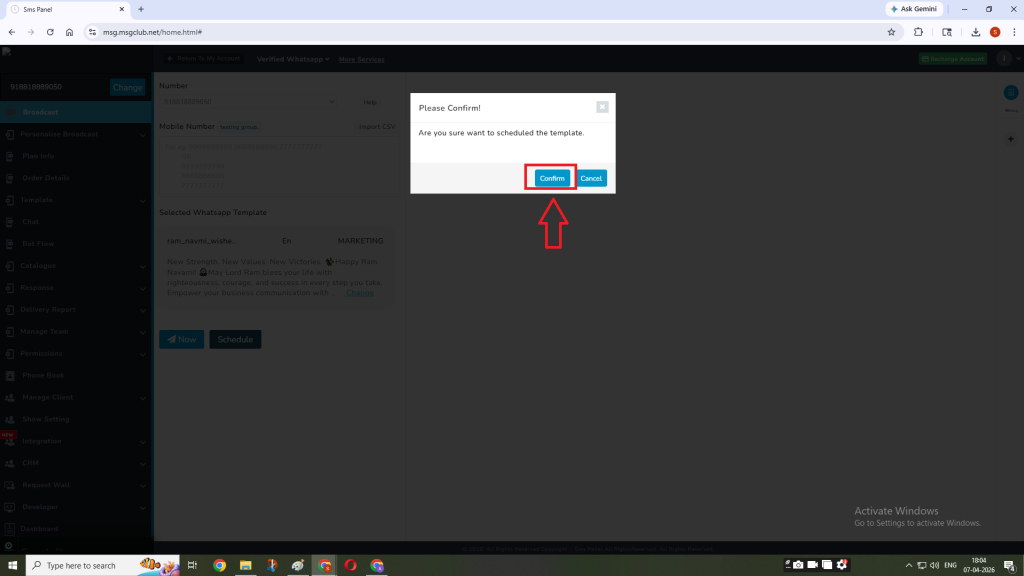
Now click on Confirm
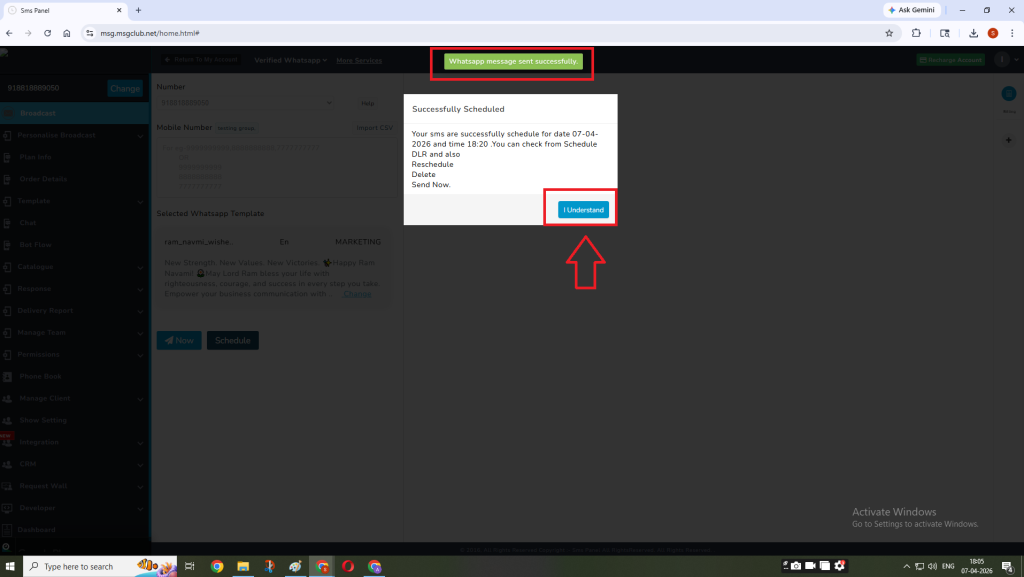
Once scheduled you’ll get an alert message that your message has been scheduled. Click on the I Understand button.
To check the status of your promotion you need to check the Delivery Report and Responses Received on the campaign.
FAQs
Q. What is a phonebook group in MSGClub?
Ans. A phonebook group is a collection of contacts that can be used to send broadcast messages to multiple users at once.
Q. What file format is supported for uploading contacts?
Ans. Only CSV (Comma-Separated Values) files are supported.
Q. Can I download a sample file before uploading data?
Ans. Yes, you can download a sample CSV file using the Download Sample option to ensure correct formatting.
Q. How do I know if my contacts are uploaded successfully?
Ans. You will receive a confirmation alert, and the uploaded contacts will be visible in the selected phonebook group.
Q. Can I send messages to a specific group?
Ans. Yes, you can select any phonebook group while creating a broadcast and send messages only to that group.
Q. What is a broadcast message?
Ans. A broadcast message allows you to send a message or template to multiple contacts at once.
Q. Can I use templates in broadcast messages?
Ans. Yes, you can select and use approved templates for sending broadcast messages.
Q. Can I schedule messages for later?
Ans. Yes, you can either send messages instantly or schedule them for a specific date and time.
Q. What are variables in templates?
Ans. Variables are dynamic fields (like name or details) that can be filled before sending the message.
Q. What happens after scheduling a message?
Ans. You will receive a confirmation alert, and the message will be sent automatically at the scheduled time.